46
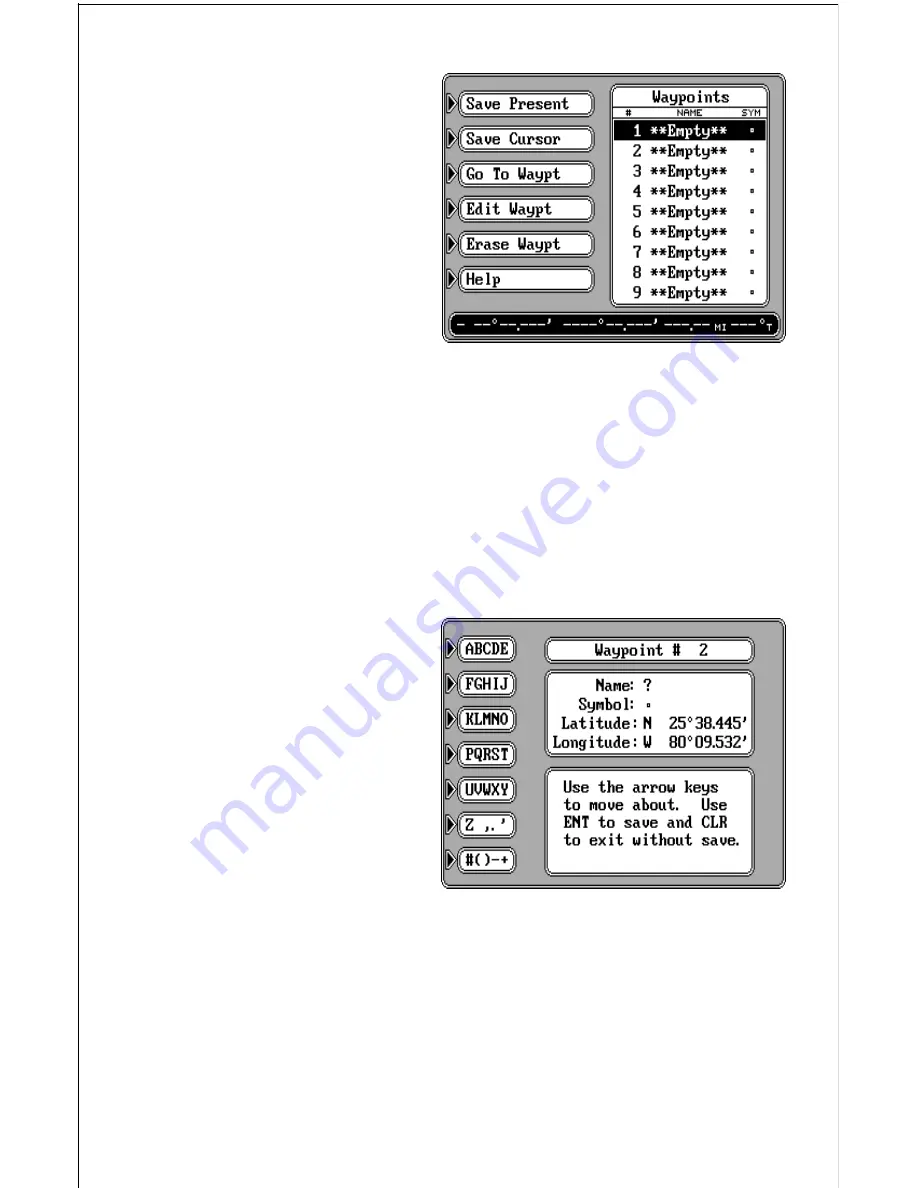
waypoint says “Empty”, then
you can store a position there.
A row of menu labels appear on
the left side of the screen. Press-
ing a key next to these labels let
you save your present position,
the cursor position, select a
waypoint destination, edit the
waypoint elements, and erase
a waypoint from the list. The
steps required to save a way-
point, either your present posi-
tion, cursor position, or any other position are the same.
To save a waypoint, first move the black box to the waypoint number you
wish to save the location in by using the up or down cursor keys. Now
simply press the key next to the “Save Present” label to save your present
position. To save the position at the cursor cross marks, press the key next
to the “Save Cursor”. If you wish to enter a location other than these, press
the key next to the “Edit Waypt” label. You can also change anything on an
existing saved waypoint by using the “Edit Waypt” label.
Editing a Waypoint
After you’ve pressed the key
next to the “Save Present”,
“Save Cursor”, or “Edit Waypt”
labels, a new screen appears
as shown at right. The position
at the time you pressed the
“Save Present” or “Save Cur-
sor” label is shown in the box in
the middle of the screen. (No
position shows if you pressed
the “Edit Waypt” key on an
empty waypoint.) The waypoint
number you are currently editing shows at the top of the screen. A question
mark flashes in the “Name” field. If you wish to name this waypoint, enter
the letters of the name using the keys on the left side of the screen. For
example, to enter the name “REEF”, first press the CURSOR key until the
letter “R” appears. Now press the right arrow key once to move to the next
location. Press the ZOOM IN key until the “E” appears. Continue in this
manner until the waypoint name is completed as shown at the top of the
next page. Press the ENT key when you’re finished.


