44
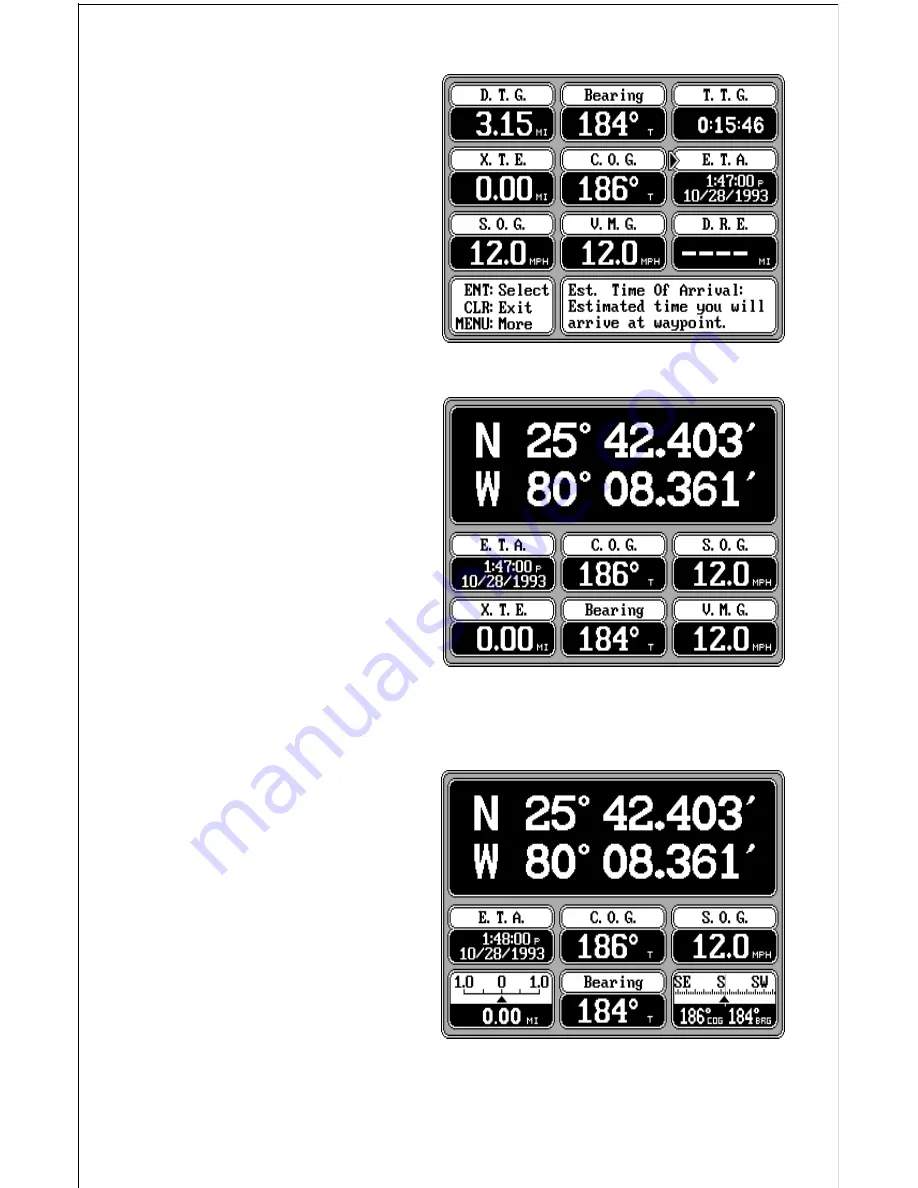
There are four pages of differ-
ent digital boxes to choose from.
Pressing the MENU key
changes to the next page.)
Once the arrow is pointing to
the desired box, press the ENT
key. This returns the unit to the
screen you’re changing (in this
example, it’s the navigation
screen), and places the new
box on the screen as shown
above right. Compare the navi-
gation screen on the previous
page with the one below right.
To change another box, simply
repeat the above steps. When
you’re finished customizing the
screen, simply press the CLR
screen. This erases the arrow
from the display and locks in
your changes. These changes
are held in memory and are
saved even if power is turned
off.
Since the Navigation and Steer-
ing screens have two different
sets of digital boxes available,
you can customize each set
with different digital boxes, then
switch between the screens by
simply pressing the appropri-
ate key. For example, custom-
ize the navigation screen with
one set of digital boxes as
shown above. While the navi-
gation screen is showing, press
the NAV key. This shows a
different set of digital boxes
which can also be customized.
NAVIGATION SCREEN
NAVIGATION SCREEN


