16
25.
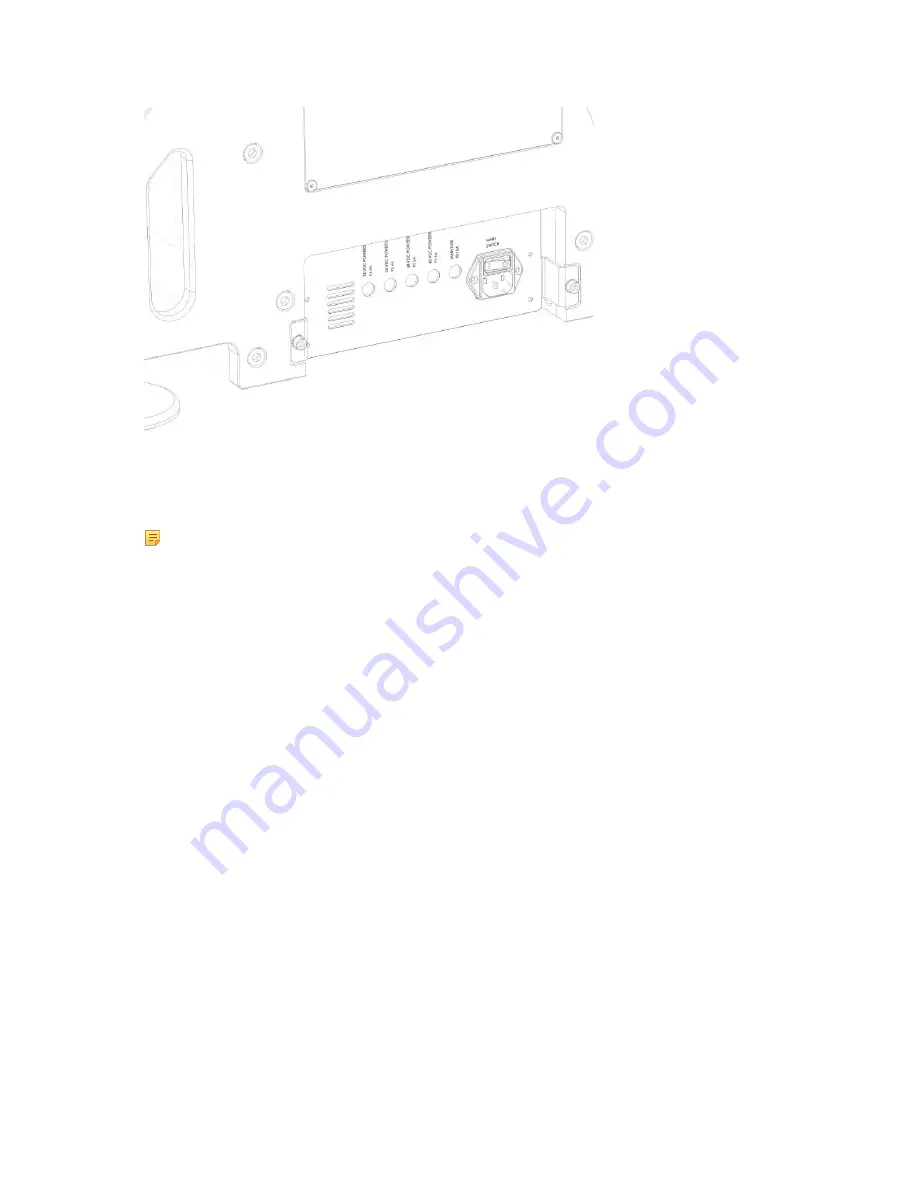
Check that the main switch is in the Off (“0”) position.
26.
Connect the power cable to a grounded outlet.
27.
Connect the Ethernet cable between the scanner and computer.
Note:
UULA requires its own dedicated Ethernet port. Do not use a switch.
28.
Remove the lens cover.
29.
Switch on the power.
1.5 Installing UULA Software
This section describes how to install the UULA software.
Proceed as follows:
30.
Copy
setup.exe
from the USB memory stick or download it from LMI support site to the C drive.
31.
Double-click
setup.exe
to run it.
32.
Read and accept the license agreement.
33.
Select Next.
34.
Select the network adapter that is connected to UULA (on Windows 10).
You can also check all the adapters if you are not sure, which one to choose. If you want to manually configure
settings or if you are using Windows 7, choose
Manual configuration
. For manual configuration instructions, see
chapter
Manual Network Interface Configuration
Figure 13 Power Main Switch at the Back of the UULA Frame
Содержание FocalSpec
Страница 1: ...FocalSpec 3D Line Confocal Scanner UULA...
Страница 58: ...58 Figure 58 Output Settings 1 Figure 590 Output Settings 2...
Страница 64: ...64 Figure 65 Banding 2 Zooming You can zoom in to view more details Figure 66 Banding Period 300 m...
Страница 67: ...67 Figure 68 Rotating a Picture To open the 3D view select Studies View group 3D View Figure 69 Rotated Picture...
Страница 73: ...73 Figure 77 Rotating a Picture To open the 3D view select Studies View group 3D View Figure 78 Rotated Picture...
Страница 82: ...82 2 11 Declaration of Conformity Figure 92 Declaration of Conformity...


