© Copyright Lenovo 2017
Chapter 3: Installing NE1032T Hardware and Options
47
Installing the NE1032T in a Lenovo iDataPlex Rack
This
section
describes
how
to
install
the
NE1032T
in
a
Lenovo
iDataPlex
rack.
The
iDataPlex
mounting
kit
allows
the
switch
to
be
mounted
either
horizontally
or
vertically.
The
kit
must
be
purchased
separately.
It
includes
the
following
parts:
Attention:
The
rack
‐
mounting
frame
may
not
be
able
to
support
the
weight
of
the
networking
switch
with
only
the
front
post
mounting
brackets
(2
‐
post
application).
If
the
switch
has
an
undesirable
amount
of
sag,
it
is
recommended
to
use
a
4
‐
post
mounting
kit.
Attention:
For
earthquake
stability,
mount
the
switch
in
a
4
‐
post
rack.
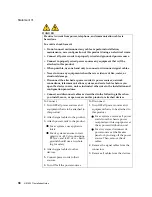
Statement 26
CAUTION:
Do
not
place
any
object
on
top
of
rack
‐
mounted
devices.
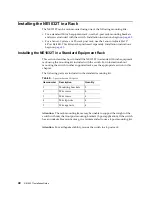
Table 11.
Lenovo
Adjustable
19”
4
‐
Post
Rail
Kit
parts
Item number
Description
Quantity
1
Switch
front
brackets
2
2
M4
screws
16
3
M6
screws
8
4
M6
clip
nuts
8
5
M6
locking
washers
8
6
Switch
rear
brackets
2
7
Rear
alignment
plates
2
Содержание ThinkSystem NE1032T
Страница 1: ...Lenovo ThinkSystem NE1032T RackSwitch Installation Guide For Lenovo Cloud Network OS ...
Страница 6: ...6 Lenovo G8296 Installation Guide ...
Страница 14: ...14 NE1032T Installation Guide ...
Страница 18: ...18 NE1032T Installation Guide ...
Страница 19: ... Copyright Lenovo 2017 19 Chapter 2 Switch Components This chapter describes the NE1032T hardware components ...
Страница 32: ...32 NE1032T Installation Guide ...
Страница 78: ...78 NE1032T Installation Guide ...
Страница 94: ...94 NE1032T Installation Guide ...
Страница 100: ...100 NE1032T Installation Guide ...
Страница 120: ...120 NE1032T Installation Guide ...


