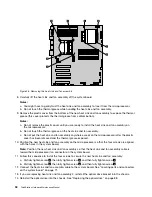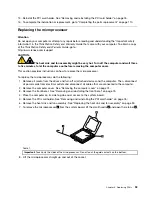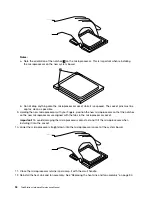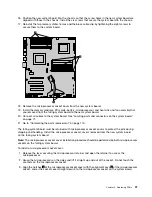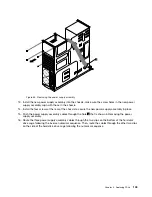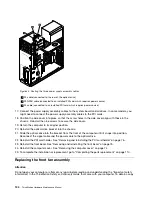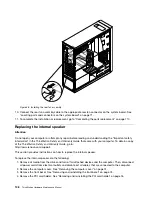
7. Insert the two tabs
1
on the new front fan assembly bracket into the corresponding holes in the chassis,
and then press the two tabs through the holes until the bracket is secured in place.
Figure 36. Installing the new front fan assembly bracket
8. Connect the front fan assembly cable to the front fan connector on the system board. See “Locating
parts and connectors on the system board” on page 71.
9. To complete the installation or replacement, go to “Completing the parts replacement” on page 110.
Replacing the rear fan assembly
Attention
Do not open your computer or attempt any repair before reading and understanding the “Important safety
information” in the
ThinkStation Safety and Warranty Guide
that came with your computer. To obtain a copy
of the
ThinkStation Safety and Warranty Guide
, go to:
http://www.lenovo.com/support
This section provides instructions on how to replace the rear fan assembly.
Note:
Your computer supports two rear fan assemblies.
106
ThinkStation Hardware Maintenance Manual
Содержание ThinkStation C20
Страница 1: ...ThinkStation Hardware Maintenance Manual Machine Types 4262 4263 4264 4265 4266 4269 4271 and 4272 ...
Страница 2: ......
Страница 3: ...ThinkStation Hardware Maintenance Manual Machine Types 4262 4263 4264 4265 4266 4269 4271 and 4272 ...
Страница 15: ...Chapter 2 Safety information 9 ...
Страница 16: ... 18 kg 37 lbs 32 kg 70 5 lbs 55 kg 121 2 lbs 1 2 PERIGO 10 ThinkStation Hardware Maintenance Manual ...
Страница 19: ...Chapter 2 Safety information 13 ...
Страница 20: ...1 2 14 ThinkStation Hardware Maintenance Manual ...
Страница 21: ...Chapter 2 Safety information 15 ...
Страница 27: ...Chapter 2 Safety information 21 ...
Страница 31: ...Chapter 2 Safety information 25 ...
Страница 74: ...68 ThinkStation Hardware Maintenance Manual ...
Страница 118: ...112 ThinkStation Hardware Maintenance Manual ...
Страница 240: ...234 ThinkStation Hardware Maintenance Manual ...
Страница 245: ......
Страница 246: ...Part Number 89Y7336 Printed in USA 1P P N 89Y7336 89Y7336 ...

