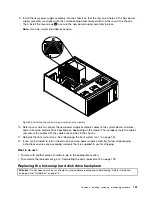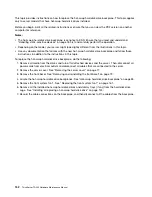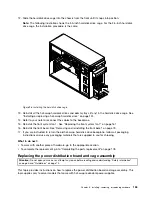
2. Remove the server cover. See “Removing the server cover” on page 77.
3. Lay the server on its side for easier operation.
4. Remove the front system fans. See “Replacing the front system fan 1” on page 161.
5. Record the cable routing and connection. Then, disconnect the power supply assembly cables from
the system board and all drives. For server models with hot-swap hard disk drives, you also need to
disconnect the power cables from the hot-swap hard disk drive backplanes.
6. Release the power supply assembly cables from the cable clips and ties in the chassis.
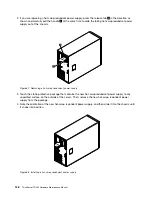
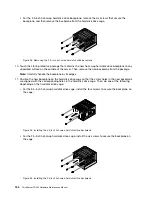
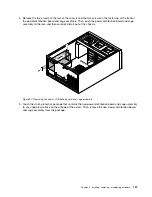
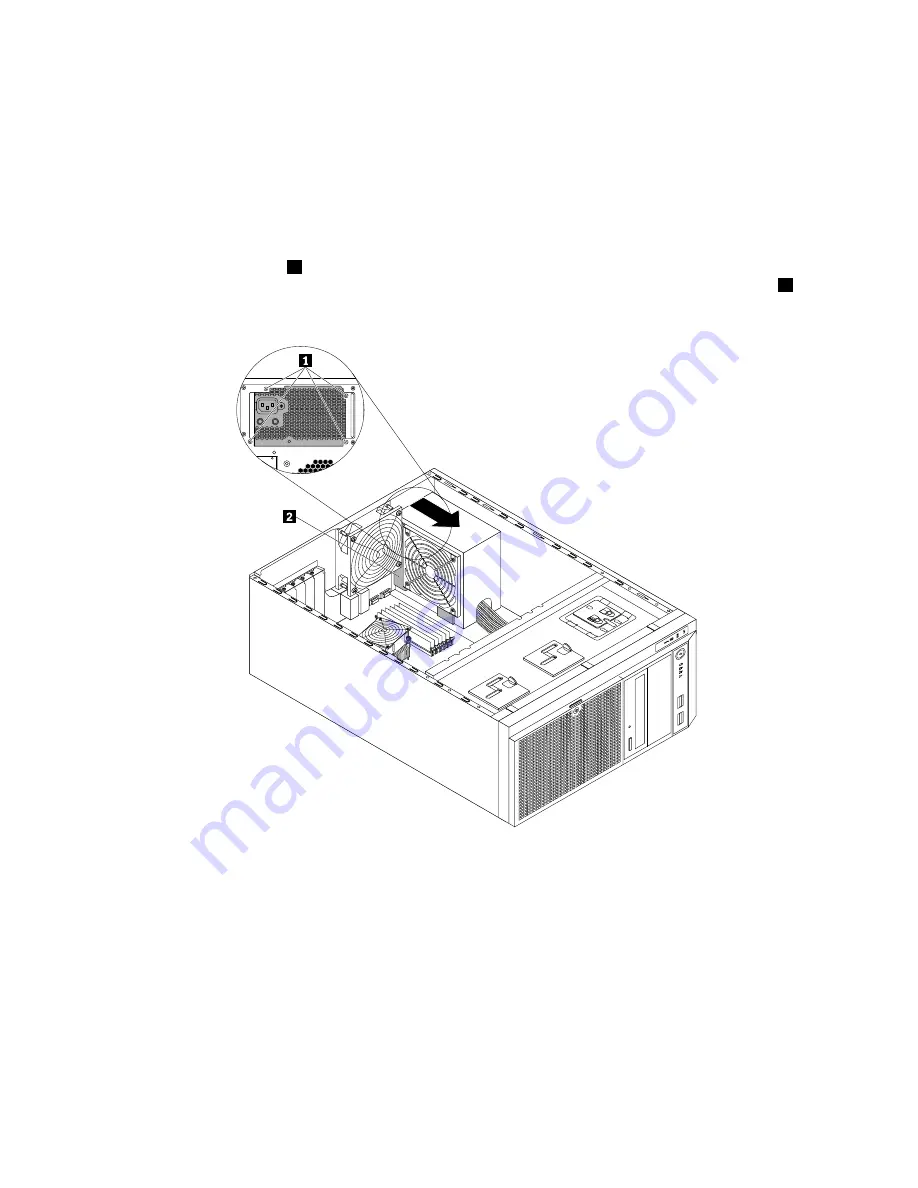
7. Remove the four screws
1
at the rear of the chassis that secure the power supply assembly, and
then push the power supply assembly from the rear until it is released from the metal retaining tab
2
.
Then, carefully lift it out of the chassis.
Figure 89. Removing the non-hot-swap power supply assembly
8. Touch the static-protective package that contains the new power supply assembly to any unpainted
surface on the outside of the server. Then, remove the new power supply assembly from the package
and ensure that the new power supply assembly is the correct replacement. See “Features” on page 7
for information about the supported power supply assembly.
150
ThinkServer TD330 Hardware Maintenance Manual
Содержание ThinkServer TD330
Страница 14: ...xii ThinkServer TD330 Hardware Maintenance Manual ...
Страница 18: ...4 ThinkServer TD330 Hardware Maintenance Manual ...
Страница 20: ...6 ThinkServer TD330 Hardware Maintenance Manual ...
Страница 64: ...50 ThinkServer TD330 Hardware Maintenance Manual ...
Страница 88: ...74 ThinkServer TD330 Hardware Maintenance Manual ...
Страница 204: ...190 ThinkServer TD330 Hardware Maintenance Manual ...
Страница 216: ...202 ThinkServer TD330 Hardware Maintenance Manual ...
Страница 217: ......
Страница 218: ......


