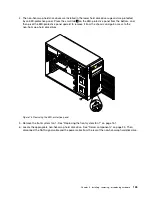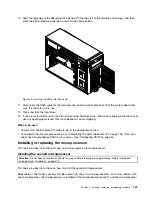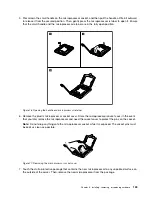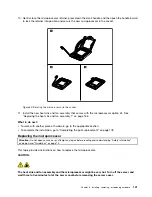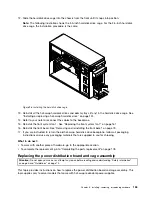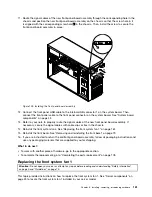
5. Connect the power cord to the power cord connector on the new hot-swap redundant power supply.
Then, check the status LED near the power cord connector. When the LED is lit in green, it indicates
that the hot-swap redundant power supply is working correctly. When the LED is lit in amber, it indicates
that the hot-swap redundant power supply is likely to fail or has failed. Reinstall the new hot-swap
redundant power supply to see if the problem can be solved. If the new hot-swap redundant power
supply still does not work correctly, contact your place of purchase or a service representative for help.
6. If you are instructed to return the old hot-swap redundant power supply, follow all packaging instructions
and use any packaging materials that are supplied to you for shipping.
Replacing the non-hot-swap power supply assembly
Attention:
Do not open your server or attempt any repair before reading and understanding “Safety information”
on page iii and “Guidelines” on page 75.
This topic provides instructions on how to replace the non-hot-swap power supply assembly. This topic
applies only to server models that come with a non-hot-swap power supply assembly.
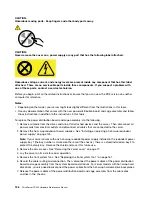
CAUTION:
Hazardous moving parts. Keep fingers and other body parts away.
CAUTION:
Never remove the cover on a power supply or any part that has the following label attached.
Hazardous voltage, current, and energy levels are present inside any component that has this label
attached. There are no serviceable parts inside these components. If you suspect a problem with
one of these parts, contact a service technician.
Before you begin, print all the related instructions or ensure that you can view the PDF version on another
computer for reference.
Notes:
• Depending on the model, your server might look slightly different from the illustrations in this topic.
• Use any documentation that comes with the new non-hot-swap power supply assembly and follow those
instructions in addition to the instructions in this topic.
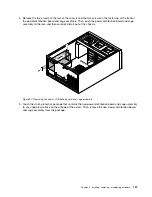
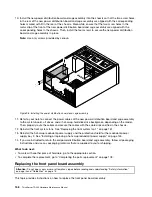
To replace the non-hot-swap power supply assembly, do the following:
1. Remove all media from the drives and turn off all attached devices and the server. Then, disconnect all
power cords from electrical outlets and disconnect all cables that are connected to the server.
Chapter 6
.
Installing, removing, or replacing hardware
149
Содержание ThinkServer TD330
Страница 14: ...xii ThinkServer TD330 Hardware Maintenance Manual ...
Страница 18: ...4 ThinkServer TD330 Hardware Maintenance Manual ...
Страница 20: ...6 ThinkServer TD330 Hardware Maintenance Manual ...
Страница 64: ...50 ThinkServer TD330 Hardware Maintenance Manual ...
Страница 88: ...74 ThinkServer TD330 Hardware Maintenance Manual ...
Страница 204: ...190 ThinkServer TD330 Hardware Maintenance Manual ...
Страница 216: ...202 ThinkServer TD330 Hardware Maintenance Manual ...
Страница 217: ......
Страница 218: ......

