Removing
and
installing
the
front
bezel
This
section
provides
instructions
on
how
to
remove
and
install
the
front
bezel.
To
remove
and
install
the
front
bezel:
1.
Remove
the
computer
cover.
See
“Removing
the
computer
cover”
on
page
14.
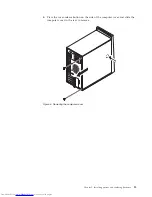
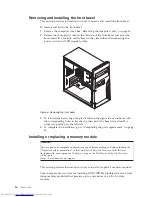
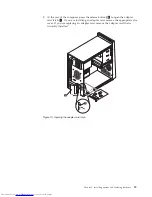
2.
Release
the
three
plastic
tabs
on
the
left
side
of
the
front
bezel
and
pivot
the
bezel
outward.
Carefully
set
the
bezel
to
the
side
without
disconnecting
the
power
switch
and
LED
assembly
cable.
3.
To
reinstall
the
bezel,
align
the
plastic
tabs
on
the
right
side
of
the
bezel
with
the
corresponding
holes
in
the
chassis,
then
pivot
the
bezel
inward
until
it
snaps
into
position
on
the
left
side.
4.
To
complete
the
installation,
go
to
“Completing
the
parts
replacement”
on
page
44.
Installing
or
replacing
a
memory
module
Attention
Do
not
open
your
computer
or
attempt
any
repair
before
reading
and
understanding
the
“Important
safety
information”
in
the
ThinkCentre
Safety
and
Warranty
Guide
that
was
included
with
your
computer.
To
obtain
a
copy
of
the
ThinkCentre
Safety
and
Warranty
Guide
,
go
to:
http://www.lenovo.com/support
This
section
provides
instructions
on
how
to
install
or
replace
a
memory
module.
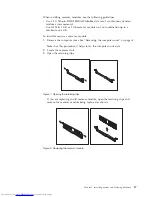
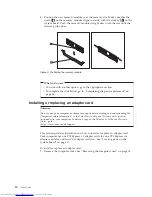
Your
computer
has
two
slots
for
installing
DDR2
DIMMs
(double
data
rate
2
dual
inline
memory
modules)
that
provide
up
to
a
maximum
of
4
GB
of
system
memory.
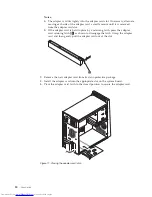
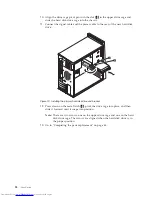
Figure
6.
Removing
the
front
bezel
16
User
Guide
Содержание 7268D1U
Страница 1: ......
Страница 2: ......
Страница 3: ...ThinkCentre User Guide ...
Страница 6: ...iv User Guide ...
Страница 8: ...vi User Guide ...
Страница 20: ...12 User Guide ...
Страница 56: ...48 User Guide ...
Страница 64: ...56 User Guide ...
Страница 72: ...64 User Guide ...
Страница 78: ...11 Reconnect the mouse cable to the computer 12 Turn your computer back on 70 User Guide ...
Страница 88: ...80 User Guide ...
Страница 89: ......
Страница 90: ...Part Number 53Y6337 Printed in USA 1P P N 53Y6337 ...


