


PaveSmart 3D UM
60
Getting Started
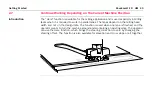
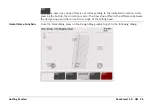
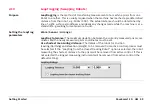
Swapping Robots -
making a leapfrog
Work \ Sensor \ LEAP \
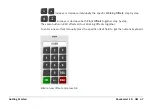
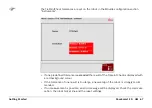
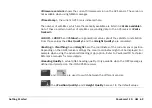
The leapfrog function is a fully automated process. The operator must press the
<LEAP>
button to start the process. The “Leap” function is disabled if all required sensors are not
available. Check the Sensor arrangement (Sensors \ Arrange).
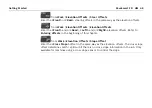
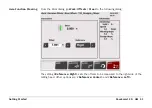
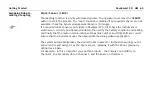
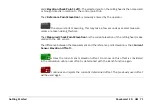
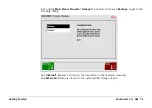
If a required robot sensor is not visible in PaveSmart 3D, first check the instrument is
switched on, correctly positioned/orientated, then verify the battery condition and cabling,
and finally that the radio communication settings (link number and COM Port) are correct.
Ensure that the instrument uses the appropriate machine guidance application.
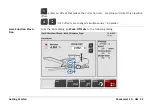
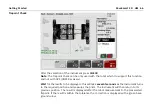
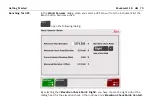
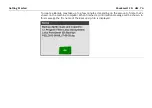
The system automatically takes the desired robot (nearest or furthest measuring) out of
active control and assigns it as the Spare sensor, replacing it with the Robot previously
defined as a Spare.
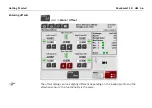
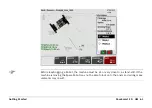
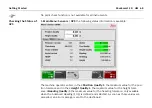
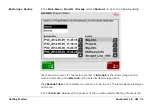
For example - in this screenshot you see three robots - the Primary Control (
P
) is on
Channel 3, the Secondary (
S
) on Channel 1, and the Spare on Channel 4.
Содержание MCR-900
Страница 1: ...Leica PaveSmart 3D User Manual Version 5 0 English ...
Страница 11: ...How to use this Manual PaveSmart 3D UM 11 ...
Страница 21: ...Getting Started PaveSmart 3D UM 21 Work Screen for Milling Machines a b d c e f g h i ...
Страница 27: ...Getting Started PaveSmart 3D UM 27 Work Screen Mainline Concrete Paver a b c d f g h i j e ...
Страница 30: ...PaveSmart 3D UM 30 Getting Started Work Screen Trimmer a b d c e f g h i j ...
Страница 99: ...System Components Diagrams Software Description PaveSmart 3D UM 99 ...
Страница 107: ...Troubleshooting PaveSmart 3D UM 107 ...
Страница 136: ...PaveSmart 3D UM 136 Technical Data Mounting RAM mounting Parameter Data ...
Страница 137: ...Technical Data PaveSmart 3D UM 137 ...


