12
Getting Started
2
Getting Started
2.1
Preparing the Leica PaveSmart 3D System
Further reading
Refer to the Leica PaveSmart 3D Technical Reference Manuals, the iCON site User Manual or
to the TS15 User Manual on how to perform a Resection (Free Station), Known Point setup
and how to take As-Built measurements.
Before production
Connect the MPC Computer
: Attach the MPC1310 computer to the machine. Connect
power, radio and CAN cables if available. Machines using CANBUS communication should be
connected by the MJB1305 Paving Junction Box.
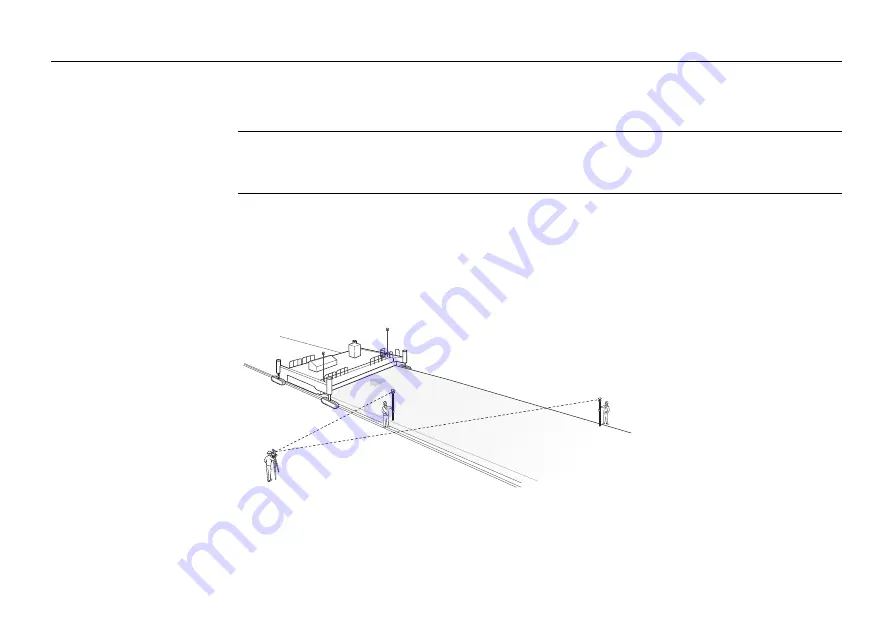
Set up all required sensors:
Robot (and GPS reference station if applicable) with the
required accessories - battery, radio and cables. Ensure that all robots are running either in
MGuide with the appropriate configuration set, or correctly configured when working with a
hand-held application iCON site or RoadRunner.
a) Max. 100 m (300 ft)*
b) Min. 5 m (15 ft)
*depending on application tolerances. Milling and asphalt paving may be able to work up to
150m (450ft)
Содержание MCR-900
Страница 1: ...Leica PaveSmart 3D User Manual Version 5 0 English ...
Страница 11: ...How to use this Manual PaveSmart 3D UM 11 ...
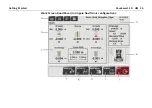
Страница 21: ...Getting Started PaveSmart 3D UM 21 Work Screen for Milling Machines a b d c e f g h i ...
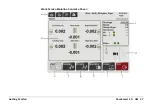
Страница 27: ...Getting Started PaveSmart 3D UM 27 Work Screen Mainline Concrete Paver a b c d f g h i j e ...
Страница 30: ...PaveSmart 3D UM 30 Getting Started Work Screen Trimmer a b d c e f g h i j ...
Страница 99: ...System Components Diagrams Software Description PaveSmart 3D UM 99 ...
Страница 107: ...Troubleshooting PaveSmart 3D UM 107 ...
Страница 136: ...PaveSmart 3D UM 136 Technical Data Mounting RAM mounting Parameter Data ...
Страница 137: ...Technical Data PaveSmart 3D UM 137 ...


