lancer bridge tower Скачать руководство пользователя страница 14

14

Cleaning Solution

Mix a mild, non-abrasive detergent (e.g. Sodium Laureth 

Sulfate, dish soap) with clean, potable water at a temperature 

of 90°F to 110°F (32°C to 43°C). The mixture ratio is one 

ounce of cleaner to two gallons of water. Prepare a minimum of 

five gallons of cleaning solution. Do not use abrasive 

cleaners or solvents because they can cause permanent 

damage to the unit. Ensure rinsing is thorough, using clean, 

potable water at a temperature of 90°F to 110°F. Extended 

lengths of product lines may require additional cleaning solution.

Sanitizing Solution 

Prepare the sanitizing solution in accordance with the            

manufacturer’s written recommendations and safety guidelines. 

The type and concentration of sanitizing agent recommended in 

the instructions by the manufacturer shall comply with 40 CFR 

§180.940. The solution must provide 100 parts per million (PPM) 

chlorine (e.g. Sodium Hypochlorite or bleach) and a minimum of 

five gallons of sanitizing solution should be prepared.


If a powder sanitizer is used, dissolve it thoroughly 

with hot water prior to adding to the syrup system.    

Ensure sanitizing solution is removed from the        


dispenser as instructed. 

CAUTION

CLEANING AND SANITIZING

General Information

• 

Lancer equipment (new or reconditioned) is shipped from 

the factory cleaned and sanitized in accordance with NSF  

guidelines. The operator of the equipment must provide   

continuous maintenance as required by this manual and/or 

state and local health department guidelines to ensure prop

-

er operation and sanitation requirements are maintained.

• 

Cleaning should be accomplished only by trained personnel. 

Sanitary  gloves  are  to  be  used  during  cleaning  operations.           

Applicable safety precautions must be observed. Instruction 

warnings on the product being used must be followed.


The cleaning  procedures provided herein pertain to the 

Lancer equipment identified by this manual. If other 


equipment is being cleaned, follow the guidelines 


established by the manufacturer for that equipment.

NOTE

•  Use sanitary gloves when cleaning the unit and 

observe all applicable safety precautions.

•  DO NOT

 use a water jet to clean or sanitize the 

unit.

•  DO NOT

 disconnect water lines when cleaning 

and sanitizing syrup lines, to avoid contamination.

•  DO NOT

 use strong bleaches or detergents; These 

can discolor and corrode various materials.

•  DO NOT

 use metal scrapers, sharp objects, steel 

wool, scouring pads, abrasives, or solvents on the 

dispenser.

•  DO NOT

 use hot water above 140° F (60° C). This 

can damage the dispenser.

•  DO NOT

 spill sanitizing solution on any circuit 

boards. Insure all sanitizing solution is removed 

from the system.

ATTENTION

Cleaning and Sanitizing Product Lines

1.  Disconnect product lines from BIB’s or other product supply.
2.  Place product lines, with BIB connectors, in a bucket of 

warm water.

3. 

Activate each valve to fill the lines with warm water and flush 

out product remaining in the lines.

4.  Prepare Cleaning Solution described above. 
5.  Place product lines, with BIB connectors, into cleaning        

solution.

6. 

Activate each valve until lines are filled with cleaning        

solution then let stand for ten (10) minutes. 

7.  Flush out cleaning solution from the syrup lines using clean, 

warm water.

8.  Prepare Sanitizing Solution described above. 
9.  Place product lines into sanitizing solution and activate each 

valve to fill lines with sanitizer. Let sit for ten (10) minutes.

10. 

Reconnect product lines to BIB’s and draw drinks to flush 

solution from the dispenser.

11. 

Taste the drink to verify that there is no off-taste. If off-taste 

is found, flush product system again.


Following sanitization, rinse with end-use product  


until there is no aftertaste. Do not use a fresh water    


rinse. This is a NSF requirement. Residual sanitizing    


solution left in the system creates a health hazard.

CAUTION

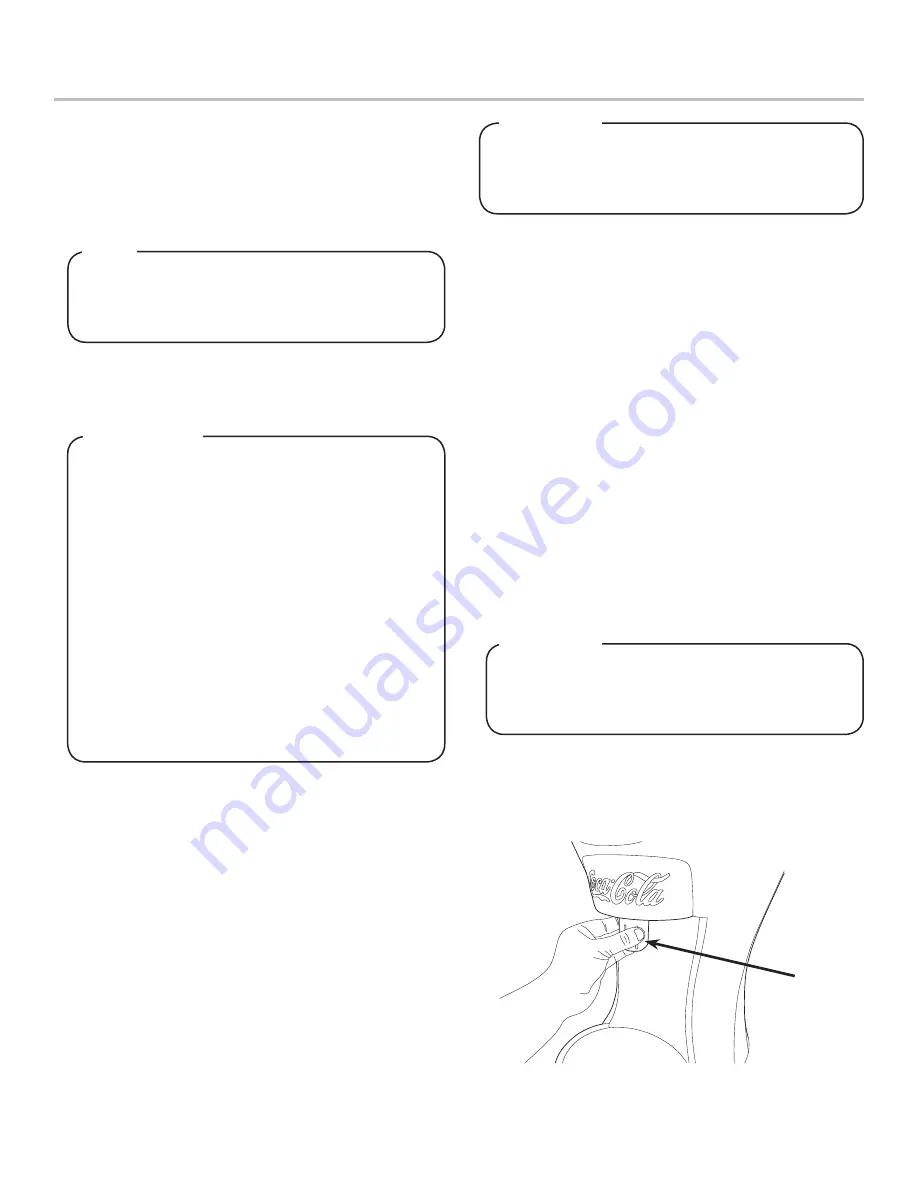
Cleaning and Sanitizing Nozzle

1.  Disconnect power, so as to not activate valve while cleaning.
2.  Remove outer nozzle by twisting counter clockwise and 

pulling down.

A. Nozzle

A

3.  Rinse nozzle with warm water.

Содержание bridge tower

Страница 1: ...laim with carrier Responsibility for damage to the dispenser lies with the carrier IMPORTANT SAFETY INSTRUCTIONS The installation and relocation if necessary of this product must be carried out by qualified personnel with up to date safety and hygiene knowledge and practical experience in accordance with current regulations LANCER PN 28 2852 04 Revision January 2018 The dispenser is for indoor use...

Страница 2: ... of this dispenser Please read this guide before installation and operation of this dispenser If service is required please call your Lancer Service Agent or Lancer Customer Service Always have your model and serial number available when you call Your Service Agent Service Agent Telephone Number Serial Number Model Number SPECIFICATIONS DIMENSIONS Width 325 mm 12 8 inches Depth 439 mm 17 3 inches ...

Страница 3: ... the weight of the installed unit after the cutout for the unit is made The ideal counter for installation should measure at least 25 mm 1 inch thick ATTENTION 1 Select a location that is in close proximity to a properly grounded electrical outlet within 1 5 m 5 ft of a drain and a water supply that meets the requirements shown in the Specifications section found on page 2 Min 20 mm Max 225 mm Min...

Страница 4: ...asher Unit is designed to be supported by a remote chiller system or remote ice cooled system Please see the manufacturer s specifications and instructions for installation The following are the instructions for plumbing the remote chiller system to the tower NOTE NSF listed units must be sealed to the counter NOTE 12 Route appropriate tubing from the syrup pump location to the syrup inlets at the...

Страница 5: ...connect both lines to one of the low pressure CO2 regulator manifold outlets A B C D A Line to Non Diet Syrup Pumps B Line to Diet Syrup Pumps C Line to CO2 Regulator D CO2 Regulator Manifold 9 Connect tubing routed from the diet syrup pumps to the second outlet of the low pressure CO2 regulator manifold 10 Turn on the water supply 11 Verify all Bag in Box contain syrup and check for leaks 12 Open...

Страница 6: ... not in use NOTE 21 Press the purge tab on the far left side of the screen 22 Press the Purge buttons for both the plain water and the carbonated water modules 20 From the service menu press the maintenance button 18 After you have held your finger to the upper left corner for a minimum of two 2 seconds tap all four corners of the screen in any order 19 A keypad will appear enter the designated pi...

Страница 7: ... product until it is deactivated To deactivate the purge simply press the Purge button again Up to four modules can be purged at one time Once four modules are selected all other modules are greyed out and cannot be selected NOTE Adding New Brand Flavor Module 1 In order to add a new brand or flavor module the module must first be activated 2 From the Service menu press the Configuration button 3 ...

Страница 8: ...ed flow rate in milliliters per second ml sec This number is based on the target finished drink flow rate of 44 ml sec and the desired drink ratio Finished drink flow rate 44 ml sec Ratio 5 4 1 44 ml s X 5 4 5 4 1 37 13 ml sec water flow rate 44 ml s X 1 5 4 1 6 87 ml sec syrup flow rate EXAMPLE 4 Set the Timer to the ON position and select milliliters ml as the desired unit of measurement 5 Using...

Страница 9: ... Adding New Brand Flavor Module The refrigeration unit should have been running for at least one 1 hour before attempting to set flow rates on valves The drink temperature should be no higher than 40 F 4 4 C when flow rates are set This is best done after the remote chiller has already made an ice bank NOTE A Flow Rate Ratio C Start Purge Button B Timer Icon D Unit Icon A B C D 4 Set the Timer to ...

Страница 10: ...ater level in the ratio cup If the dispensed syrup and water levels are not level remove the protective cap from the corresponding valve and use a screwdriver to adjust the brand syrup flow control A Flow Rate Ratio C Dispense Button B Timer Icon A B C A Syrup Separator in Place of Nozzle A A Syrup Separator B Ratio Cup A B Ratio Settings Table The table below shows the flow rate for the carbonate...

Страница 11: ... in the graduated cylinder If the dispensed volume does not match the value entered on the screen in step 5 remove the protective cap for the corresponding valve and use a screwdriver to adjust the carbonated water flow control 7 Repeat steps 6 and 7 if any more water flow adjustment is necessary 8 Repeat steps 2 8 for the plain water module Scheduled Maintenance As Needed Keep exterior surfaces o...

Страница 12: ...d will dispense when activated Auto signifies that the configured Sold Out Sen sor controls whether the brand can be dispensed This feature requires an optional sold out sensor kit does not come standard and is available for up to ten 10 brands at one time The following is a set of instructions on how to set up this feature If no sold out sensor is assigned then the Auto feature acts the same as t...

Страница 13: ...button if the USB drive has the brand files in the correct place NOTE To upload new flavors to the Bridge Tower User Inter face create the flavor brand file and put into a folder named flavors then repeat steps 2 5 NOTE 3 Plug the USB into the Bridge Tower port located underneath the head of the tower 2 Create a txt file in any editor software ex Notepad on Windows machines that contains the name ...

Страница 14: ...ther equipment is being cleaned follow the guidelines established by the manufacturer for that equipment NOTE Use sanitary gloves when cleaning the unit and observe all applicable safety precautions DO NOT use a water jet to clean or sanitize the unit DO NOT disconnect water lines when cleaning and sanitizing syrup lines to avoid contamination DO NOT use strong bleaches or detergents These can dis...

Страница 15: ...solution then immerse in sanitizing solution and let sit for fifteen 15 minutes 5 Set nozzle aside and let air dry DO NOT rinse with water after sanitizing 6 Using a soft clean cloth and cleaning solution clean the nozzle injectors 7 Using a soft clean cloth sanitize the nozzle injectors and let air dry 8 Reconnect nozzle 9 Connect power 10 Taste the drink to verify that there is no off taste If o...

Страница 16: ...IS GRANTED OR SHALL BE IMPLIED FOR ANY OTHER USE ADDITIONAL INFORMATION MAY BE OBTAINED FROM MPEG LA L L C SEE HTTP WWW MPEGLA COM Third Party Software Notice This product contains third party licensed software components These licenses may be viewed in the Service Menu under Component Versions Where specific license terms entitle you to the source code of such software source code files and corre...

Отзывы: