Using Snapshot
121
4
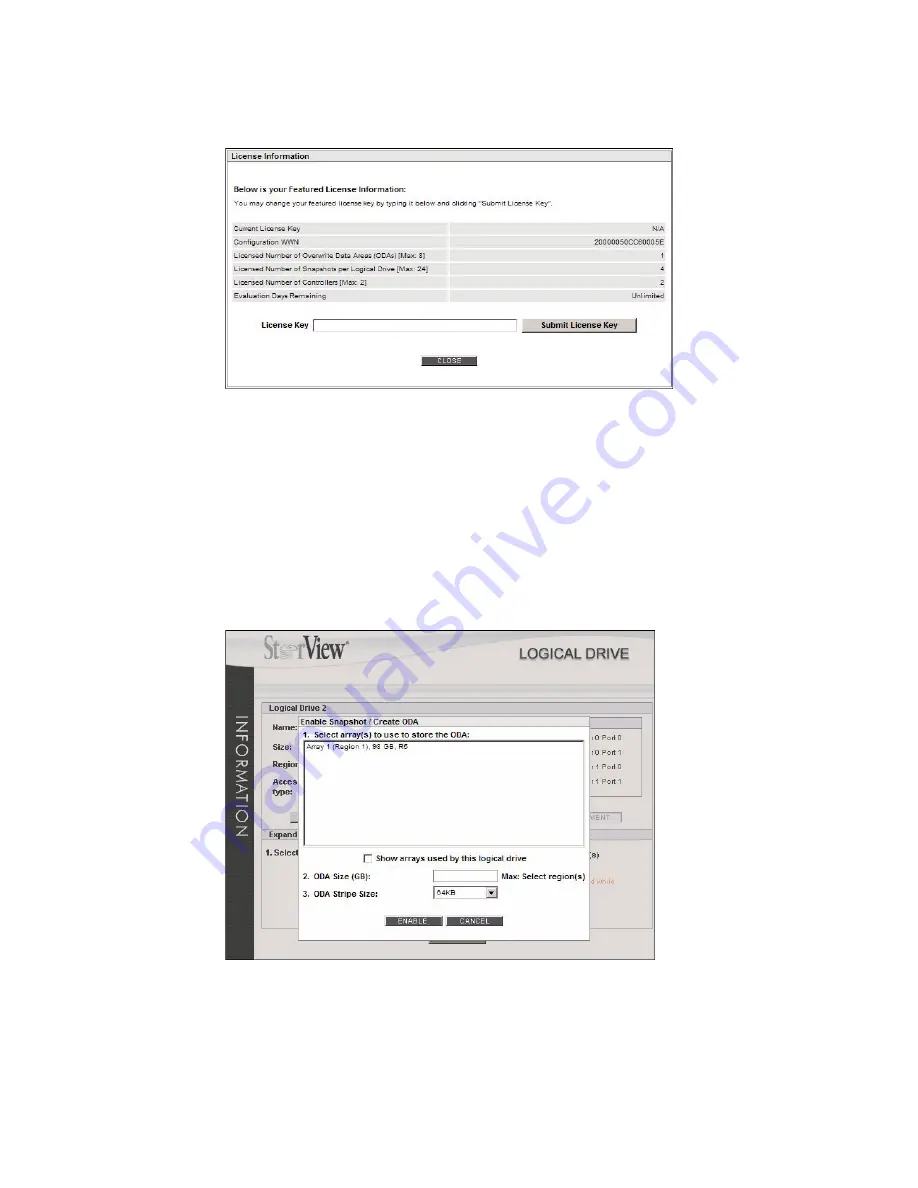
Enter your license key and click the
Submit License Key
button.
You will receive confirmation that it was successful. If the procedure is unsuccessful ensure the key has
been entered correctly and repeat. If it still remains unsuccessful contact customer support. For more
information,
see 1.3.2 ”Feature License” beginning on page 3.
5
Select the array you wish to use for the Overwrite Data Area (ODA). This is where all the snapshot’s will
be stored for this logical drive. You should see the array you created for the ODA from step 1. For more
information,
see C.2 ”Overwrite Data Area” beginning on page 196.
Note
It is recommended that you have an array created specifically for the Overwrite Data Area (ODA).
Choosing a different array then the array the logical drive uses will avoid any performance compromises.
If necessary, return to the Main screen and create a new array for the ODA. (You will need to wait until
the new array completes initializing and refresh the Logical Drive window for the new array to appear.)
Figure 11–3
License Information Window
Figure 11–4
Logical Drive Information Window - Enable Snapshot
Содержание 131018 - StorView Snapshot - Mac
Страница 1: ...StorView Storage Management Software RAID Module User Guide Part No 90254 01A Issue 1 0 March 30 2007...
Страница 28: ...StorView RAID Module 20...
Страница 34: ...StorView RAID Module 26...
Страница 76: ...StorView RAID Module 68...
Страница 79: ...SAN LUN Mapping 71 Figure 7 2 SAN LUN Mapping Screen RS 1220 F4 5402E Shown...
Страница 88: ...StorView RAID Module 80...
Страница 98: ...StorView RAID Module 90...
Страница 150: ...StorView RAID Module 142...
Страница 184: ...StorView RAID Module 176...
Страница 202: ...StorView RAID Module 194...
Страница 208: ...StorView RAID Module 200...
Страница 214: ...StorView RAID Module 206...


