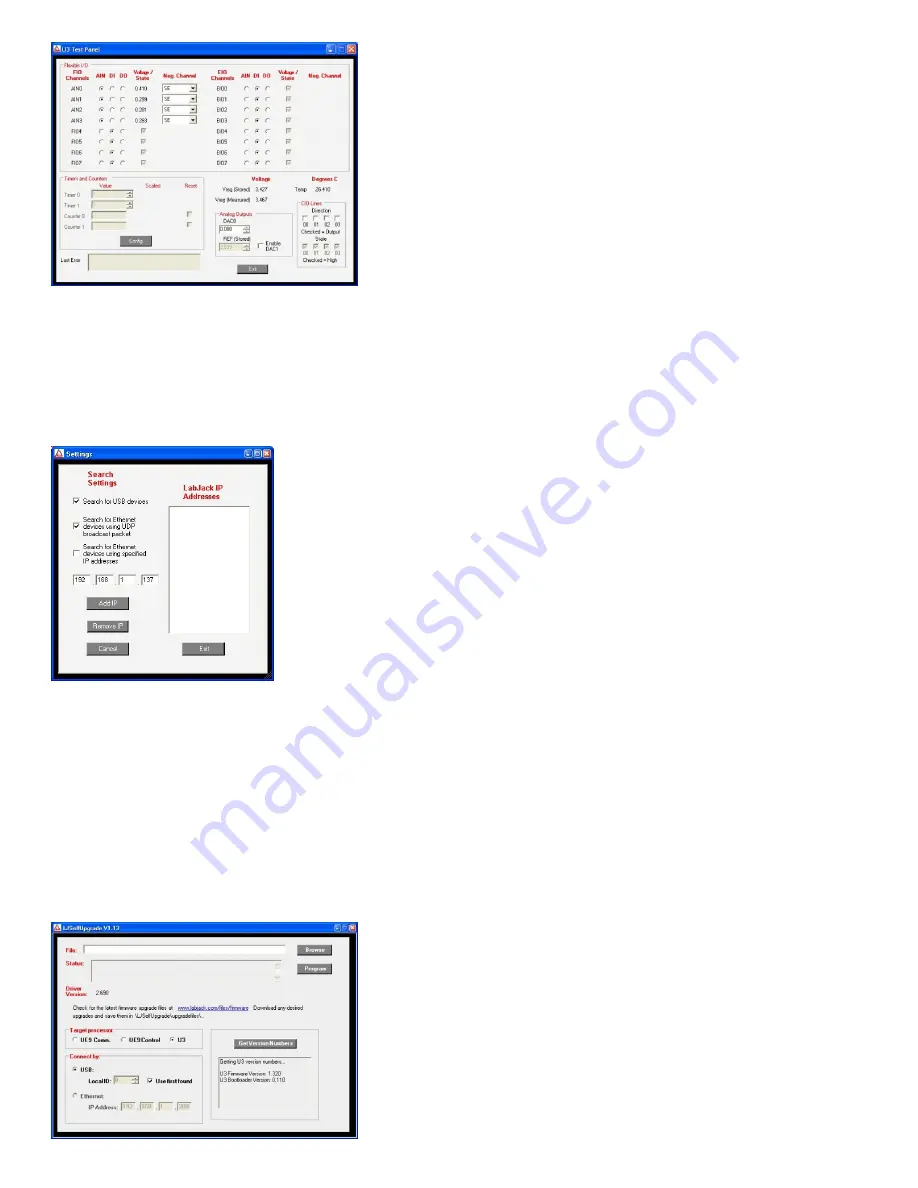
Figure 1-3. LJControlPanel U3 Test Window
Any configuration done on this screen is not written to nonvolatile memory. These settings just affect the current condition of the
device, not the reset/power-up condition.
When the test panel first loads it sets everything to factory default, so previous settings (or reset/power-up settings) will not be
shown.
LJCP Settings:
Selecting Options=>Settings from the main LJControlPanel menu brings up the window shown in Figure 1-4. This window allows
some features to of the LJControlPanel application to be customized.
Figure 1-4. LJControlPanel Settings Window
Search for USB devices: If selected, LJControlPanel will include USB when searching for devices.
Search for Ethernet devices using UDP broadcast packet: Only applies to UE9 device.
Search for Ethernet devices using specified IP addresses: Only applies to UE9 device.
LJControlPanel is normally installed by the main LabJack installer, which is the link at the top of the page.
1.2 - Self-Upgrade Application (LJSelfUpgrade)
The processor in the U3 has field upgradeable flash memory. The self-upgrade application shown in Figure 1-5 programs the
latest firmware onto the processor.
USB is the only interface on the U3, and first found is the only option for self-upgrading the U3, so no changes are needed in the
“Connect by:” box. There must only be one U3 connected to the PC when running LJSelfUpgrade.
Click on “Get Version Numbers”, to find out the current firmware versions on the device. Then use the provided Internet link to go to
labjack.com and check for more recent firmware. Download firmware files to the …\LabJack\LJSelfUpgrade\upgradefiles\
directory.
Click the Browse button and select the upgrade file to program. Click the Program button to begin the self-upgrade process.
4


