


14
pdQ Basics Handbook
Getting Started
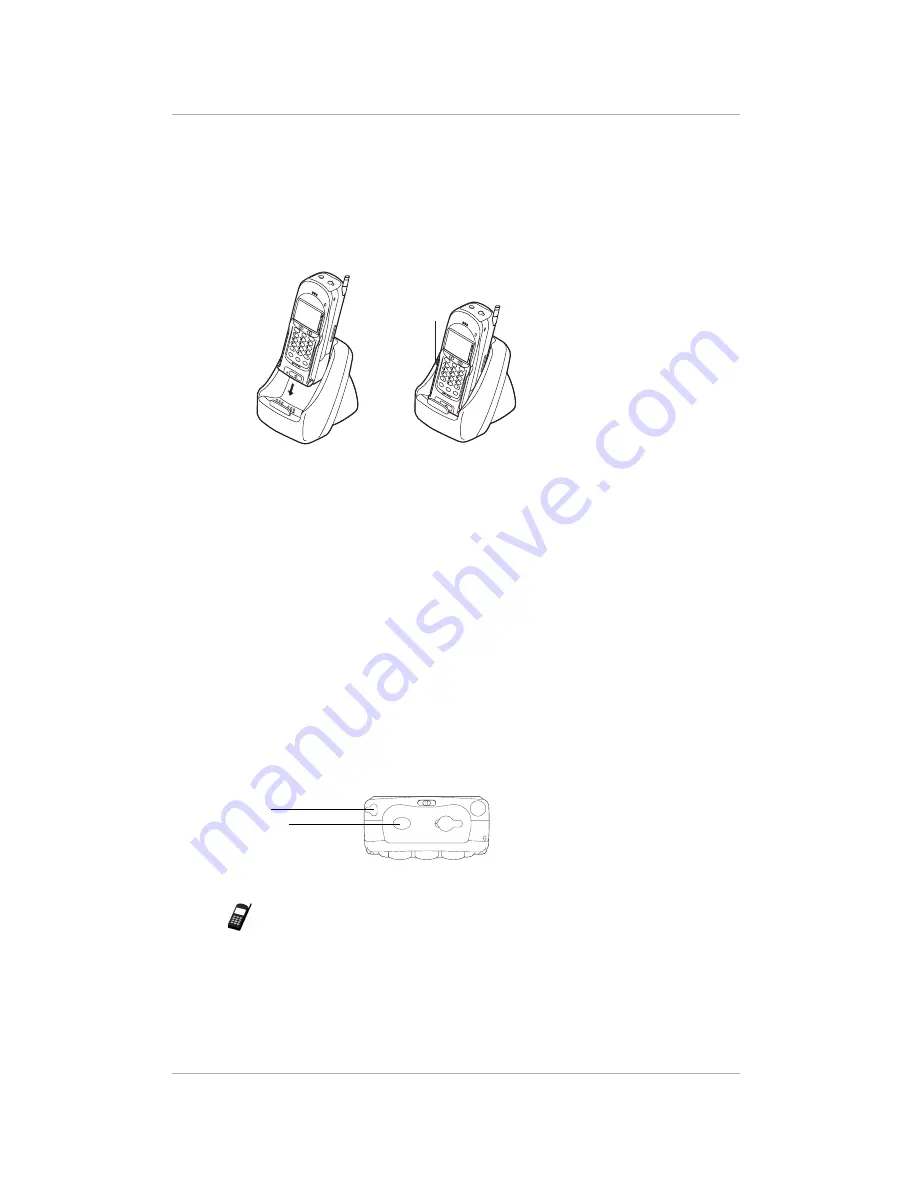
To charge the batteries:
Both of the batteries—the main battery you just installed and the internal
backup battery—are recharged when the pdQ smartphone is in the cradle.
1.
Slide the pdQ smartphone into its cradle, bottom first, over the data
connectors. You’ll hear a click when it is correctly inserted.
The battery charge indicator light on the left side of the cradle comes on.
The light is red while the batteries are charging. It turns green when the
batteries are fully charged. Charging the main battery completely takes
two to three hours. If the light flashes red, the pdQ smartphone is not
correctly locked into the cradle. Remove and reinsert it.
2.
When the indicator light turns green, remove the pdQ smartphone from
the cradle by gently pulling it straight up.
Once the main battery is charged, you can use the pdQ smartphone in the
cradle or out of the cradle for all functions. If you have purchased an extra
battery, you can recharge it in the cradle while you are using the pdQ
smartphone.
Calibrating the Screen
Use the stylus to calibrate the screen. The stylus is stored in a slot on the top
left side of the pdQ smartphone. To prevent scratches, never use a pen, pencil,
or other sharp object to tap or write on the pdQ smartphone screen.
Note:
If you are reading information in dim light, press the backlight button
on the top panel to turn on the backlight. Use Contrast Control (the top
icon on the SideStrip) to adjust contrast.
To calibrate the screen:
1.
Remove the stylus from its slot. Use your thumb to push it firmly upward.
Charge
Indicator
Light
Charge indicator light
Flashing red = The pdQ
smartphone is not correctly
inserted in the cradle.
Red = The battery is charging.
Green = The battery is fully
charged.
S024_05A
Stylus
Backlight
Содержание pdQ
Страница 60: ......


