10
Hardware Overview
3.
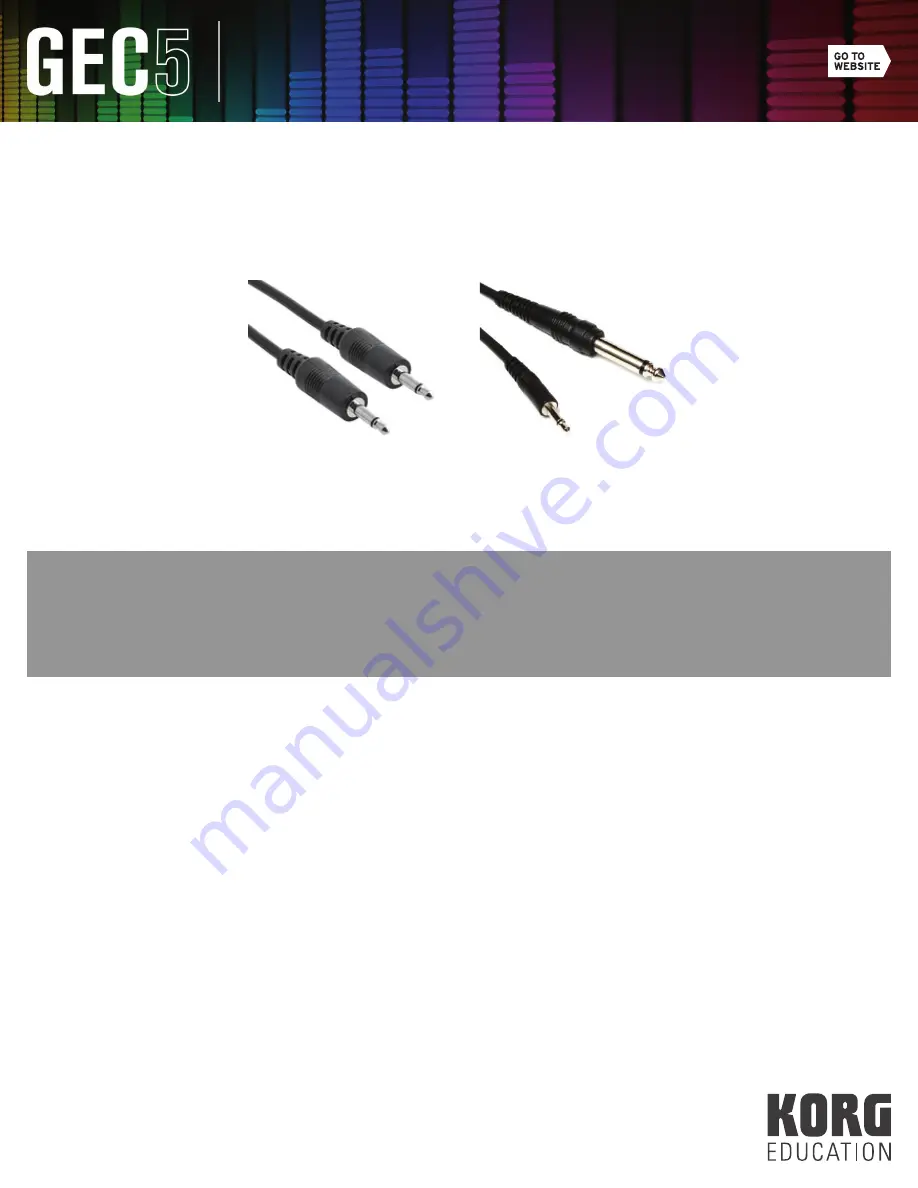
Mic Out: This jack sends the headset microphone audio out to any device. Most commonly, teachers will connect
the Mic Out to a computer’s Audio Input or Mic In so students can record their voice into audio software such as
Audacity. Using an 3.5mm TS male to 3.5mm TS male cable, connect one end into the Mic Out jack on the Student
Interface and connect the other to your computer’s audio input (see Fig. 8). If you are using an audio interface to
cable the microphone audio, you will likely need a 3.5mm TS male (to Student Interface) to 1/4” TS male (to audio
interface) cable (see Fig. 9).
4.
Network: This all-important jack connects each Student Interface Unit to the main Teacher Unit at the teacher
station. Use a CAT5 cable to make this connection.
TIP:
Since each Student Interface Unit is hard-wired to the Teacher Unit, it is important to plan the layout of the room
prior to installation. It is difficult to move stations more than a few feet after installation and it could require you to
re-cable individual stations. I would also suggest working with your janitorial staff so they know not to move stations
from their current location. If you ever need to move a station, label each CAT5 cable with the name of the station and
unplug it from the Student Interface Unit before moving.
(Fig. 8: 3.5mm TS male cable) (Fig. 9: 3.5mm TS male to 1/4” TS male)


