28
GEC5 Modes of Functionality
3.
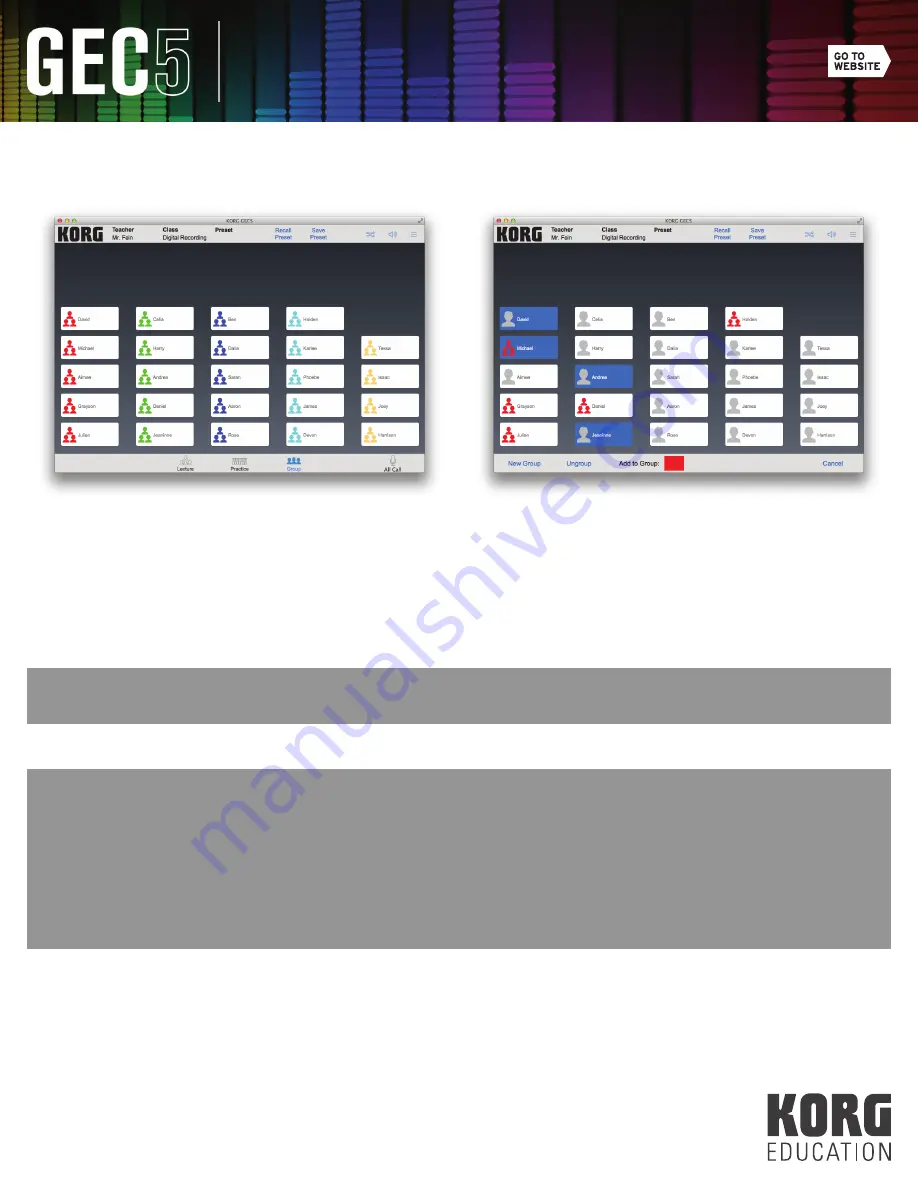
Click “New Group”. The students will now display a group icon and a red color. Each new group
will have a different color (see Fig. 44).
4.
To add a student to an existing group, click and hold on a student in the group and then click and hold the
new student(s). Click the colored box next to “Add to Group” (see Fig. 45).
5.
To remove a student from an existing group, click and hold on the student you want to remove until the icon
turns blue and click “Ungroup” (see Fig. 45).
TIP:
If you want to quickly remove all groupings, Select “Recall Preset” and choose the “Ungroup all” Auto Group.
TIP:
If you have a set grouping that you commonly use, you can create you own custom preset.
1.
Manual group the students as desired.
2.
Select “Save Preset” from the top center of the screen.
3.
Select one of the custom presets.
4.
Type a name for the preset and click “Save.”
5.
To recall this custom preset in the future, click “Recall Preset” and then select from your listing of
manual
presets.
(Fig. 44)
(Fig. 45)


