Assembly Instructions
Perks
™
Proper product installation, in accordance with these instructions, is the responsibility of the installing agent.
If you have any questions concerning these instructions, please call Kimball Office Customer Care.
Part No. 2040776 Revision A-07
Page 1 of 1
Hanging Marker Tile
Tools Required
I
None
Package Contents
I
1 Eraser Tray
I
1 Hanging Marker Tile
Installation
1. Lay Hanging Marker Tile on a solid surface. (Mounting
brackets on the back of the tile should be at the top). Ensure
face of marker tile is clean and dry. (Figure A).
2. Peel off pre-mounted adhesive tape backing. (Figure B).
3.
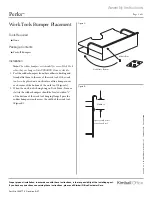
Ensure tray is in upright position (curved edge of tray
pointing up). Align bottom and side edges of tray with edge
of marker tile. Do not attach any part of the tray to the tile
frame. Press tray firmly onto face of tile. (Figure C).
Figure A
Figure B
Curved edge must
point upward
Printed in U.S.A.
© 2007 Kimball Inter
national, Inc.
T 800.482.1818
F 812.482.8300
Figure C
Tray attaches
to tile face only
Do not attach
tray to frame
Curved edge must
point upward
Mounting brackets
are at the top
Tile Frame
Tile Face


