Step2 Internet Explorer
Setting
1
Launch the Internet Explorer on the
computer.
2
When proxy settings are enabled in
the Internet Explorer, follow the steps
below to disable the proxy of the
Internet Explorer.
A
Select in the sequence of [Tools]-[Internet
Options]-[Connections]-[LAN Settings].
B
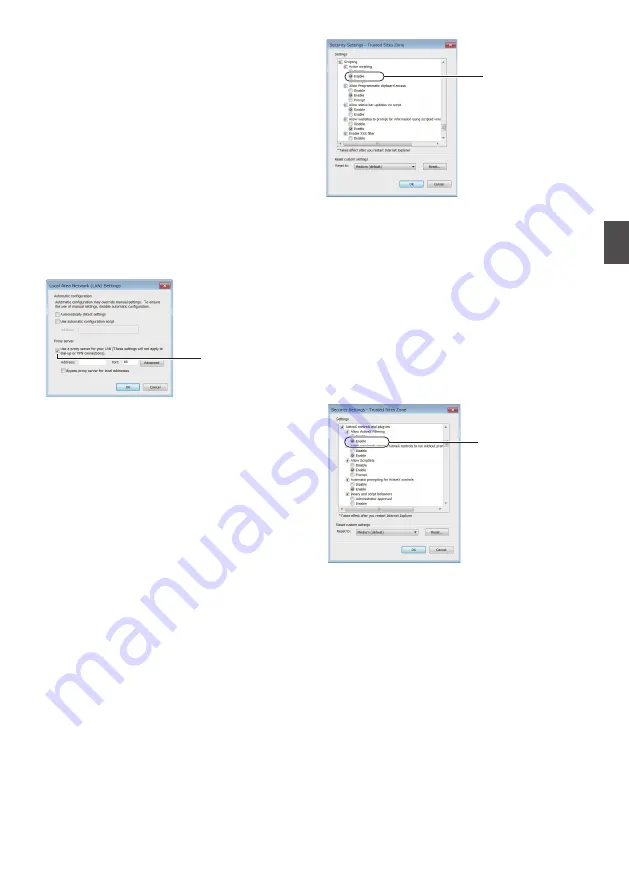
From the [Local Area Network (LAN) Settings]
window, select [Proxy server] and uncheck the
[Use a proxy server for your LAN] box.
.
Deselect the
check.
3
If the active script of the Internet
Explorer is disabled, follow the steps
below to enable it.
A
Select [Trusted sites] under [Tools]-[Internet
Options]-[Security].
B
Click the [Trusted sites] button, and uncheck the
[Require server verification (https:) for all sites
in this zone] box.
C
Add the URL of the camera to the zone. If you
use the camera with factory defaults, add the
following URL to the zone.
http://192.168.0.2
D
Select [Trusted sites] in [Tools]-[Internet
Options]-[Security], and click [Custom Level].
E
From the [Security Settings] window, select
[Enable] in [Scripting]-[Active scripting].
.
Select [Enable].
4
If ActiveX controls and plug-ins of
Internet Explorer are disabled, follow
the steps shown below to enable them.
A
Click [Trusted sites] under [Tools]-[Internet
Options]-[Security].
B
Select the [Custom Level] button and open the
[Security Settings] window.
C
Set all options of [ActiveX controls and
plug-ins] to [Enable].
Also, select [Miscellaneous] and set [Allow
Script-initiated windows without size or position
constraints] to [Enable].
.
Select [Enable].
Step2 Internet Explorer Setting
33
IP A
dd
ress
Se
tt
in
gs


