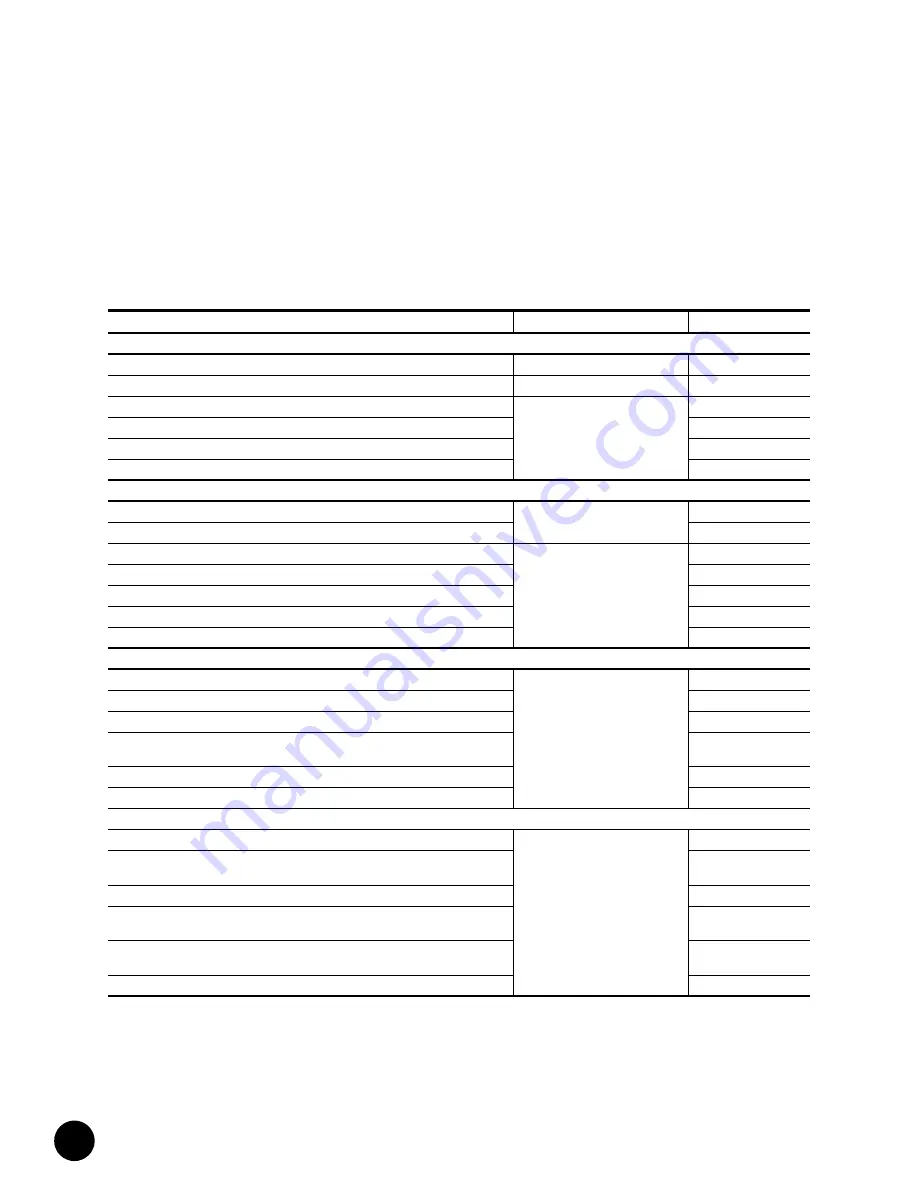
G10 CMTS Installation Checklist
•
•
•
•
•
•
•
•
•
•
•
•
•
•
•
•
•
•
•
•
•
•
•
•
•
•
•
•
•
•
•
•
•
•
•
•
•
•
•
•
•
•
•
•
•
•
•
•
•
•
•
•
•
•
•
•
•
•
JUNOSg 3.0 G10 CMTS Hardware Guide
90
G10 CMTS Installation Checklist
Table 38 summarizes all the steps outlined in this document that are required to successfully
install the G10 CMTS in the headend. We recommend that copies of this table be made and
used to keep track of the installation status of each G10 CMTS.
Table 38: G10 CMTS Installation Checklist
Step
Page Number
Completion Status
Preparation for Installation
Complete all checklists in “Prepare the Site”
page 67
Completely review the
G10 CMTS Hardware Guide
, including the safety precautions
—
Verify the contents of the shipping cartons
page 89
Verify the number of pre-installed modules and power supplies in the chassis is correct
Verify the contents of all accessory kits
Install the power supply faceplate and the air intake faceplate
Ground and Rack Mount the Chassis
Crimp the supplied two-ring lug connector to the earth ground strap
page 94
Attach the earth ground strap to the chassis
Ensure proper ventilation clearance surrounding the G10 CMTS
page 94
Install an equipment shelf in the rack
If applicable, install the rack mounting brackets
Slide the chassis onto the shelf and mount it to the rack
Attach the earth ground strap to earth ground
Install Power Supplies
Remove the power supply faceplate
page 101
Determine the bay in which to install the power supply
Remove the power supply filler panel
Release the ejector, align to the card guides, insert the power supply, and close the
ejector
Tighten the self-contained screws
Replace the power supply faceplate
Install a DOCSIS Module and an HFC Connector Module or SIM
Remove the air management module where the DOCSIS Module will be inserted
page 103
Release the ejectors, align to the card guides, insert the DOCSIS Module, and close the
ejectors
Tighten the self-contained screws
Remove the air management panel where the HFC Connector Module or SIM will be
inserted
Release the ejectors, align to the card guides, insert the HFC Connector Module or SIM,
and close the ejectors
Tighten the self-contained screws
Содержание G10 CMTS
Страница 8: ... JUNOSg 3 0 G10 CMTS Hardware Guide viii ...
Страница 18: ... JUNOSg 3 0 G10 CMTS Hardware Guide 2 ...
Страница 34: ...G10 CMTS Hardware Overview JUNOSg 3 0 G10 CMTS Hardware Guide 18 ...
Страница 46: ...DOCSIS Module JUNOSg 3 0 G10 CMTS Hardware Guide 30 Figure 12 DOCSIS Module Front Panel HotSwap ...
Страница 55: ... Hardware Component Overview Chassis Control Module 39 Figure 15 Chassis Control Module Front Panel Eth0 ...
Страница 72: ...Chassis Rear Modules JUNOSg 3 0 G10 CMTS Hardware Guide 56 Figure 21 Hard Disk Module Rear Panel C O M Eth ...
Страница 82: ... JUNOSg 3 0 G10 CMTS Hardware Guide 66 ...
Страница 112: ...Rack Mounting JUNOSg 3 0 G10 CMTS Hardware Guide 96 Figure 25 Air Flow Through Chassis ...
Страница 116: ...Rack Mounting JUNOSg 3 0 G10 CMTS Hardware Guide 100 Figure 29 Rack Fully Populated with Three G10 CMTS Chassis ...
Страница 118: ...Install Power Supplies JUNOSg 3 0 G10 CMTS Hardware Guide 102 Figure 30 Power Supply Installation 1 2 ...
Страница 138: ...Connect to Power Sources JUNOSg 3 0 G10 CMTS Hardware Guide 122 Figure 39 DC Power Transition Module ...
Страница 148: ... JUNOSg 3 0 G10 CMTS Hardware Guide 132 ...
Страница 156: ...Upstream RF Measurement JUNOSg 3 0 G10 CMTS Hardware Guide 140 ...
Страница 188: ... JUNOSg 3 0 G10 CMTS Hardware Guide 172 ...
Страница 196: ...Radio Frequency RF Specifications JUNOSg 3 0 G10 CMTS Hardware Guide 180 ...
Страница 202: ...EIA Channel Plans JUNOSg 3 0 G10 CMTS Hardware Guide 186 ...
Страница 203: ... 187 Part 5 Index Index on page 189 ...
Страница 204: ... JUNOSg 3 0 G10 CMTS Hardware Guide 188 ...
Страница 209: ... Index 193 Index V ventilation 69 89 95 101 124 161 162 167 video servers 7 voltage power supply 27 ...
Страница 210: ... Index JUNOSg 3 0 G10 CMTS Hardware Guide 194 ...


