


Replacing the Advanced Clocking Module
69
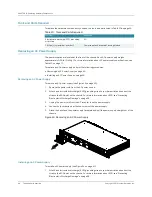
CHAPTER 10: Replacing Hardware Components
Installing the Advanced Clocking Module
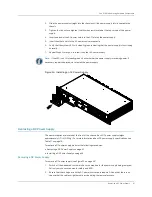
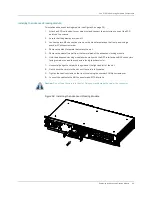
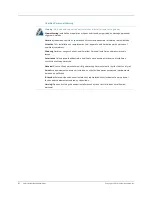
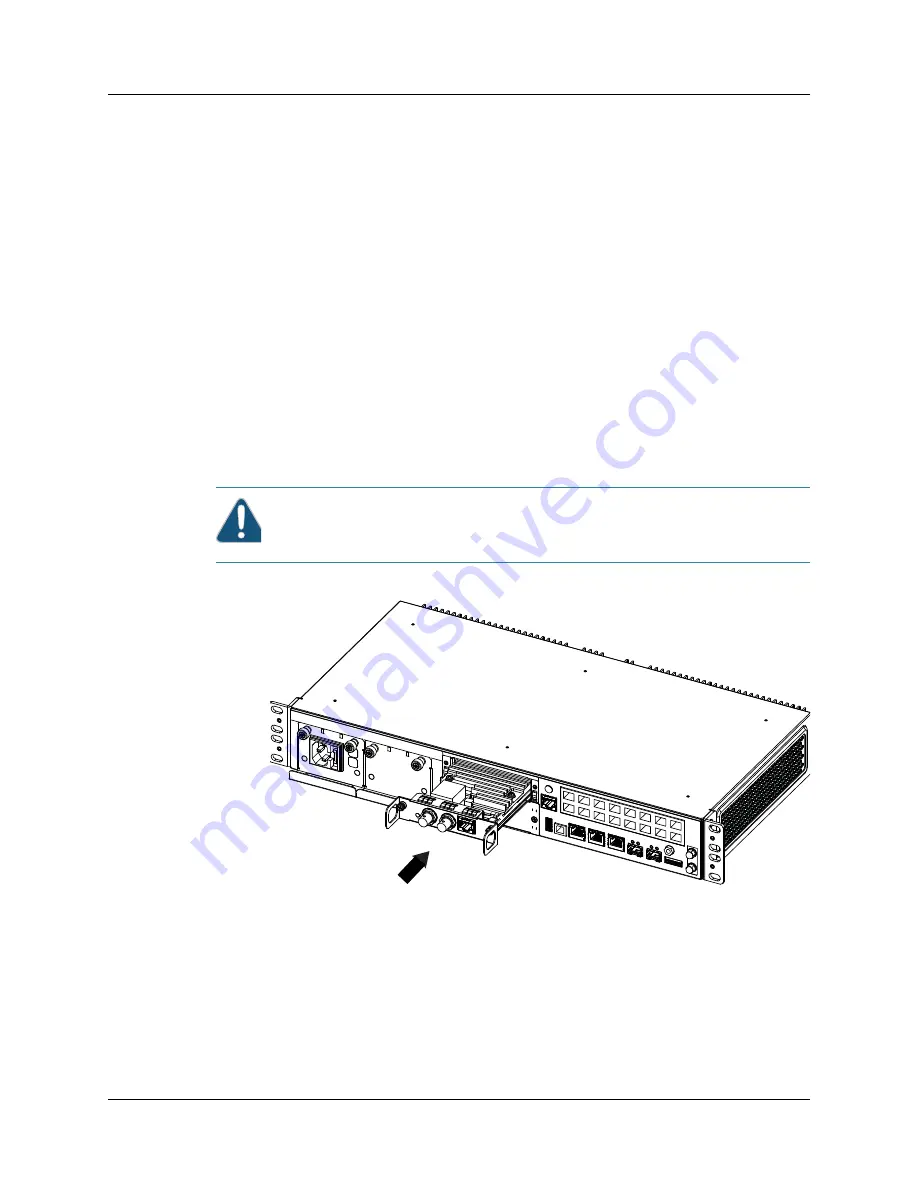
To install an advanced clocking module (see Figure 45 on page 92):
1.
Attach an ESD wrist strap to your bare wrist and connect the wrist strap to one of the ESD
points on the chassis.
2.
Ensure that the gateway is turned off.
3.
Loosen the two M3 size captive screws on the blank faceplate on the front panel using a
number 2 Phillips screwdriver.
4.
Remove the blank faceplate that covers the slot.
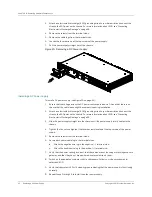
5.
Remove the peel-off paper from the thermal pad of the advanced clocking module.
6.
Hold the advanced clocking module horizontally, with the BITS interface and BNC connectors
facing towards you and the connectors facing the chassis slot.
7.
Horizontally align the card with the guides at the right and left of the slot.
8.
Gently push the card into the slot until the card is fully seated.
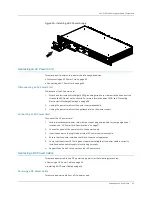
9.
Tighten the captive screws on the front cover using the number 2 Phillips screwdriver.
10.
Connect the cables to the BNC connector and BITS interface.
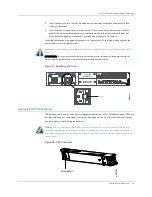
Figure 32: Installing the Advanced Clocking Module
Caution:
Do not force the card into the slot. Doing so may damage the card or the connector.
Содержание BX7000
Страница 10: ... x Copyright 2010 Juniper Networks Inc ...
Страница 12: ... xii Copyright 2010 Juniper Networks Inc ...
Страница 18: ...About This Guide xviii Requesting Support Copyright 2010 Juniper Networks Inc ...
Страница 20: ... 2 Copyright 2010 Juniper Networks Inc ...
Страница 36: ...CHAPTER 1 BX7000 Multi Access Gateway Overview 18 Advanced Clocking Module Copyright 2010 Juniper Networks Inc ...
Страница 60: ...CHAPTER 6 Grounding and Powering the Gateway 42 Powering Off the Gateway Copyright 2010 Juniper Networks Inc ...
Страница 64: ...CHAPTER 7 Accessing and Configuring the Gateway 46 Initial Setup Copyright 2010 Juniper Networks Inc ...
Страница 66: ... 48 Copyright 2010 Juniper Networks Inc ...
Страница 76: ...CHAPTER 9 Troubleshooting 58 Troubleshooting the Advanced Clocking Module Copyright 2010 Juniper Networks Inc ...
Страница 90: ... 72 Copyright 2010 Juniper Networks Inc ...
Страница 122: ... 104 Hardware Compliance Copyright 2010 Juniper Networks Inc ...
Страница 131: ...Copyright 2010 Juniper Networks Inc 113 Appendix E Declaration of Conformity ...
Страница 132: ... 114 Copyright 2010 Juniper Networks Inc ...
Страница 133: ...Copyright 2011 Juniper Networks Inc 115 PART 4 Index z Index on page 117 ...
Страница 134: ... 116 Copyright 2010 Juniper Networks Inc ...