STEP 2
Figure 17. Create Logical Volume Window
You may choose to make the Logical Volume any size needed (see
your configuration, as long as it does not exceed the remaining space indicated
on the Create Logical Volume Window (see
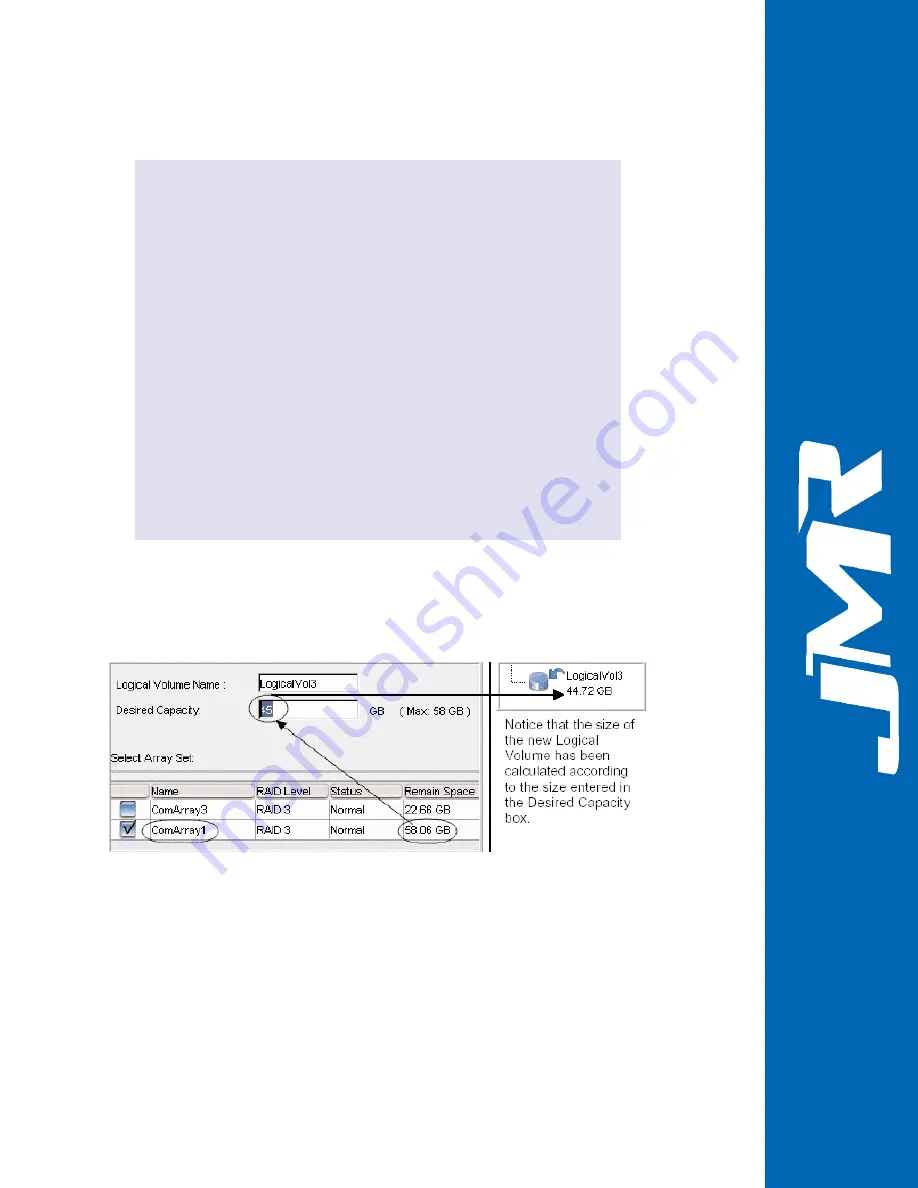
Figure 18. Customizing the Logical Volume Size
Below is a representation of the position of the new logical volume in the logical
configuration panel and its association marked to ComArray1 (see
MARLIN
TM
3-8
M
MA
AR
RLLIIN
N
T
TM
M
16-Bay 4G FC-SATA300/SAS RAID Array Management Users Guide Rev B
You will note that the software has auto-selected the maximum
available capacity (see
) for the new Logical Volume from the
remaining space on the selected array, ComArray1. The number is
automatically entered in the Desired capacity box.
When you reach the Create Logical Volume screen, all the arrays will
be listed. Click on the box next to the name of the array you want to use
for a Logical Volume.
If you want to create more than one Logical Volume for the selected
array, you need to make smaller Logical Volumes by entering a smaller
number in the Desired Capacity field (see
you entered, the system will calculate the size of the new logical
volume and the remaining available space for additional Logical
Volumes of the selected array. Click OK to commit and create the new
Logical Volume. The value of the remaining size is displayed in the
array’s tooltip and the array’s properties window (see
Figure 79. Array
Tooltip Properties
and
Figure 81. Array Properties Editor Box
in the
Reference section, Chapter 4).


