84
ASCII Commands
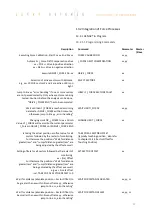
>RES
(Reset XENAX®) the correction table status
is OFF, encoder values = physical values
>CTAB 0 (= OFF)
>CTAB 1 (= ON)
>CTAB 3 (= INIT)
>CTPS 0
(set correction table position start)
>CTDP 10000 (set correction table distance
points)
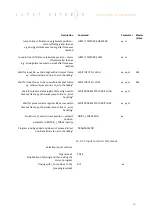
Setup individual correction table values
>CTPO 20000 (preselect absolute encoder
position)
>CTVA 20003 (set correction table value with
measured physical absolute
position)
Important:
The reference point is also depending on the mechanical
precision.
Hence this reference point must be always at the same
position
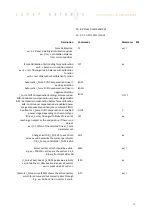
We look for Reference REF 2 times.
Application example for Reference:
>REF
Absolute position is calculated
anywhere on the linear motor stroke
>G0
Go to absolute position 0
>REF
Absolute position is calculated next to
the 0 point
This is repeatable at the same position.
>G0
Go to absolute position 0
➔
Now the Linear motor axis is ready
Remark:
The position (WebMotion®/
TP „Tell
Position“) is the physical absolute position
The POSITION Value is blinking red/white when the
correction table is in use.
Influence of Temperature on Measuring System
Besides the position deviation, which can be corrected
with the correction table, the temperature influence on
the measuring system has to be considered, too.
The deviation due to temperature can’t be corrected in the
correction table and is about 8.5µm per degree Celsius and
meter for the optical measuring system. The optical
measuring system
Please refer to data sheet of the according motor.
Examples:
1000mm optical glass scale: per 1° Celsius 8.5µm deviation
230mm optical class scale: Per 1° Celsius 2µm deviation


