Part 2 - Configuration
46
●
No.
: Select the registered camera number and click
the
Add Camera
button to register the camera.
●
MAC Address
: Displays the scanned camera’s MAC
address.
●
Address
: Displays the scanned camera’s IP address.
●
Model
: Indicates the camera model.
●
Protocol:
Indicates the scanned camera’s protocol.
●
Name
: Displays the scanned camera’s IP name.
●
Status
: “Registered” indicates the camera is registered
to the NVR and “Not registered” indicates the camera
is not registered to the NVR.
Login
If the password is set or you want to register third party
cameras, registering a device requires an authorized
user login.
1
Select the desired deivce from the list and click the
Add Camera
button, then the login window will
appear.
2
Select a user, enter the password, and then select
OK
.
•
By selecting
Apply to All Devices
, you can
apply the same authentication information to
all of the network devices in the list.
•
When you select multiple network devices
from the list and click the
Add camera
button,
a window for the network device will appear.
Select
Skip
to skip the authentication settings
for the current network device and to display
the Authentication window of the next network
device.
•
For IDIS cameras, a user and password may not
be required.
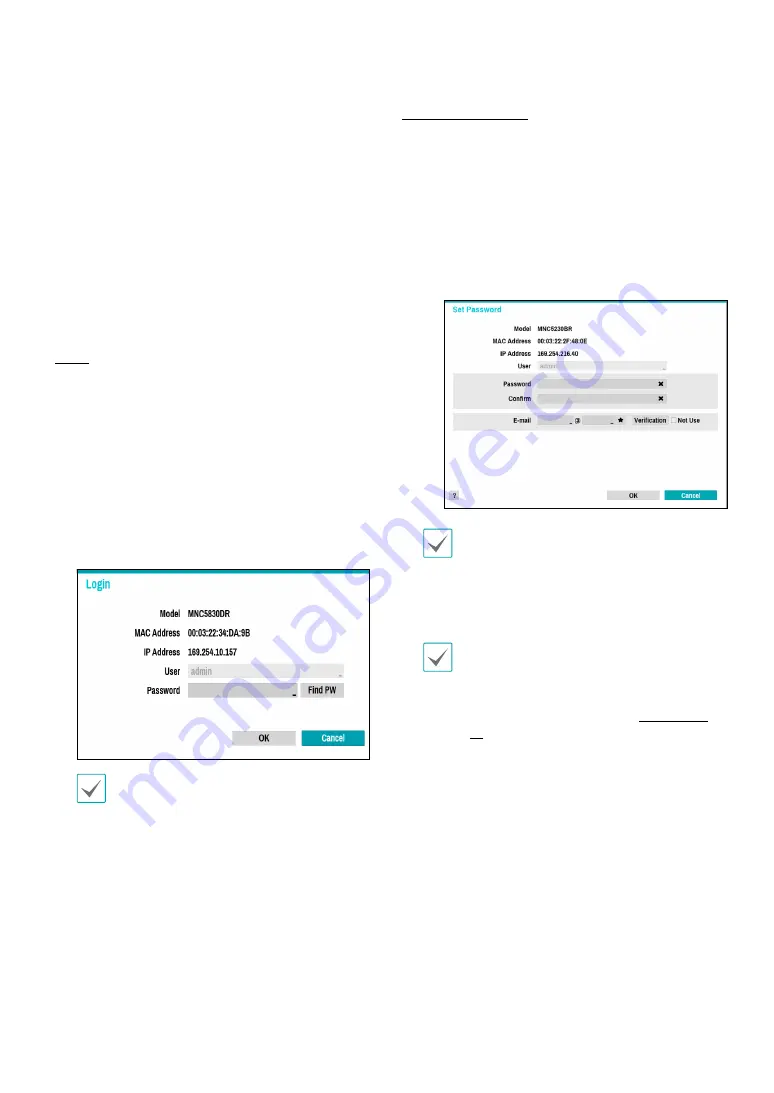
Set Camera Password
For IDIS protocol cameras that support changing and
finding the camera password, you must set the camera
password at the time of initial camera registration. The
email information is used to change and find the camera
password.
1
Select the dedeivce from the list and click the
Add
Camera
button, then Set Password window will
appear.
Only the camera that does not set password of
the camera which supports the password setting
function is displayed.
2
Enter the password and e-mail address, and then
select
OK
.
•
If you do not authenticate your email address,
you may not be able to find your password unless
you enter the correct information.
•
FEN setup is required for authentication. For more
information on FEN setup refer to
.
•
By selecting
Apply to All Devices
, you can apply
the same password and e-mail information to
cameras that require password settings in the
scan list.
•
When you select multiple network devices
from the list and click the
Add camera
button,
a window for the network device will appear.
Select
Skip
to skip the authentication settings
for the current network device and to display
the Authentication window of the next network
device.
3
When the password is set, the login window will
appear.


