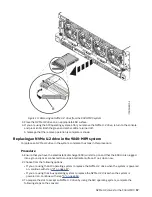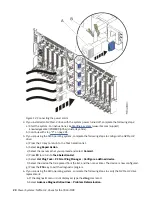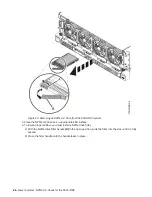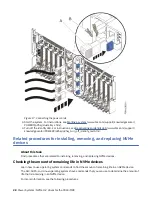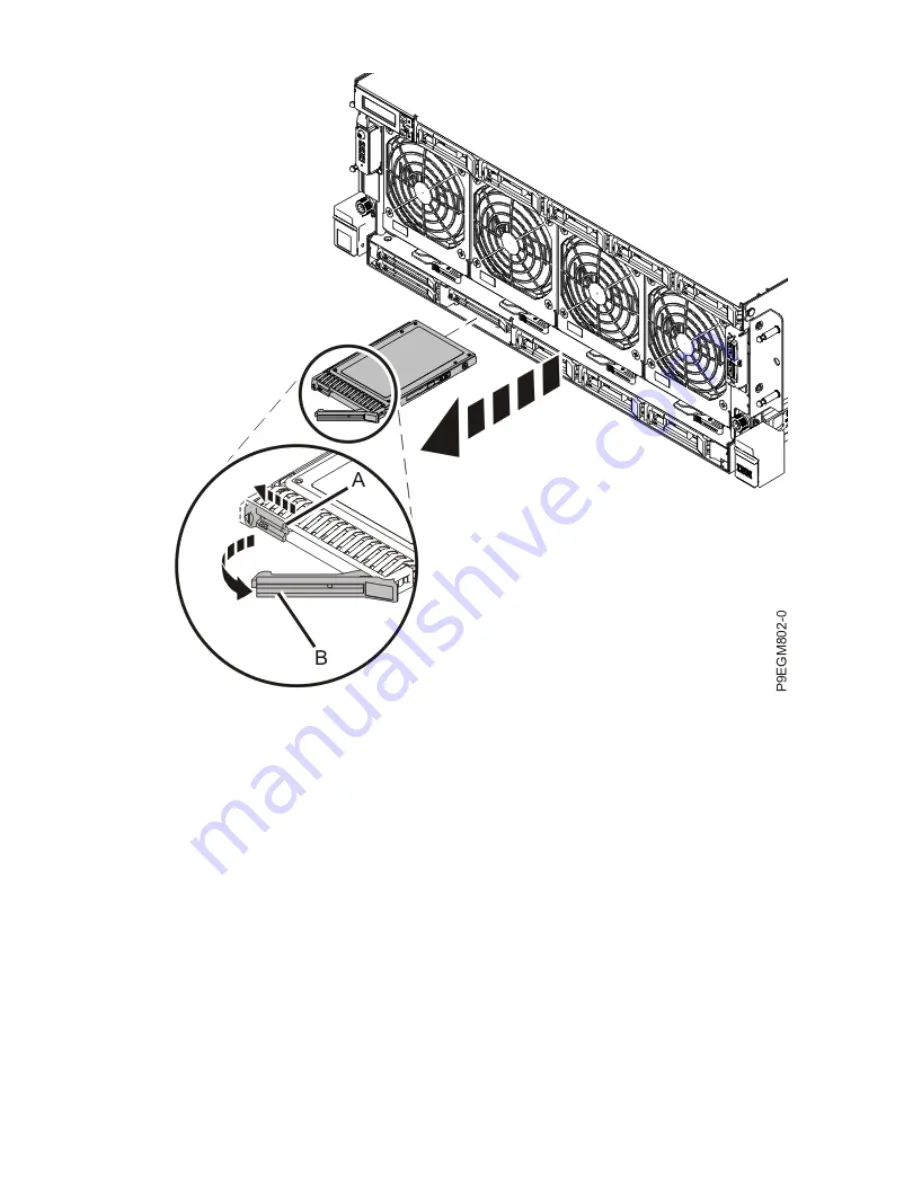
Figure 15. Removing an NVMe U.2 drive from the 9040-MR9 system
3. Place the NVMe U.2 drive on an appropriate ESD surface.
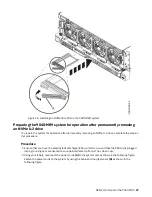
4. To insure proper airflow, you must install a NVMe drive filler.
a) With the NVMe drive filler handle (A) in the open position, slide the filler into the slot until it is fully
seated.
b) Close the filler handle until the handle locks in place.
26 Power Systems: NVMe U.2 drives for the 9040-MR9
Содержание Power System System E950
Страница 1: ...Power Systems NVMe U 2 drives for the 9040 MR9 IBM...
Страница 4: ...iv...
Страница 14: ...xiv Power Systems NVMe U 2 drives for the 9040 MR9...
Страница 18: ...or or or or 4 Power Systems NVMe U 2 drives for the 9040 MR9...
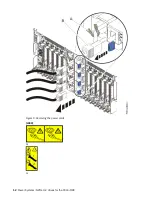
Страница 26: ...Figure 9 Removing the power cords L003 or or 12 Power Systems NVMe U 2 drives for the 9040 MR9...
Страница 44: ...30 Power Systems NVMe U 2 drives for the 9040 MR9...
Страница 55: ......
Страница 56: ...IBM...

