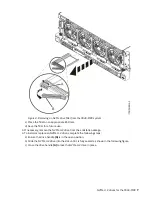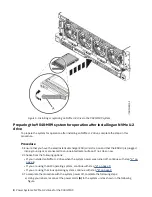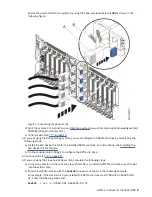
Table 1. Plugging sequence for the NVMe U.2 drives
Number of NVMe U.2 drives
Plugging sequence
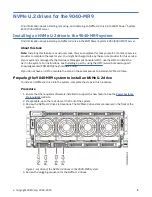
One
Upper left slot (P2-C1)
Two
Upper two slots (P2-C1 and P2-C2)
Three
Upper two slots (P2-C1 and P2-C2) and one on the bottom slots
(can be either) (P2-C3 or P2-C4).
Four
All four slots (P2-C1, P2-C2, P2-C3, and P2-C4)
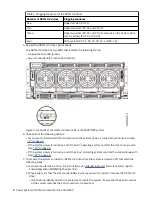
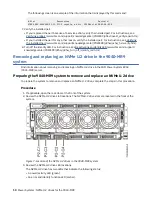
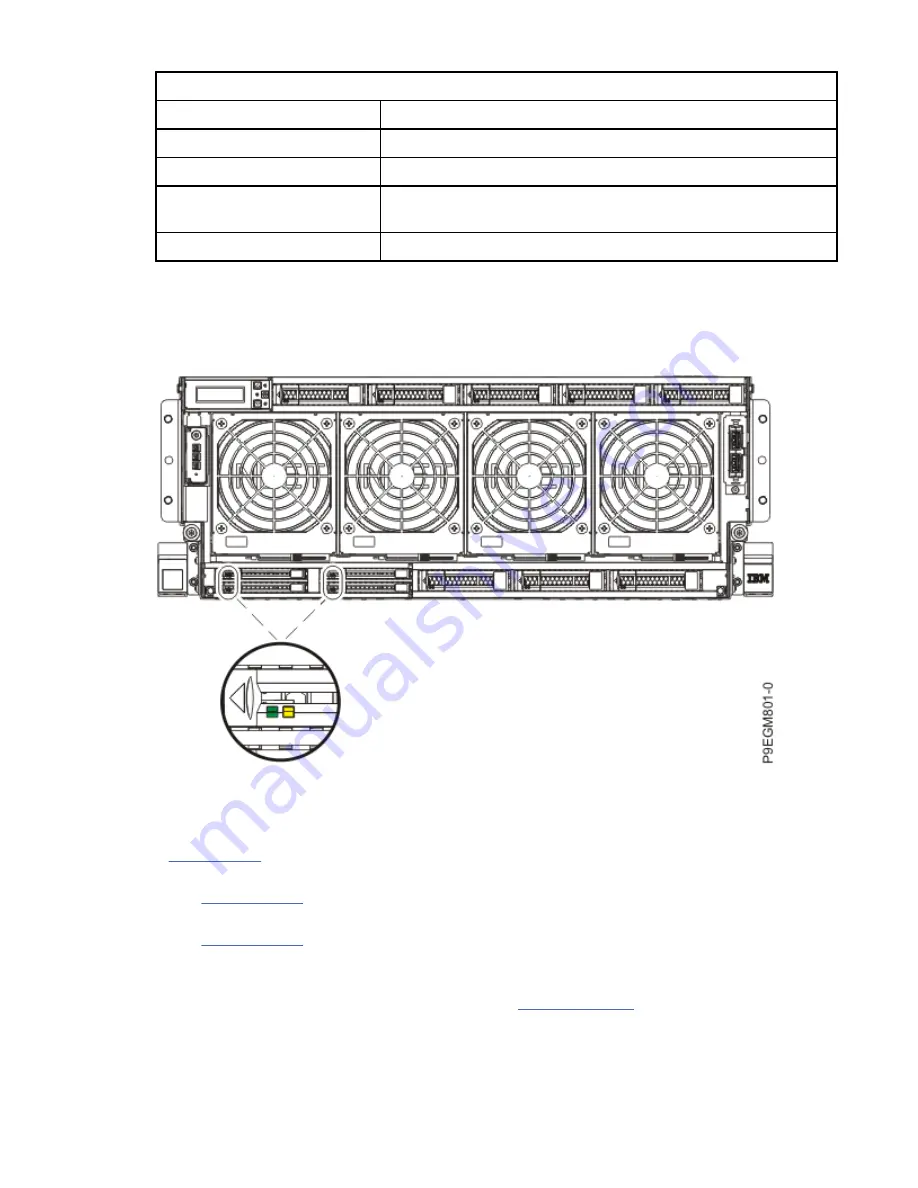
5. Review the NVMe U.2 drive LED locations.
The NVMe U.2 drive has two LEDs that indicate the following status:
• A power/activity LED (green)
• An error and identify function LED (amber).
Figure 2. Locations of the NVMe U.2 drive LEDs in the 9040-MR9 system
6. Choose from the following options:
• If you want to install an NVMe U.2 drive when the system power is turned off, continue with step
• If the system power is turned on and if the AIX
®
operating system controls the slot, continue with
• If the system power is turned on and if the Linux
®
operating system controls the slot, continue with
7. To prepare the system to install an NVMe U.2 drive when the system is powered off, complete the
following steps:
a) Activate the identify function. For instructions, see Identifying a part (www.ibm.com/support/
knowledgecenter/POWER9/p9haj/sal.htm).
b) Physically verify that the slot you identified is where you want to install or replace the NVMe U.2
drive.
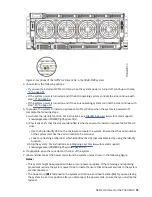
• Use the blue identify LED on the enclosure to locate the system. Ensure that the serial number
of the system matches the serial number to be serviced.
2 Power Systems: NVMe U.2 drives for the 9040-MR9
Содержание Power System System E950
Страница 1: ...Power Systems NVMe U 2 drives for the 9040 MR9 IBM...
Страница 4: ...iv...
Страница 14: ...xiv Power Systems NVMe U 2 drives for the 9040 MR9...
Страница 18: ...or or or or 4 Power Systems NVMe U 2 drives for the 9040 MR9...
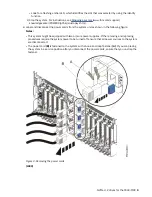
Страница 26: ...Figure 9 Removing the power cords L003 or or 12 Power Systems NVMe U 2 drives for the 9040 MR9...
Страница 44: ...30 Power Systems NVMe U 2 drives for the 9040 MR9...
Страница 55: ......
Страница 56: ...IBM...


