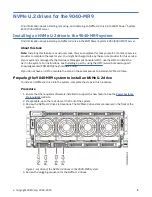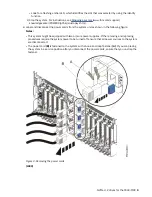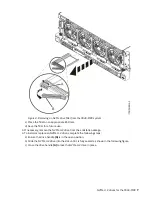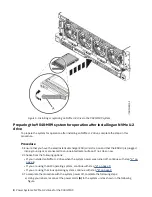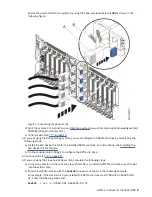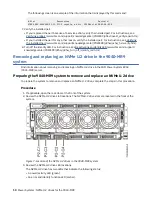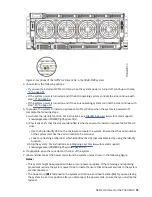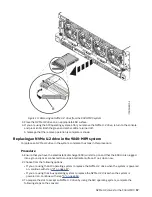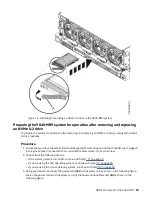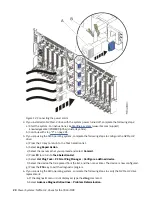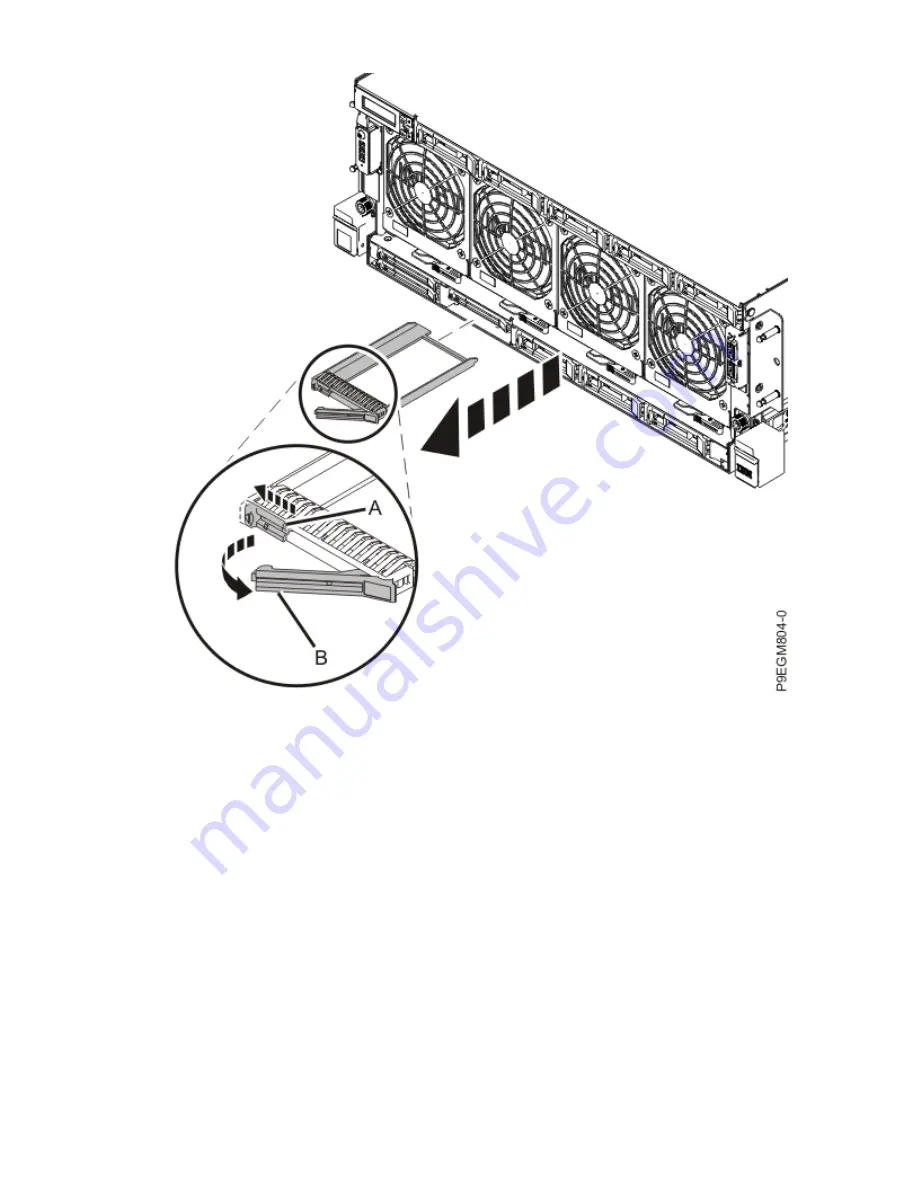
Figure 4. Removing an NVMe drive filler from the 9040-MR9 system
c) Place the filler on an appropriate ESD mat.
d) Save the filler for a future use.
3. If necessary, remove the NVMe U.2 drive from the antistatic package.
4. To install or replace an NVMe U.2 drive, complete the following steps:
a) Ensure the drive handle (A) is in the open position.
b) Slide the NVMe U.2 drive into the slot until it is fully seated as shown in the following figure.
c) Close the drive handle (A) to lock the NVMe U.2 drive in place.
NVMe U.2 drives for the 9040-MR9 7
Содержание Power System System E950
Страница 1: ...Power Systems NVMe U 2 drives for the 9040 MR9 IBM...
Страница 4: ...iv...
Страница 14: ...xiv Power Systems NVMe U 2 drives for the 9040 MR9...
Страница 18: ...or or or or 4 Power Systems NVMe U 2 drives for the 9040 MR9...
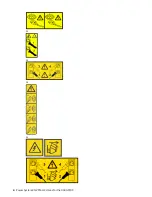
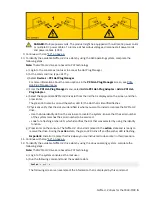
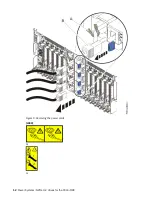
Страница 26: ...Figure 9 Removing the power cords L003 or or 12 Power Systems NVMe U 2 drives for the 9040 MR9...
Страница 44: ...30 Power Systems NVMe U 2 drives for the 9040 MR9...
Страница 55: ......
Страница 56: ...IBM...

