NVMe U.2 drives for the 9040-MR9
Find information about installing, removing, and replacing an NVMe U.2 drive in the IBM Power
®
System
E950 (9040-MR9) server.
Installing an NVMe U.2 drive in the 9040-MR9 system
Find information about installing an NVMe U.2 drive in the IBM Power System E950 (9040-MR9) server.
About this task
Note: Installing this feature is a customer task. You can complete this task yourself, or contact a service
provider to complete the task for you. You might be charged a fee by the service provider for this service.
If your system is managed by the Hardware Management Console (HMC), use the HMC to install the
part in the system. For instructions, see Installing a part by using the HMC (www.ibm.com/support/
knowledgecenter/POWER9/p9haj/hmcinstall.htm).
If you do not have an HMC, complete the steps in these procedures to install an NVMe U.2 drive.
Preparing the 9040-MR9 system to install an NVMe U.2 drive
To install an NVMe U.2 drive into the system, complete the steps in this procedure.
Procedure
1. Ensure that the required software is installed to support the new feature. See the Power Systems
Prerequisites website.
2. If applicable, open the rack door at the front of the system.
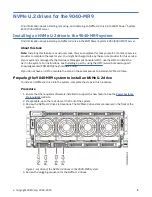
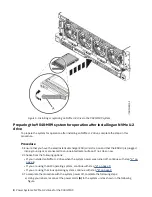
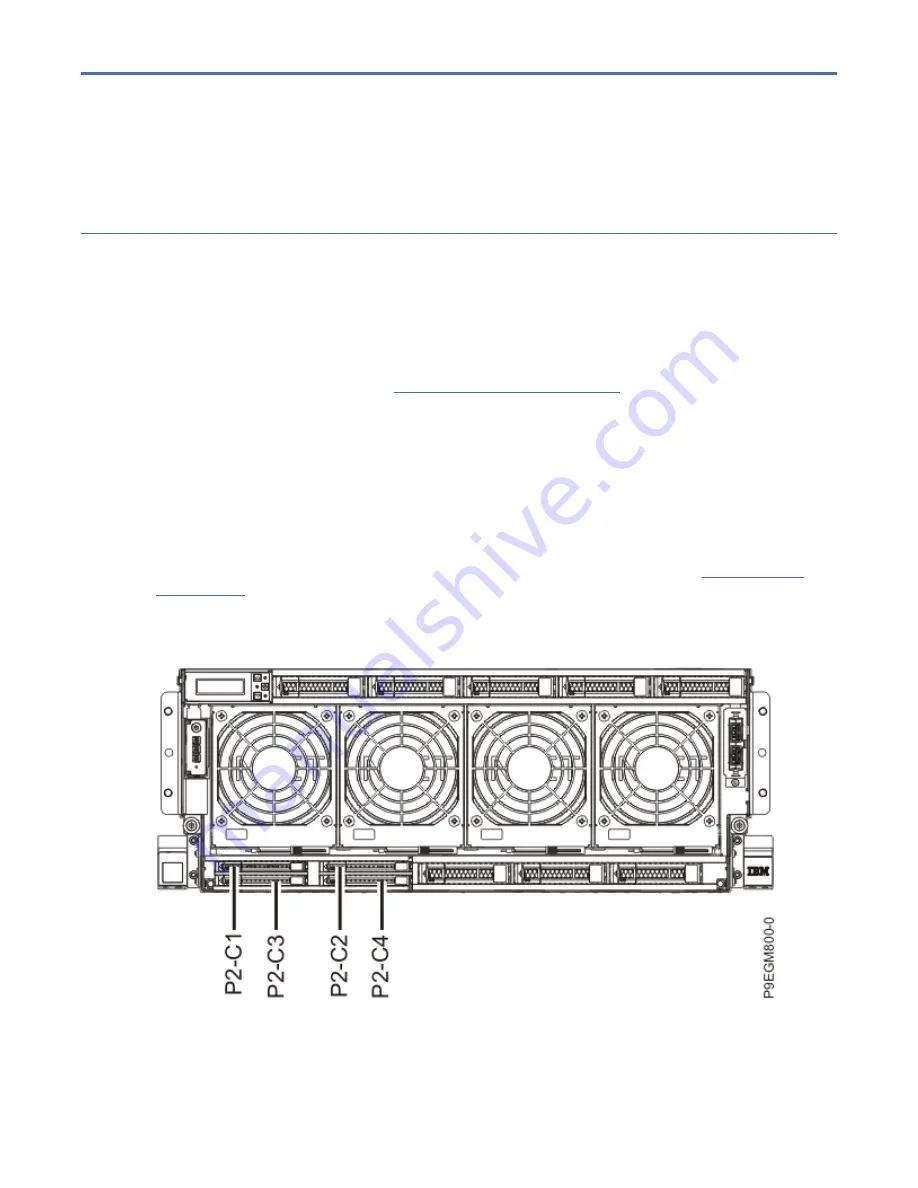
3. Review the NVMe U.2 drive slot locations. The NVMe U.2 drive slots are located in the front of the
system.
Figure 1. Location of the NVMe U.2 drives in the 9040-MR9 system
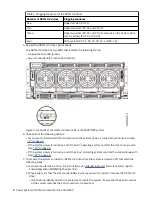
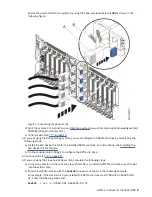
4. Review the plugging sequence for the NVMe U.2 drives.
©
Copyright IBM Corp. 2018, 2020
1
Содержание Power System System E950
Страница 1: ...Power Systems NVMe U 2 drives for the 9040 MR9 IBM...
Страница 4: ...iv...
Страница 14: ...xiv Power Systems NVMe U 2 drives for the 9040 MR9...
Страница 18: ...or or or or 4 Power Systems NVMe U 2 drives for the 9040 MR9...
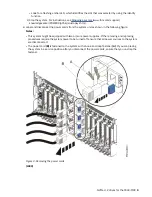
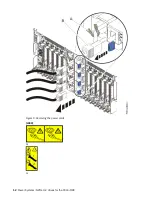
Страница 26: ...Figure 9 Removing the power cords L003 or or 12 Power Systems NVMe U 2 drives for the 9040 MR9...
Страница 44: ...30 Power Systems NVMe U 2 drives for the 9040 MR9...
Страница 55: ......
Страница 56: ...IBM...


