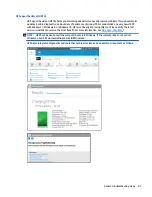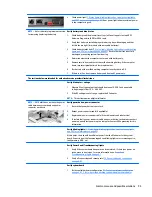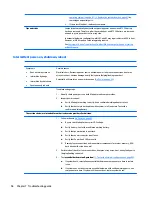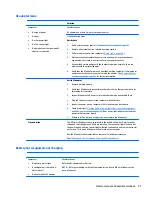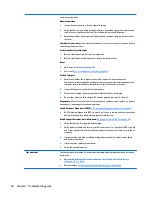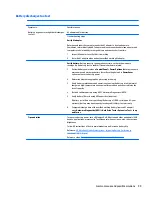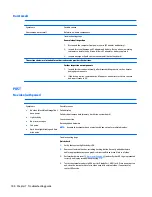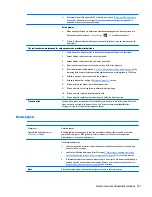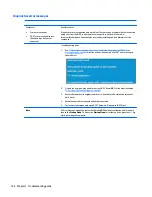
4.
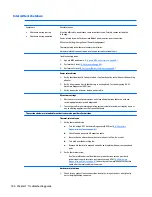
Unplug the AC adapter from the computer.
5.
Disconnect the battery.
6.
Press and hold the power button for at least 15 seconds to drain residual power.
7.
Reconnect the battery and plug the AC adapter back into the computer, but do not connect any of the
peripheral devices.
8.
Press the power button to turn on the computer.
9.
If a startup menu appears, use the arrow keys to select Start Windows Normally, and then press the
Enter
key.
10.
After reconnecting each of the peripheral devices, run Windows Update and HP Support Assistant to
update all device drivers.
Clear CMOS
CMOS refers to the battery-powered, semiconductor chip located on computer's system board. Notebooks
store low-level settings like the system time and hardware settings in CMOS. Sometimes it is necessary to
clear CMOS, which requires removing and reinserting the 3V RTC battery for a short period of time (a few
minutes before reinserting), in addition to removing the AC adapter and battery.
NOTE:
Clearing the CMOS should only be performed for troubleshooting purposes. There is no reason to
clear CMOS if the computer is working properly.
The notebook service door must be removed to access the CMOS battery. See the RTC battery replacement
section for the battery removal/replacement.
9. Soft reset (Default Settings)
NOTE:
Some company policies prohibit updates or changes. Check whether the computer has custom BIOS
settings before taking action.
If your computer is having issues booting, has errors during boot, is running into issues after adding
hardware, or you are having other abnormal system behaviors that cannot be resolved through any other
methods (i.e., hard reset), it may be necessary to reset the system BIOS to default settings.
To load BIOS to default settings: Reboot the computer, and then press F10 > Main > Restore defaults. For
more information, see the BIOS F10 Setup technical white paper at
http://support.hp.com
, enter your
computer model, and then go to Manuals > White papers > HP PC BIOS F10 Setup Guide.
10. Reseat cables and connections
NOTE:
Before disassembling the computer to reseat cables and connections, always disconnect power and
remove the battery or disconnect a non removable battery.
Many problems are caused by improper connections or loose connections due to abnormal movement and
vibration. See
Cable management on page 147
and
Connector types on page 148
for suggested cable
management practices when removing and installing components.
You can access and reseat connections for Customer Self-Repair (CSR) parts (see the “Removal and
replacement procedures for Customer Self-Repair parts” chapter for details). Examples of reseating hardware
include:
●
Reseating the battery into the battery bay can resolve no-battery found and no-charging issues.
●
Reseating memory modules can resolve memory error, no-boot, and blue screen issues.
General troubleshooting steps
89
Содержание ZBook 17 G3
Страница 1: ...HP ZBook 17 G3 Mobile Workstation Maintenance and Service Guide ...
Страница 4: ...iv Important Notice about Customer Self Repair Parts ...
Страница 6: ...vi Safety warning notice ...
Страница 14: ...xiv ...
Страница 158: ...6 Open the crash dump file 144 Chapter 7 Troubleshooting guide ...

