Troubleshooting 118
•
If a device has latches, be sure they are completely closed and locked.
•
Check any interlock or interconnect LEDs that may indicate a component is not connected properly.
•
If problems continue to occur, remove and reinstall each device, checking the connectors and sockets
for bent pins or other damage.
Service notifications
To view the latest service notifications, refer to the HP website (
http://www.hp.com/go/bizsupport
).
Select the appropriate server model, and then click the
Troubleshoot a Problem
link on the product page.
Troubleshooting flowcharts
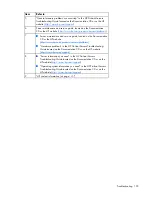
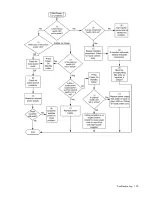
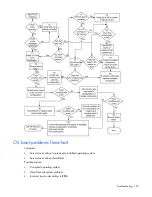
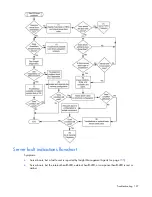
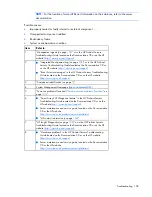
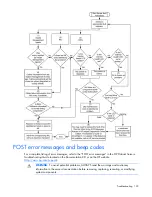
To effectively troubleshoot a problem, HP recommends that you start with the first flowchart in this section,
"Start diagnosis flowchart (on page
118
)," and follow the appropriate diagnostic path. If the other
flowcharts do not provide a troubleshooting solution, follow the diagnostic steps in "General diagnosis
flowchart (on page
119
)." The General diagnosis flowchart is a generic troubleshooting process to be
used when the problem is not server-specific or is not easily categorized into the other flowcharts.
The available flowcharts include:
•
Start diagnosis flowchart (on page
118
)
•
General diagnosis flowchart (on page
119
)
•
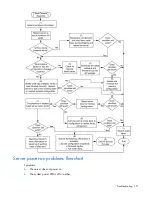
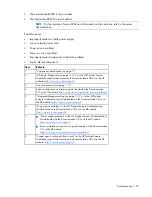
Server power-on problems flowchart (on page
121
)
•
POST problems flowchart (on page
124
)
•
OS boot problems flowchart (on page
125
)
•
Server fault indications flowchart (on page
127
)
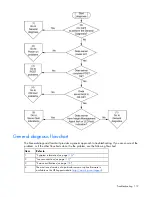
Start diagnosis flowchart
Use the following flowchart to start the diagnostic process.
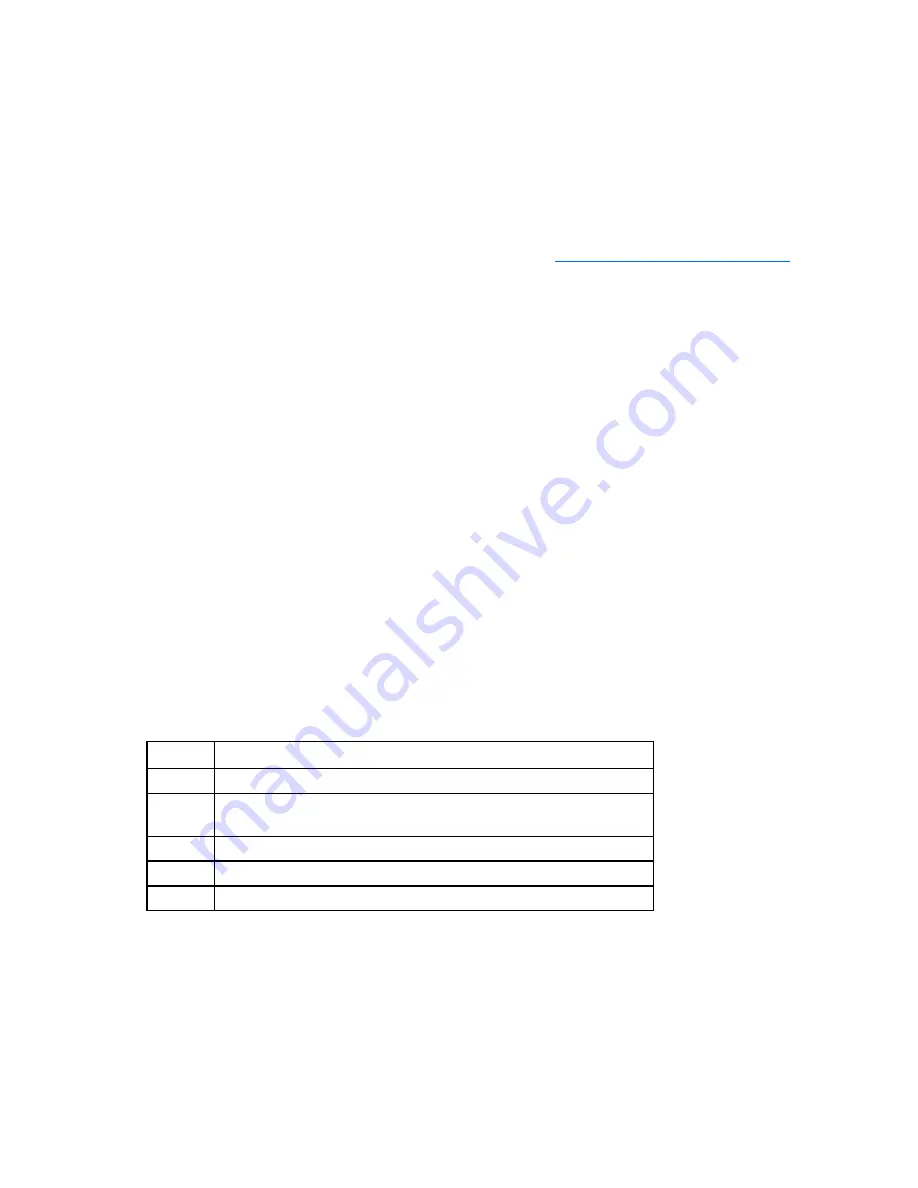
Item Refer
to
1
"General diagnosis flowchart (on page
119
)"
2
"Power-on problems flowchart ("
Server power-on problems flowchart
" on
page
121
)"
3
"POST problems flowchart (on page
124
)"
4
"OS boot problems flowchart (on page
125
)"
5
"Server fault indications flowchart (on page
127
)"
Содержание ProLiant DL370
Страница 1: ...HP ProLiant DL ML370 G6 Server User Guide Part Number 513482 001 March 2009 First Edition ...
Страница 16: ...Component identification 16 SFF hard drives LFF hard drives ...
Страница 29: ...Operations 29 6 Remove the hard drive cage blank ...
Страница 83: ...Hardware options installation 83 o Rear 1 o Front 2 17 Remove the chassis from the tower side panels ...
Страница 94: ...Cabling 94 Drive cage bay 2 Drive cage bay 3 ...
Страница 95: ...Cabling 95 Six bay LFF backplane cabling Drive cage bay 1 Drive cage bay 2 ...
Страница 97: ...Cabling 97 Battery cabling for BBWC DVD ROM drive cabling ...
Страница 98: ...Cabling 98 Slimline optical drive cabling ...
Страница 123: ...Troubleshooting 123 ...
Страница 146: ...Technical support 146 ...
Страница 147: ...Technical support 147 ...


