


HP OmniBook 3000
Removal and Replacement
2-25
Storing the Serial Number Electronically
1. Exit Windows and boot to a DOS prompt.
2. Run ESN.EXE from one of these sources:
On a factory software installation, change to the \OMNIBOOK directory and type
esn
at the
prompt.
Otherwise, copy \Omnibook\Drivers\Hputils\Esn.exe from the OmniBook 3000 Recovery CD,
then run it on the OmniBook.
3. When prompted, type the serial number shown on the bottom of the case. (If a serial number has
already been stored, you must call an HP support center to change it.)
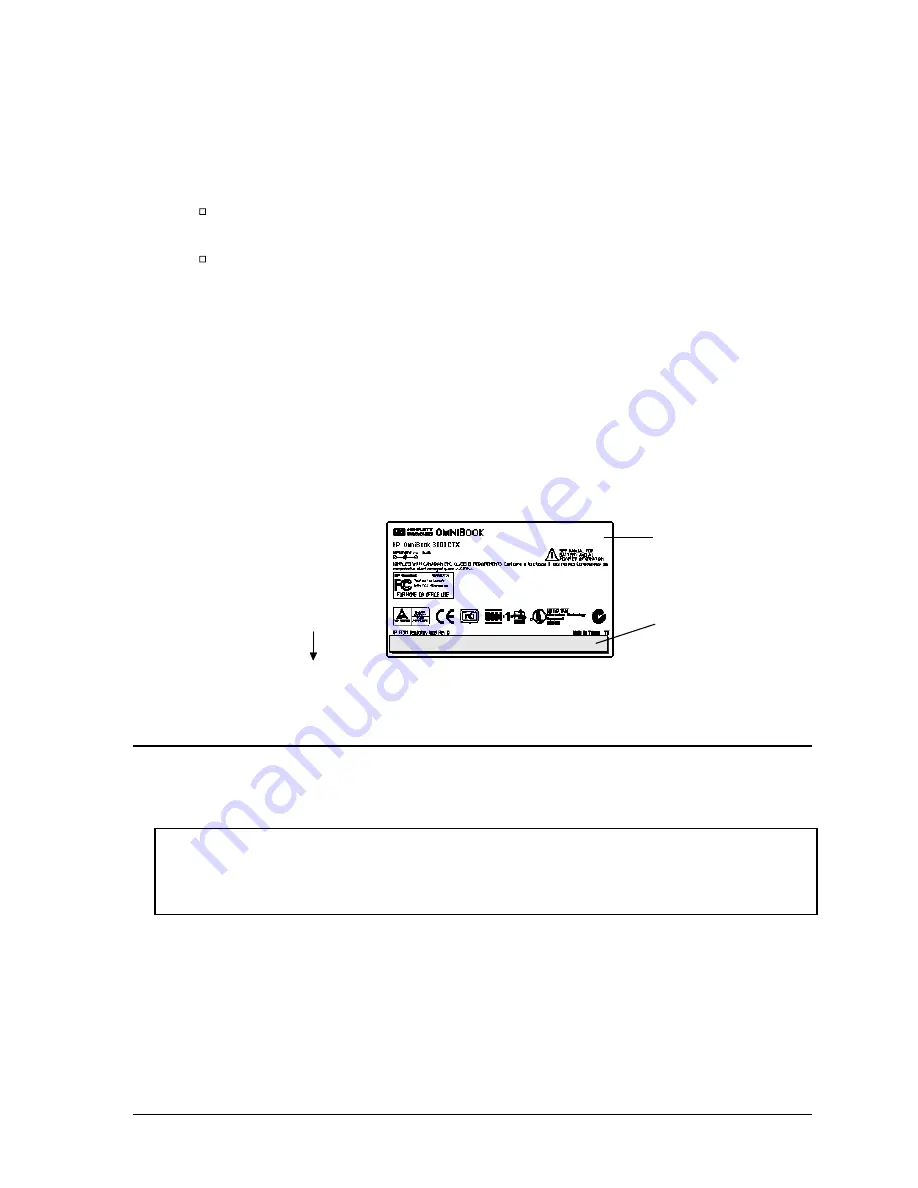
Installing a New Bottom-Case Label
1. Attach a regulatory label in the recess in the bottom case. The bottom of the label goes toward the
front of the case.
2. Looking at the serial number on the unit’s original bottom case, create a replacement serial number
label. A separate Service Note gives details about equipment, software, and label material.
3. Attach the serial number label to the bottom area of the regulatory label.
Figure 2-21. Installing a Bottom Case Label
Removing the System BIOS IC or Keyboard BIOS IC
(HP Authorized Service Providers Only)
Note
A replacement IC contains enough basic programming to boot the OmniBook. However, after
replacing an IC, you must reprogram the ICs. Hewlett-Packard prefers that you program the ICs
with the latest BIOS. You can download it from the OmniBook website (see page vi).
Required Equipment
•
Small flat-blade screwdriver.
•
IC insertion/removal tool (F1371-60904).
Regulatory Label
F1391-60971
Printed
serial number label
Front of computer
Содержание OMNIBOOK 3000
Страница 1: ... HP OmniBook 3000 Service Manual ...
Страница 18: ......
Страница 48: ......
Страница 72: ...4 2 Replaceable Parts HP OmniBook 3000 Figure 4 1 Exploded View ...
Страница 80: ......
Страница 84: ......
Страница 85: ......


