


Hardware options installation 80
IMPORTANT:
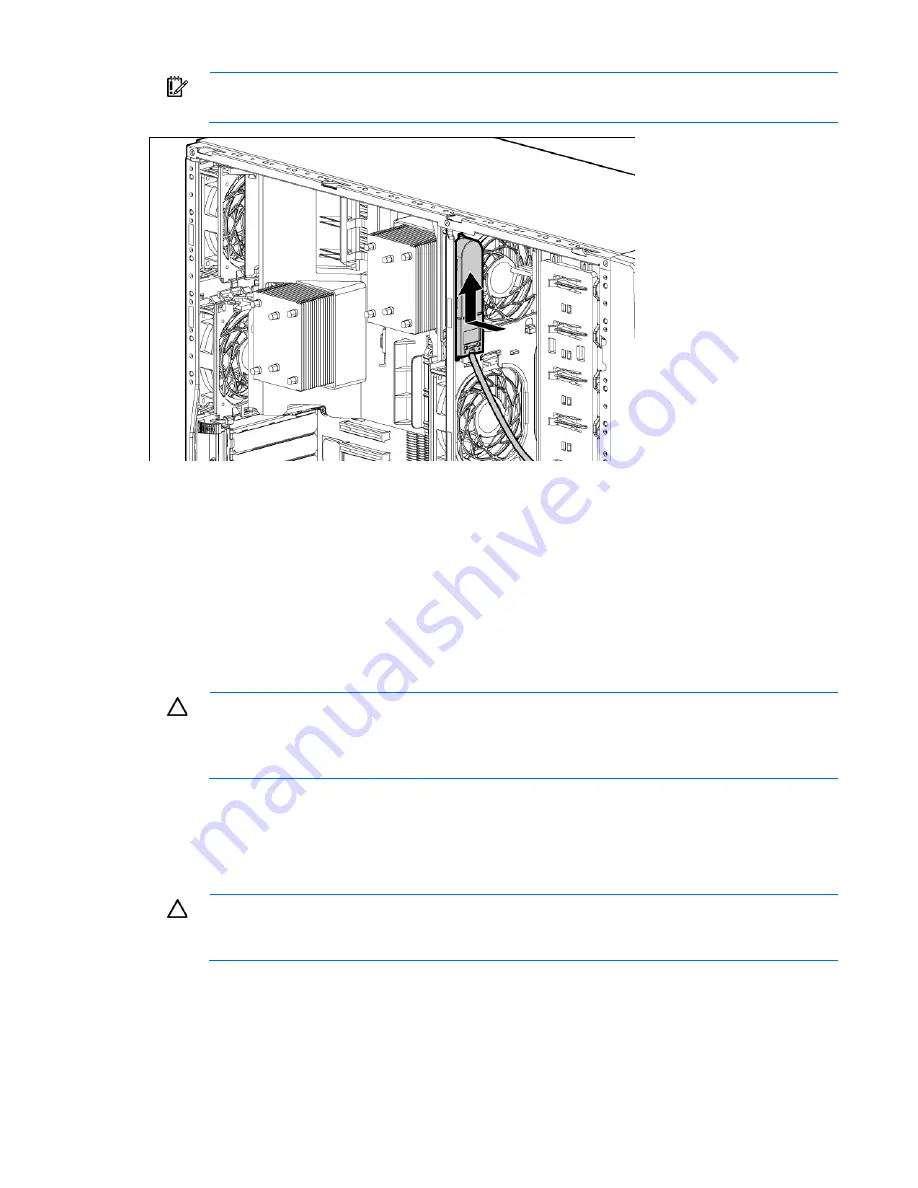
The server supports only one battery pack in the chassis. If more than one battery
is needed, use the Velcro strips provided in the option kit to attach additional battery packs.
10.
Install the access panel (on page
27
).
11.
Do one of the following:
o
Close or install the tower bezel, as needed.
o
Slide the server back into the rack.
12.
Power up the server (on page
24
).
For more information, see the documentation that ships with the option.
FBWC module and capacitor pack option
CAUTION:
The cache module connector does not use the industry standard DDR3 mini DIMM
pinout. Do not use this controller with cache modules designed for other controller models,
because the controller can malfunction and you can lose data. Also, do not transfer this cache
module to an unsupported controller model, because you can lose data.
To install the component:
1.
Back up all data.
2.
Close all applications.
3.
Power down the server (on page
24
).
CAUTION:
In systems that use external data storage, be sure that the server is the first unit to be
powered down and the last to be powered back up. Taking this precaution ensures that the system
does not erroneously mark the drives as failed when the server is powered up.
4.
Do one of the following:
o
Open or remove the tower bezel, as needed ("
Open or remove the tower bezel
" on page
25
).
o
Extend the server from the rack (on page
24
).
5.
Remove the access panel (on page
26
).
Содержание ML350 - ProLiant - G2
Страница 89: ...Hardware options installation 89 c Slide them back and away from the chassis ...
Страница 112: ...Troubleshooting 112 ...
Страница 130: ...Server specifications 130 Maximum peak power 460 W at 100V to 120V AC input 460 W at 200V to 240V AC input ...
Страница 137: ...Technical support 137 ...
Страница 138: ...Technical support 138 ...


