


NFS2-640/E Programming Manual —
P/N 52742:L2 7/17/14
53
Disable or Enable a Point
Status Change
3.3 Disable or Enable a Point
The Disable/Enable option lets you disable programmed points for detectors,
modules, zones, and NACs. The program allows you to disable an initiating
device in alarm: however, the disable will not take effect until after the panel
has been reset.
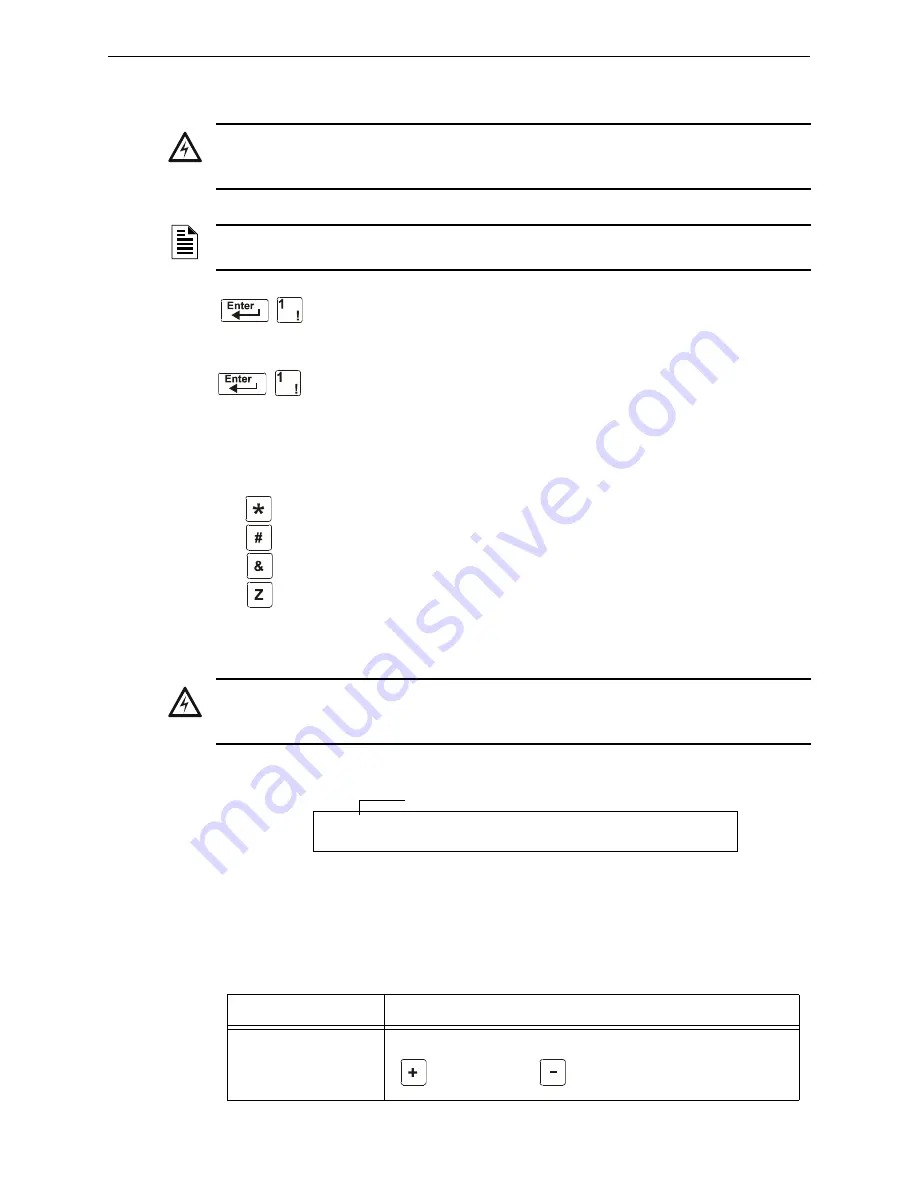
1. From the “Status Change Selection” screen, press the
1
key to display the “Disable/Enable”
screen.
2. Select the point type:
for detectors
for modules
for NACs
for zones
The cursor will blink the first SLC address digit in the detector, zone, module, or NAC field.
3. Enter the address of the point, then press the
ENTER
key. A sample display follows:
When you disable a point and press the
ESC
key to return to the Disable/Enable screen, the control
panel: a) turns on the
POINT
DISABLED
LED; b) sounds the panel sounder; and c) changes the status
banner to
TROUBL
for the point.
You can disable or enable a point by changing the status banner as follows:
!
WARNING:
Do not rely on disable/enable software settings to lock out releasing devices. Releasing devices
must be physically disconnected.
NOTE:
When an input or output point associated with releasing functions is disabled, a single
supervisory trouble will be generated.
Status Change
Password
!
D
WARNING:
Disabling a zone disables all input and output devices that use the zone as the first entry in the
CBE list.
Table 3.1 Changing the Status Banner (1 of 2)
To
Press
Change the status
Maneuver the cursor with the arrow keys until it is in the status field. Press
(Next Selection) or
(Previous Selection)
E N A B L E C O N T R O L
C O N T R O L A D D R E S S 2 M 1 0 1
0 0 _ _ _ _ _ _ _ _ I S W 2 M 1 0 1
Blinking status banner (ENABLE or DISABL)