


62
PROGRAMMING THE REMOTE
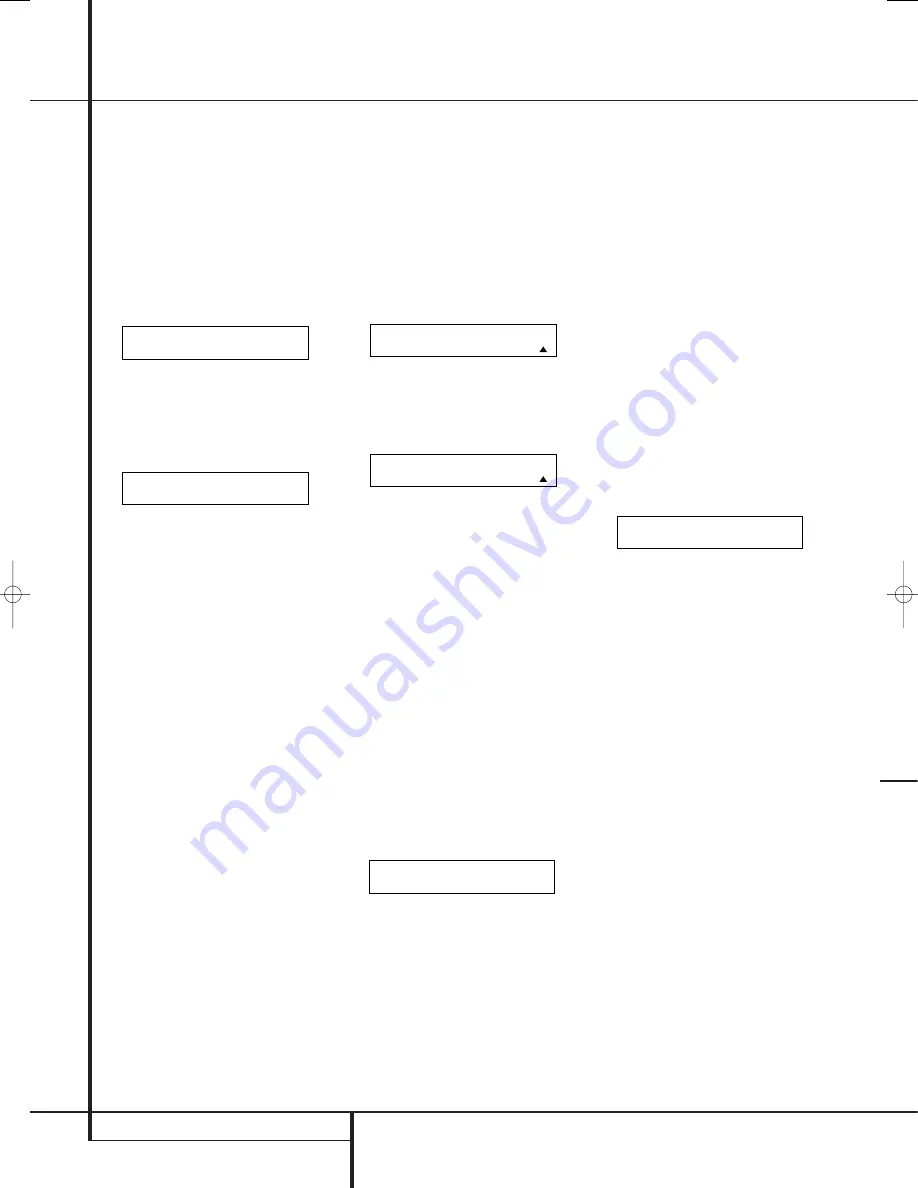
Programming the Remote
3. Press the
Set Button
F
to reset the
remote. Note that once the Set Button is
pressed the process may not be stopped. While
the remote’s memory is being cleared a
RESETTING...
message will appear in the
upper line of the remote’s LCD screen as
shown in Figure 83.
It may take a few minutes for the reset process
to take place, and the length of time will vary
depending on how much customization and
programming has taken place. Please be
patient; as long as the message appears in the
display the remote is functioning properly.
Figure 83
4. When the remote has been totally reset and
returned to the factory default condition, a
REMOTE RESET COMPLETE
message will
appear (Figure 84) briefly, and then the remote
will return to normal operation.
Figure 84
Backlight Options
The AVR 645’s remote has a built-in backlight
system that makes it easier to use the remote
when the room lighting is dimmed for an optimal
home theater experience. To turn the back-
lighting on, simply press the
Light Button
Q
.
That button is made from a special “glow”
material that makes it easier to find in dark
rooms. This glow feature does not use any
battery power, so the glow will fade when the
remote is kept in a dark room for an extended
period of time. You may “recharge” it by placing
the remote in normal room lighting for a few
hours.
Once the
Light Button
Q
is pressed, the
remote’s backlighting will remain on for approxi-
mately 7 seconds, and when you press any
button on the remote while the backlighting is
on, the light will stay on for another 7 seconds.
However, the remote’s “Couch” function will
conserve battery power by turning both the back-
lighting and the LCD display off when any button
is pressed for more than 30 seconds.
You may also configure the remote so that the
backlighting will come on, any time a button is
pressed.
To set this option, follow these steps:
1. Press and hold the
Program Button
for
about 3 seconds while the message shown in
Figure 25 appears in the remote’s LCD display.
Release the button when the red light under
the
Set Button
F
appears.
2. When the remote’s Main Menu message (Fig.
26) appears in the LCD display and the
Set
Button
F
remains illuminated in red, press
the
⁄¤
Navigation Buttons
E
until
BACK LIGHT
appears in the bottom line
of the LCD screen, as shown in Figure 85.
Figure 85
3. Press the
Set Button
F
and then press
the
⁄¤
Navigation Buttons
E
again so
that
O N FULL
appears in the bottom line of
the LCD display, as shown in Figure 86.
Figure 86
4. Press the
Set Button
F
one more time. The
LCD display will show the word
SAVING
on
the top line for about 2 seconds and then flash
SAVED
four times on the bottom line to
indicate that the setting has been accepted by
the remote’s memory.
5. The remote’s backlighting will now turn on
whenever a button is pressed. To revert to the
original setting, follow the four steps shown
above, but in Step 3, select the option that has
the word
NORMAL
on the bottom line of the
LCD display.
Additional Notes on Configuring and Operating
the Remote:
• When the remote is being programmed, it will
automatically time-out if no button is pressed
within a thirty-second period. The message
shown in Figure 87 will appear briefly, and the
remote will then exit the feature being
programmed and any data entered will be lost.
Figure 87
• The programming or configuration process may
also be stopped at any time by pressing the
Clear Button
. The message shown in
Figure 87 will appear, the data entered in the
current process will be lost and the remote will
return to normal operation. Any process that
was underway when the button will be pressed
must be re-started.
• Extensive use of the programming, learning
and configuration functions of the remote may
consume significantly more battery power than
normal remote operation. While the batteries
should last for four to six months in normal
operation, you may find that they need to be
changed sooner after the remote is
programmed for the first time.
• When the batteries approach a level below
which the remote will not function, the
remote’s LCD screen will display a
LOW
BATTERY
warning as shown in Figure 88. We
strongly recommend replacing the batteries as
soon as this message appears to avoid the loss
of programming and configuration settings.
These settings are not lost when the batteries
are changed quickly.
Figure 88
• The remote has a built-in backlight that may be
activated by pressing the
Light Button
Q
.
This button is made from a special “glow”
material so that it is easier to find in dark
rooms. This glow feature does not consume any
electricity, but the glow will fade when the
remote is kept in a dark location for an
extended period of time. The “glow” feature
may be restored by placing the remote in
normal room light for a few hours.
• The remote’s backlight will remain lit for
approximately five seconds after the
Light
Button
Q
is pressed, and it will stay lit for
another five seconds if any key is pressed while
the backlight is on. You may keep the backlight
lit by holding the Light Button, but extensive
use of the backlight will reduce battery life.
• The LCD display will remain on for ten seconds
after a key is pressed and then turn off to
conserve battery life.
• When any button is held for more than thirty
seconds the LCD will turn off and the remote
will stop transmitting the codes to conserve
battery life.
A V R
L O W B A T T E R Y
T I M E O U T O R
C L R K E Y P R E S S E D
B A C K L I G H T
O N F U L L
M A I N M E N U
B A C K L I G H T
R E M O T E R E S E T
C O M P L E T E
R E S E T T I N G . . .
29851_AVR645_ENG 30/10/06 9:46 Side 62


