8
Hangar 9 F4U-1D Corsair 50 ARF
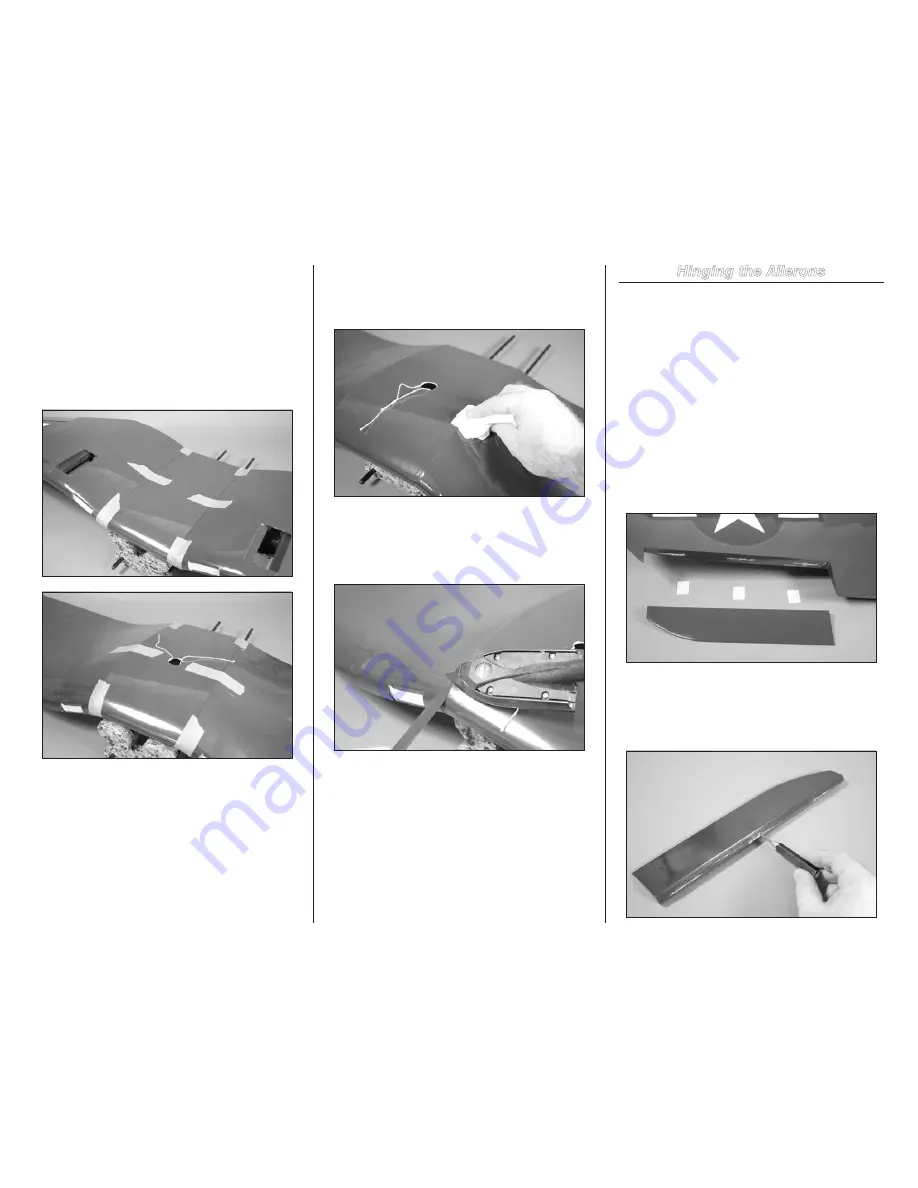
10. Slide the outer and center panels together. Make sure
to guide the strings in the wing panels through the hole in
the center panel. Wrap a piece of low-tack tape around the
leading and trailing edges to keep the panels in alignment.
Use a piece of low-tack tape to hold the panels tightly
together until the epoxy fully cures.
Note
: Make sure to support the wing at the center
section. If it is resting on the tips, it may change the
alignment of the panels while the epoxy cures.
hint
: Use low-tack tape to tape the string
to the top of the wing to prevent it from
falling back into the center section.
11. After the epoxy has been allowed to cure for an
hour, remove the tape from the wing panels. Use denatured
alcohol to remove any excess epoxy from the wing panels
before it has a chance to fully cure.
12. Use a covering iron to apply the two strips of
covering over the joint between the outer panels and the
center panel starting at the trailing edge and wrapping the
covering strip around the leading edge in one piece. This will
eliminate any seams which could come loose in flight.
hinging the Ailerons
Required Parts
Assembled wing
CA hinge (6)
Required Tools and Adhesives
Pin vise
Drill bit: 1/16-inch (1.5mm)
Thin CA
T-pins
Note
: The aileron bas been positioned on the
wing for shipping. Please follow the instructions
for gluing the hinges. Not following this procedure
will result in a poorly installed hinge, which could
cause the aileron to come loose in flight.
1. Separate the aileron from the wing. Set the three
hinges aside at this time.
2. Use a pin vise and 1/16-inch (1.5mm) drill bit to
drill a hole in the center of each hinge slot. This creates
a tunnel for the CA to wick into, creating a better bond
between the hinge and surrounding wood. Prepare both the
slots in the aileron and wing at this time.


