39
Hangar 9 F4U-1D Corsair 50 ARF
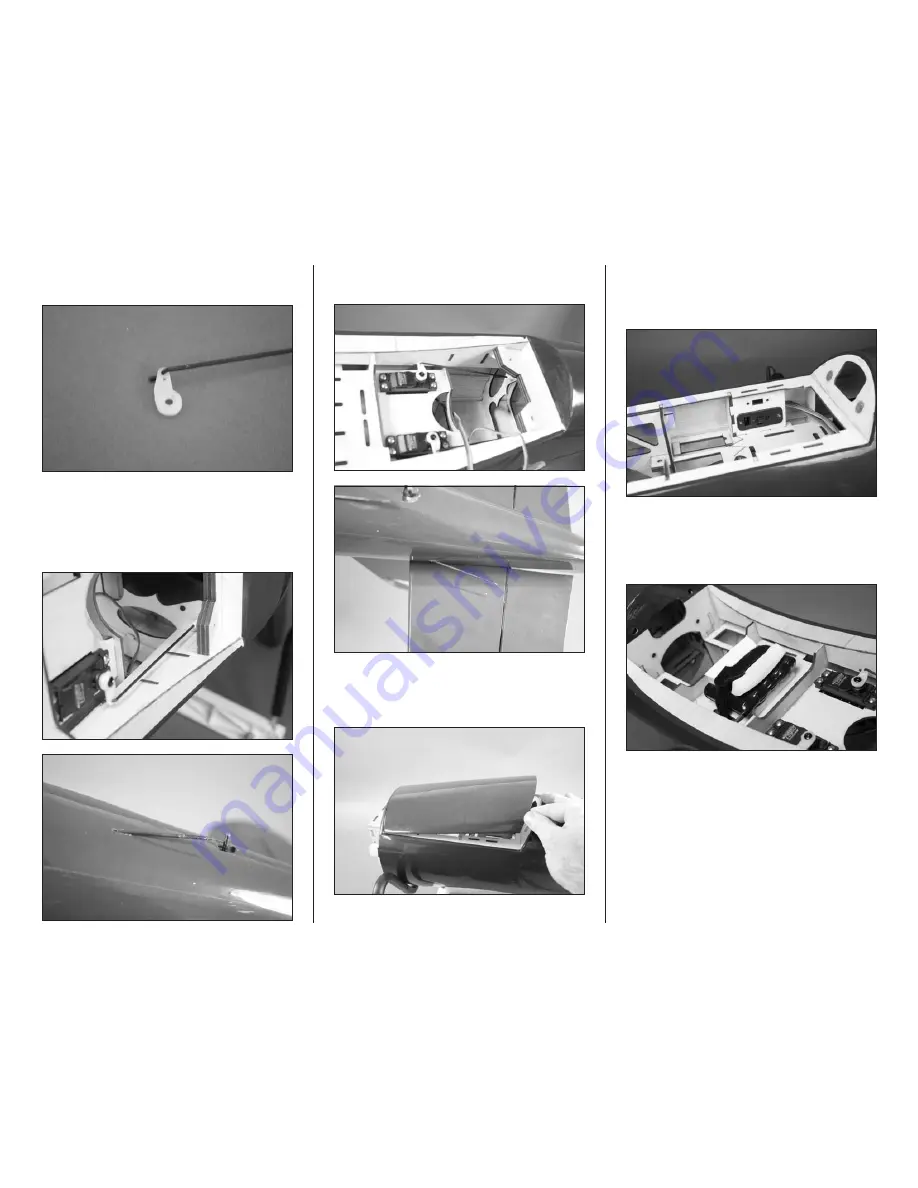
9. Insert the Z-bend of the 2mm x 505mm rudder
pushrod through the hole enlarged in the previous step.
10. Slide the pushrod into the pushrod tube in the
fuselage. Use a hobby knife and #11 blade to remove the
covering from the pushrod tube opening at the rear of the
fuselage. With the rudder servo centered and the transmitter
stick and trim centered, attach the servo horn to the rudder
servo so it is perpendicular to the servo centerline.
11. Repeat steps 3 through 9 to install the elevator servo
and the 2mm x 610mm elevator pushrod in the fuselage.
12. Slide the hatch forward then lift it up at the rear.
There are tabs near the rear edge that must clear the top of
the fuselage before lifting the hatch, so make sure the hatch
is slid forward as far as possible before removal.
13. Mount the receiver switch harness in the fuselage
using the hardware provided with the switch. There are
multiple locations for the switch, so choose the one that best
suits your application.
14. Use the hook and loop strap to secure the receiver
battery in the fuselage. Make sure to use foam rubber at any
point the battery may contact the airframe to protect it from
vibrations. Plug the battery into the switch harness at this
time as well.


