30
Hangar 9 F4U-1D Corsair 50 ARF
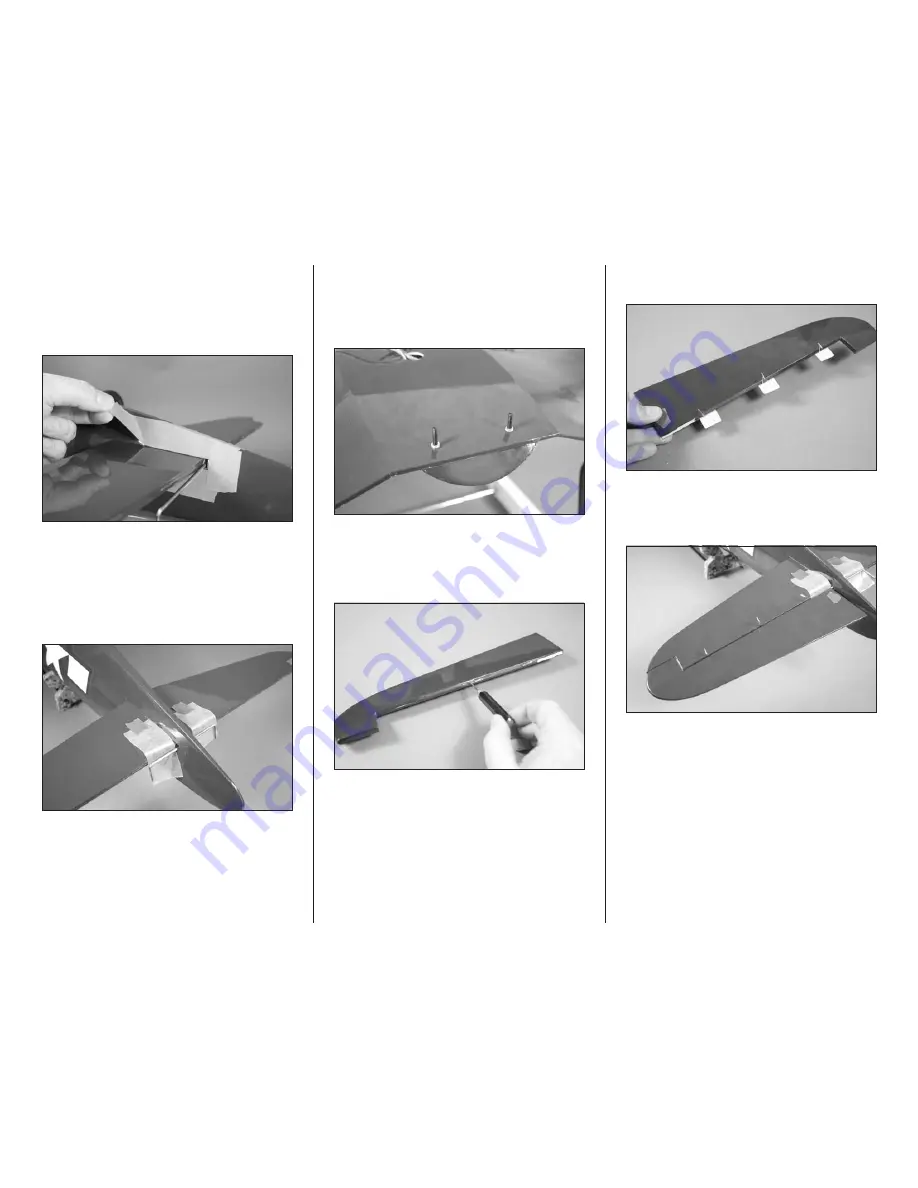
17. After around 25 minutes, before the epoxy fully cures,
carefully remove the tape from around the stabilizer. Pull the
tape away from the fuselage, being careful not to disturb the
position of the stabilizer. This will allow the epoxy to flow out
slightly, leaving a fillet between the fuselage and stabilizer.
Allow the epoxy to fully cure before disturbing the airframe.
18. Once the epoxy fully cures, the wing can be removed
from the fuselage by removing the two 8-32 bolts using a
9/64-inch hex wrench.
19. Cut two 1
1
/
2
-inch (38mm) wide pieces of waxed
paper. Tape the waxed paper to the stabilizer so the joiner
wire doesn’t get accidentally glued to the stabilizer when the
elevators are installed.
Note
: Once the epoxy has fully cured, the wing can
be removed from the fuselage using a 9/64-inch hex
wrench. Using small 1/4-inch (6mm) pieces of the
included safety tubing on the shaft of the 8-32 wing
bolts will help to keep the bolts with the wing.
20. Use a pin vise and 1/16-inch (1.5mm) drill bit to drill
a hole in the center of each hinge slot. This creates a tunnel
for the CA to wick into, creating a better bond between the
hinge and surrounding wood. Drill holes in both the elevator
and stabilizer hinge slots.
21. Place a T-pin in the center of three hinges. Insert
the hinges into the elevator as shown.
22. Check the fit of the elevator to the stabilizer. Make
sure the joiner wire is inserted into the elevator in the same
orientation as step 11. The elevator should fit tightly against
the stabilizer.


