32
Hangar 9 F4U-1D Corsair 50 ARF
Fin and Rudder Installation
Required Parts
Fuselage assembly
Rudder and fin
CA hinge (2)
3mm torque rod
Balsa fairing, blue
Required Tools and Adhesives
30-minute epoxy
Epoxy brush
Toothpick
Hobby knife with #11 blade
Waxed paper
Low-tack tape
Ruler
T-pins
Medium grit sandpaper
Thin CA
Petroleum jelly
Paper towels
Rubbing alcohol
Important
: Please follow the instructions provided
to install the rudder and fin. We have tried various
methods, and the provided sequence will yield
the best results and alignment for your model.
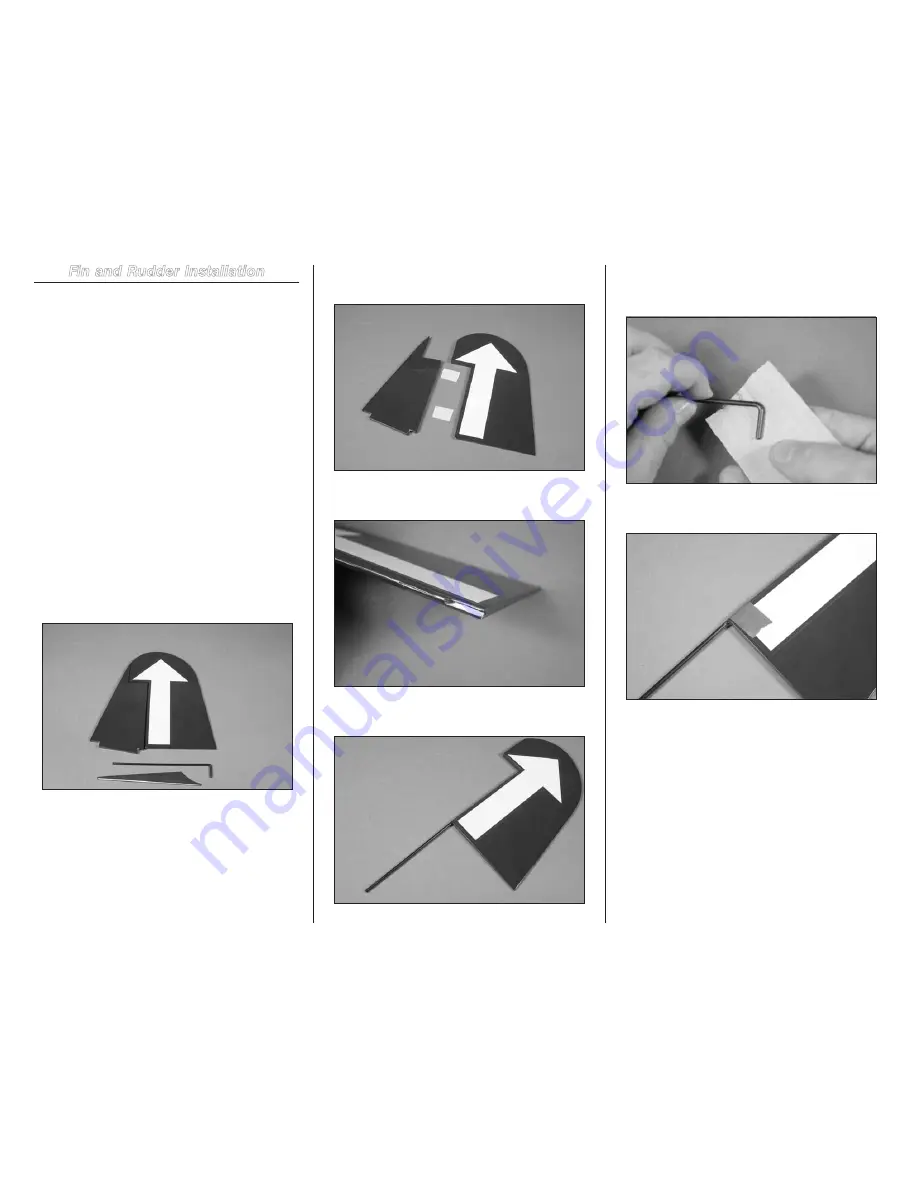
1. Locate the rudder, fin and 3mm torque rod. You will
also need the fuselage for the installation of the fin and
rudder.
2. Separate the rudder from the fin. Set the fin and two
CA hinges aside.
3. Use a hobby knife with a #11 blade to remove the
covering from the rudder for the 3mm torque rod.
4. Fit the torque rod into the rudder. The front edge of the
torque rod will align with the rudder hinge line.
5. Remove the torque rod from the rudder. Use medium
grit sandpaper to roughen the torque rod where it will
contact the rudder.
6. Place the torque rod into the rudder. Use low-tack tape
to hold the torque rod in position.


