24
Hangar 9 F4U-1D Corsair 50 ARF
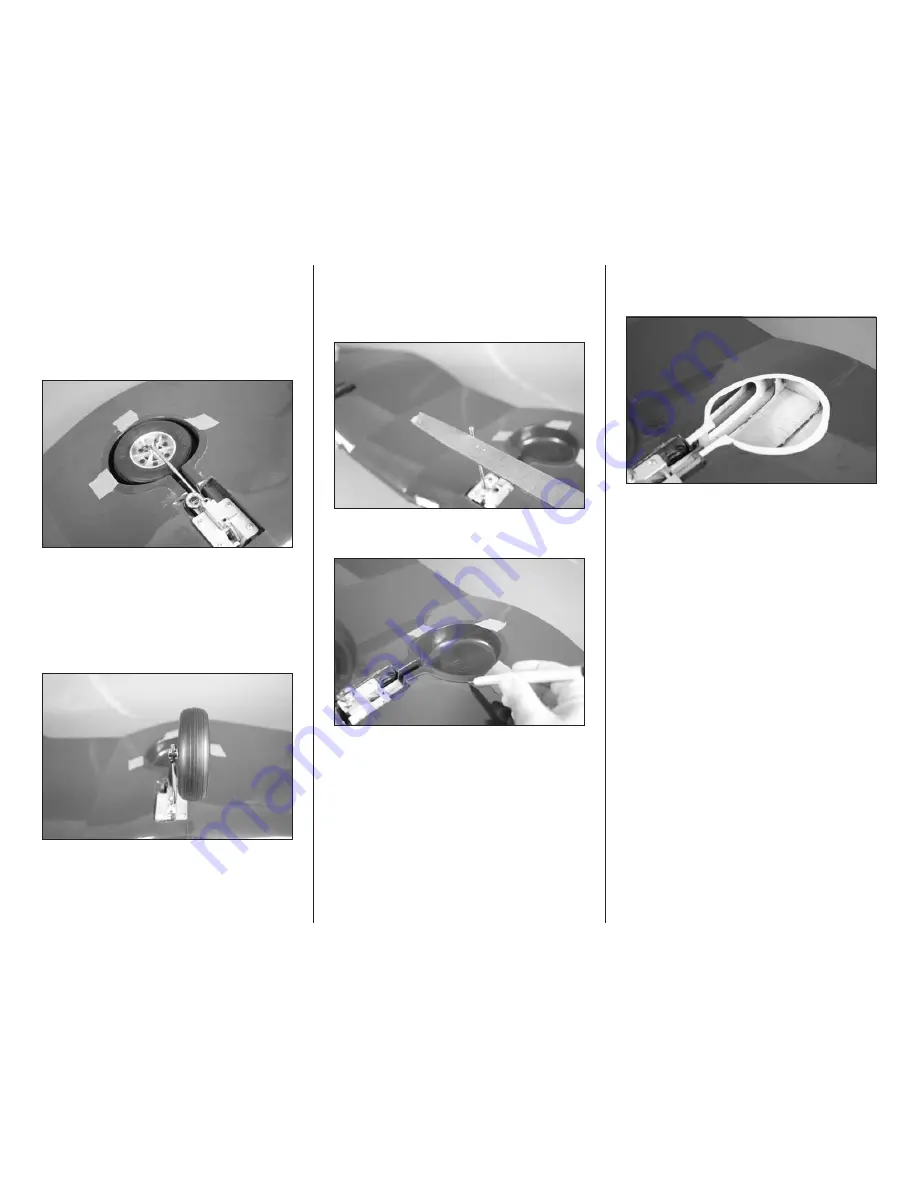
27. With the retract in the down position, slide the axle
on the landing gear wire. Note that the wheel faces toward
the wing tip as shown in the following step. Use the radio
to move the gear to the up position while guiding the wheel
into the wheel well. Use a 2.5mm hex wrench to tighten
the two screws that secure the axle to the main gear wire.
Only tighten the screws enough so the wheel won’t change
position when the retract is in motion.
28. Use the radio to move the gear to the down
position. Check that the wheel has a very slight amount of
toe-in (front of wheels slightly closer to the wing centerline)
in relationship to the wing centerline. This will make take-
off much easier. Cycle the retract a few times and adjust
the position of the wheel on the axle and the wheel well if
necessary so they do not contact each other while operating
the retracts.
Note
: Always use threadlock on metal-to-metal
fasteners to prevent them from vibrating loose.
29. Tighten the screws on the axle so they leave
indentations on the wire strut. Remove the axle then use a
flat file to make flat areas for the screws so the axle does
not rotate on the gear wire. Replace the axle and tighten the
screws using a 2.5mm hex wrench.
30. Use a felt-tipped pen to trace around the wheel
well.
31. Use a hobby knife with a new #11 blade to remove
the covering 5/64-inch (2mm) inside the line so the wheel
well can be glued to the exposed wood.
Note
: Make sure to use a new #11 blade and
use light pressure to trim only the covering.
Avoid cutting into the underlying wood, which
could weaken the structure of your model.
32. Use canopy glue to secure the wheel well in the
wing. Use low-tack tape to hold the wheel well in position
until the glue fully cures. See photo at step 26.
Note
: It may be necessary to use a rotary
tool and cut-off wheel to trim the length of the
landing gear closer to the axle once installed.
33. Repeat steps 2 through 32 to install the remaining
retract assembly and wheel.
Note
: When installing the remaining retract, make
sure to measure the position of the axle on the current
retract to match the length of the struts exactly.


