36
Hangar 9 F4U-1D Corsair 50 ARF
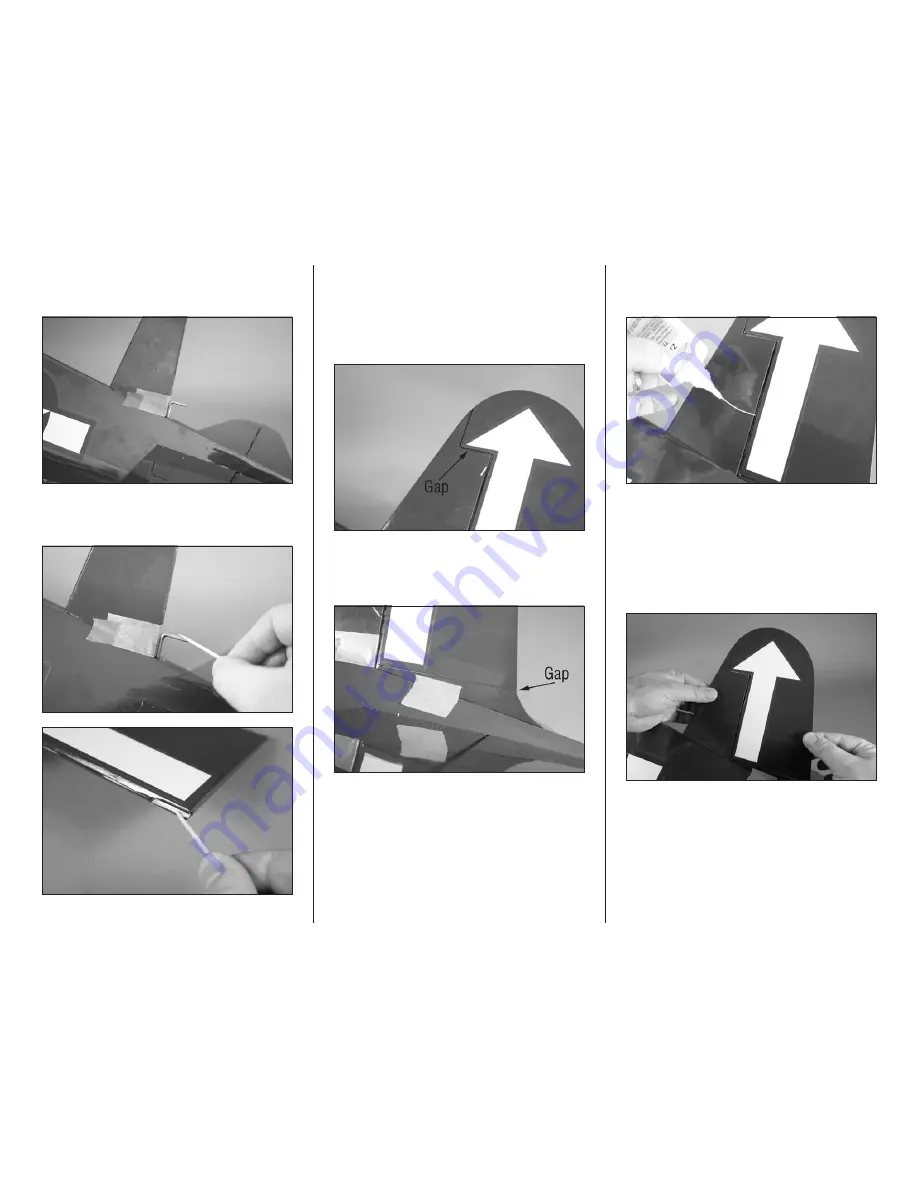
23. Cut a 1-inch (25mm) wide pieces of waxed paper.
Tape the waxed paper to the fin so the torque rod doesn’t get
accidentally glued to the fin when the rudder is installed.
24. Mix a small amount of 30-minute epoxy and apply
it to the torque rod and into the hole and slot in the rudder
using a toothpick.
25. Place the rudder into position using the hinges. Make
sure the torque rod fits into the hole in the rudder.
26. Position the rudder so there is a slight gap between
the balance tab and the top of the fin. This will set the gap so
the rudder can move smoothly. As well, set the clearance for
the balsa fairing.
27. Use low-tack tape to tape the balsa fairing in position
on the fuselage. Make sure the rudder can move freely and
not rub against the fairing before gluing the hinges. The gap
in step 26 should match the gap in this step.
28. Remove the tape and waxed paper from the fin.
Saturate each of the two hinges on both the top and bottom
of the hinge. Set the assembly aside to cure.
Important
: Allow the CA to cure WITHOUT using
CA accelerator. This is necessary to allow the CA
to soak into the hinge, creating the best bond
between the hinge and surrounding wood.
29. Once the CA has cured, check that all the hinges are
secure by gently trying to separate the rudder from the fin. If
any hinges are loose, re-apply CA to the loose hinges.


