EZMaster
EZMaster
User’s Guide
Page 32 of 53
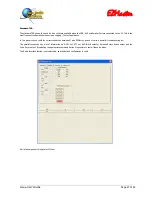
Port Setup frame
Select the Port to configure and then select the communication parameters, according to the connected devices. At the end of the
configuration click OK to send the information to EZMaster.
This command is immediately executed: it may happen that a peripheral, if it is not properly configured, will stop to work.
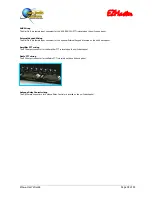
PTT Command frame
PTT A
When checking this checkbox, the PTT A Relay is closed and, after the user-defined PTT DELAY time, also the PTT A Delay
Relay is closed.
PTT A Delay
When checking this checkbox, only the PTT A DELAY Relay is closed.
PTT B
When checking this checkbox, the PTT B Relay is closed and, after the user-defined PTT DELAY time, also the PTT B Delay
Relay is closed.
PTTB Delay
When checking this checkbox, only the PTT B DELAY Relay is closed.
RADIO A/B
When checking this checkbox all the connected peripherals will switch from RADIO A to RADIO B and viceversa. Microphones,
DVK, CW Keyer, Headphones, FSK and digital audio outputs are affected by this command.
PTT
When checking this checkbox the PTT, for the selected RADIO, is asserted.
Both PTT
When checking this checkbox the “Both PTT” function is enabled. “Both PTT” is a useful function that allows to put in TX
mode the unused Radio, when the main RADIO is in TX. This can be useful when, due to interference, or antenna sharing, it
is impossible, or dangerous, to listen on the second radio; so, for safety reasons (mainly to preserve the RX circuitry),
dropping the PTT without transmitting is a valid solution to avoid the possible RX overloading.
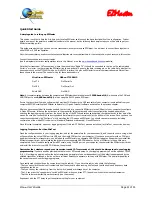
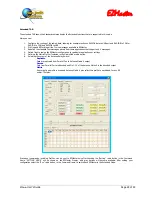
WinKey frame
Clicking on the “
OFF”
button, that should toggle into “
ON
”, enables the Winkey built-in keyer (
www.k1el.com
). The Version and pot
speed is then shown to indicate that the initialization has been properly done. The Paddle Keyer input of EZMaster is switched to
Winkey, when it is enabled.
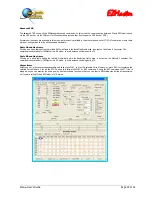
Version frame
The EZMaster firmware version is shown. Currently 1.30.
Admin frame
Reset
When clicked, a software Reset of EZMaster is generated. All parameters are saved.
Date
Clicking on this button will synchronize the EZMaster Date/Time Calendar with the PC clock.
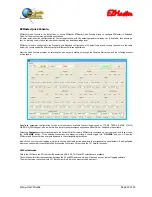
Mode frame
CW
When selected, allows the F1-F7 buttons to send the default Test messages when Winkey is enabled.
The Test messages strings are not editable as they are for test only.
SSB
When selected, allows the F1-F7 buttons to PLAY the corresponding Recorded message, while SHIFT F1-F7 will RECORD the
selected message.
Содержание EZMaster
Страница 52: ...EZMaster EZMaster User s Guide Page 52 of 53 Mainboard Printed Circuit Rev 4 00...
Страница 53: ...EZMaster EZMaster User s Guide Page 53 of 53 Take your Personal Notes here...
Страница 72: ...Microphone Cable ICOM EzMaster Back Panel View IcomMic EZMaster 1 4 7 5 5 2 6 3 Cable Lenght 90 cm...
Страница 73: ...Microphone Cable YAESU EzMaster Back Panel View YaesuMic EZMaster 8 4 7 5 6 2 5 3 Cable Lenght 90 cm...
Страница 74: ...Microphone Cable Kenwood EzMaster Back Panel View Kenwood Mic EZMaster 1 4 7 5 2 2 8 3 Cable Lenght 90 cm...
Страница 75: ...Microphone Cable Orion EzMaster Back Panel View Orion Mic EZMaster 2 4 1 5 3 2 4 3 Cable Lenght 90 cm...
Страница 78: ...CW Cable RCA Connector Jack 6 3 Cable Lenght 150 cm...
Страница 81: ...Radio YAESU Cable MiniDin 6 DIN 6 Cable Length 90 cm EzMaster Back Panel View DIN 6 MiniDin 6 1 GND 2 4 3 5...
Страница 85: ...RTTY FSK AFSK ORION Cable MiniDin 8 DIN 8 Cable Length 150 cm DIN 8 MiniDin 8 7 1 2 2 3 3 2 4 1 6 2 5 4 6 7 2 8...

