39
ENGLISH
NETWORKSETUP
-------------------------------------------------------------------------------------------
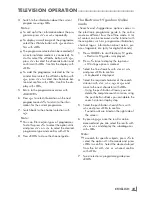
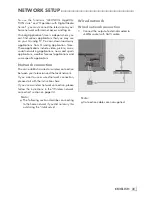
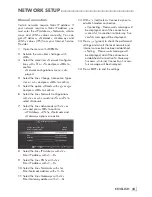
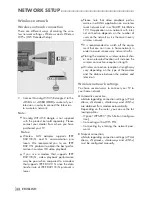
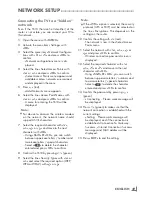
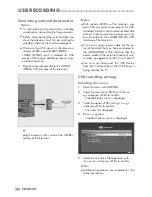
ConnectingtheTVtoa“hidden”
network
Even if the SSID (Service Set Identifier) of the
router is not visible, you can connect your TV to
this network.
1
Open the menu with »
MENU
«.
2
Activate the menu item »Settings« with
»
OK
«.
3
Select the menu item »Network Configura-
tion« with »
>
« or »
<
« and press »
OK
« to
confirm.
– »Network configuration« menu is dis-
played.
4
Select the line »Select Access Point« with
»
V
« or »
Λ
« and press »
OK
« to confirm.
– »Select Access Point« menu appears and
available wireless networks are scanned
and displayed in the menu.
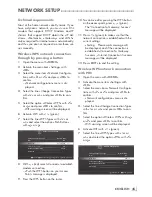
5
Press »
« (red).
– »Add Network« menu appears.
6
Select the line »Access Point Name« with
»
V
« or »
Λ
« and press »
OK
« to confirm.
– A menu for entering the SSID will be
displayed.
Note:
7
For device to discover the wireless modem
on the network, the network name should
support ASCII characters.
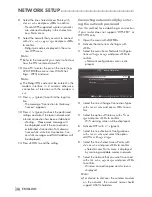
7
Select the required character with »
V
«,
»
Λ
«, »
<
« or »
>
« and move to the next
character with »
OK
«.
– Using »
Shift
«
➡
»
OK
«, you can switch
between uppercase letters / numbers and
lowercase letters / special characters.
– Select »
« to delete the character
entered and press »
OK
« to confirm.
8
Confirm the SSID by pressing »
« (green).
9
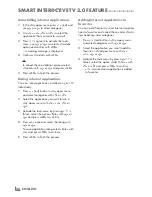
Select the line »Security Type« with »
V
« or
»
Λ
« and select the required option (WEP,
WPA or WPA2) with »
<
« or »
>
«.
Note:
7
If the »WPA« option is selected, the security
protocol (AES or TKIP) must be selected on
the line »Encryption«. This depends on the
settings on the router.
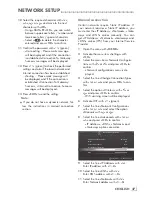
10
Confirm the setting with »
« (red).
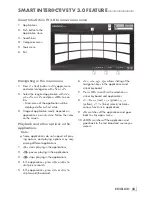
– The network is now in the »Select Access
Point« menu.
11
Select the network with »
V
«, »
Λ
«, »
<
« or
»
>
« and press »
OK
« to confirm.
– Wireless connection password screen is
displayed.
12
Select the required character with »
V
«,
»
Λ
«, »
<
« or »
>
« and move to the next
character with »
OK
«.
– Using »
Shift
«
➡
»
OK
«, you can switch
between uppercase letters / numbers and
lowercase letters / special characters.
– Select »
« to delete the character
entered and press »
OK
« to confirm.
13
Confirm the password by pressing »
«
(green).
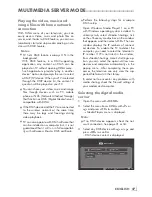
– »Connecting ... Please wait« message will
be displayed.
14
Press »
« (green) to make sure that the
network connection is established with the
current settings.
– »Testing ... Please wait« message will
be displayed, and if the connection is
established »Connection To Gateway:
Success«, »Internet Connection: Success«
messages and MAC address will be
displayed.
15
Press »
EXIT
« to end the setting.
Содержание Toronto 55 CLE 6545 AL
Страница 1: ...EN Toronto 55 CLE 6545 AL ...

