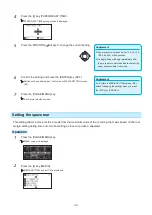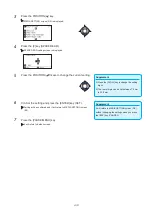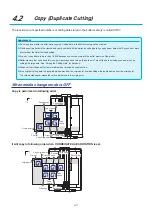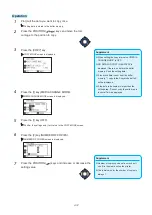
5-3
5.2
Adjusting Coordinate Axes
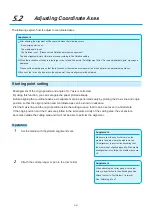
The following explain how to adjust to coordinated axes.
Supplement
•
After aligning, the alignment will be canceled when the following occurs.
· A new origin point is set.
· The media again is set.
· The Rotation is set. (Please set the Rotation before axis alignment.)
The axis alignment point at this time moves according to the Rotation setting.
•
When the inclination of the axis is too large in the 1st and 2nd points "Axis Alignment Error: "Set axis adjustment again" message is
displayed.
Please set the media again so that the inclination of the media becomes small, and then perform the adjustment operation.
•
If you set the 1st and 2nd points to the same point, the axis alignment will be cleared.
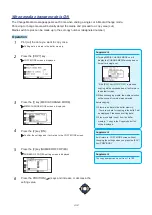
Starting point setting
Misalignment of the origin position and angle of X-Y axis is corrected.
By using this function, you can set again the paper plotted already.
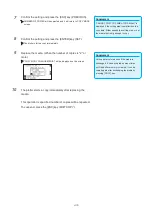
Before aligning the coordinate axes, axis alignment can be performed easily by plotting the X axis line and origin
position so that the origin position and coordinate axis can be known in advance.
Plot the X axis line and the origin position inside the cutting area so that it can be set even in a tilted state.
If the origin position and the X axis are plotted in the immediate vicinity of the cutting area, the set position
becomes outside the cutting area and it will not be able to perform the alignment.
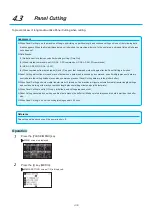
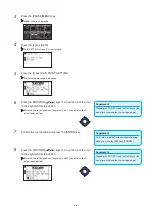
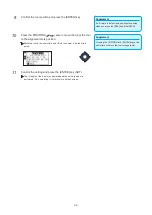
Operation
Supplement
Make sure that the push rollers are on the
media in the area where the media moves.
This alignment is a correction assuming that
the media is set slightly diagonally. If the media
misalignment is too large, the media may come
off.
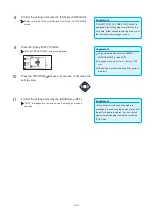
1
Set the media with the plotted alignment mark.
Supplement
When attaching the cutter plunger to the tool
holder, pay attention to the attaching position.
Attach the tool to Tool Holder 1 (forward).
See "Attaching a Tool".
2
Attach the cutter plunger or pen to the tool holder.
Содержание CE7000-130AP
Страница 1: ...USER S MANUAL MANUAL NO CE70AP UM 151 CE7000 130AP CUTTING PLOTTER...
Страница 2: ......
Страница 19: ...1 3 Dedicated accessories A stand with a basket is supplied...
Страница 84: ......
Страница 104: ......
Страница 110: ......
Страница 128: ......
Страница 184: ......
Страница 245: ...A 7 PAUSE MENU 2 Continued MENU screen AXIS SETTING 1 1 Default screen Continued 1 2...
Страница 246: ...A 8 3 PAUSE MENU Continued MENU screen AREA PARAMETERS 1 1 Default screen Continued 1 2 3 4...
Страница 250: ...A 12 PAUSE MENU Continued MENU screen TEST 1 2 TEST 2 2 Default screen Continued 2 3 1 1 4...
Страница 251: ...A 13 PAUSE MENU MENU screen MEM SETTING 1 1 1 Default screen Continued Default screen Finish...
Страница 254: ......
Страница 258: ......
Страница 260: ......

