7 – 5
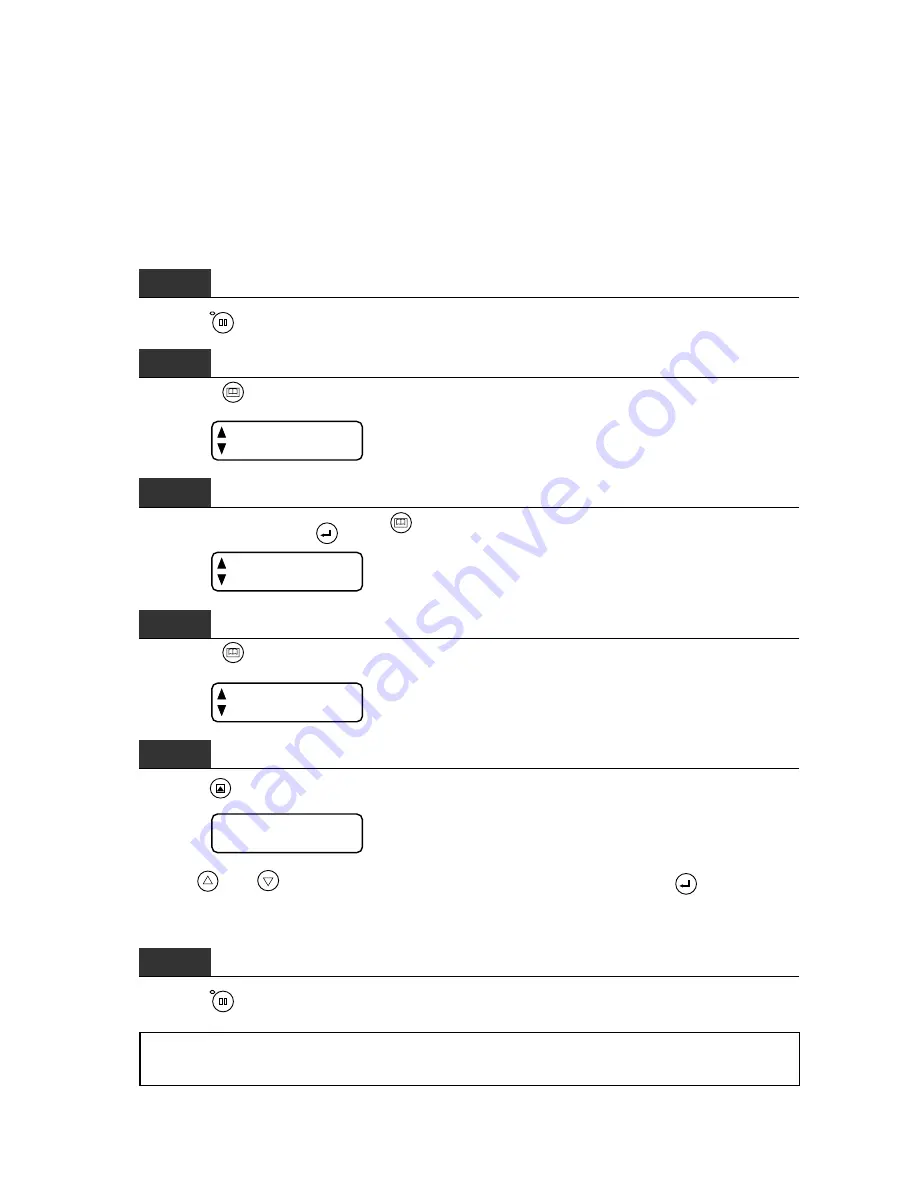
7.4 Selecting the STEP PASS
Use this function when the coordinate data received specifies extremely short line segments. The cutting
plotter uses the specified STEP PASS setting as the unit for blade tip control, omitting blade tip control
for any data that is below the STEP PASS setting. This results in higher image quality by permitting
smooth blade tip control when cutting circles, arcs, and other curved lines. If the STEP PASS setting
is too high, the image defined by the data may not be faithfully reproduced. Normally, set the STEP
PASS setting to 0.
Step
1
Press the
PAUSE
key to enter PAUSE mode.
Step
2
Press the
NEXT PAGE
key until the menu below appears.
INTERFACE
PEN UP/DOWN
Step
3
Simultaneously press the
ENTER
and
NEXT PAGE
keys to display the menu below.
PEN UP SPEED
OFFSET FORCE
Step
4
Press the
NEXT PAGE
key until the menu below appears.
OFFSET ANGLE
STEP PASS
Step
5
Press the
F2/TEST
key (STEP PASS) to display the menu below.
STEP PASS
0
Use the
and
keys to select the desired STEP PASS and then press the
ENTER
key to register
your setting.
The STEP PASS can be set in a range of 0 to 20.
Step
6
Press the
PAUSE
key to cancel the PAUSE mode.
NOTE : The STEP PASS setting is retained in the cutting plotter’s internal memory, even while
the cutting plotter is turned off.
Содержание CE200-120
Страница 1: ...CE2000 60 120 USER S MANUAL MANUAL NO CE2060 UM 151 CUTTING PLOTTER...
Страница 13: ...1 1 INTRODUCTION 1 1 Overview 1 2 1 2 Standard Accessories 1 2 1 3 Assembling Your Plotter CE2000 120 1 3...
Страница 17: ...2 2 NAMES OF THE MAIN PARTS 2 1 Front View 2 2 2 2 Rear View 2 3 2 3 Control Panel 2 4...
Страница 91: ...A 5 CE2000 120 with optional basket 1494 1333 1189 820...


