6 – 3
6.2 Using the COPY Function
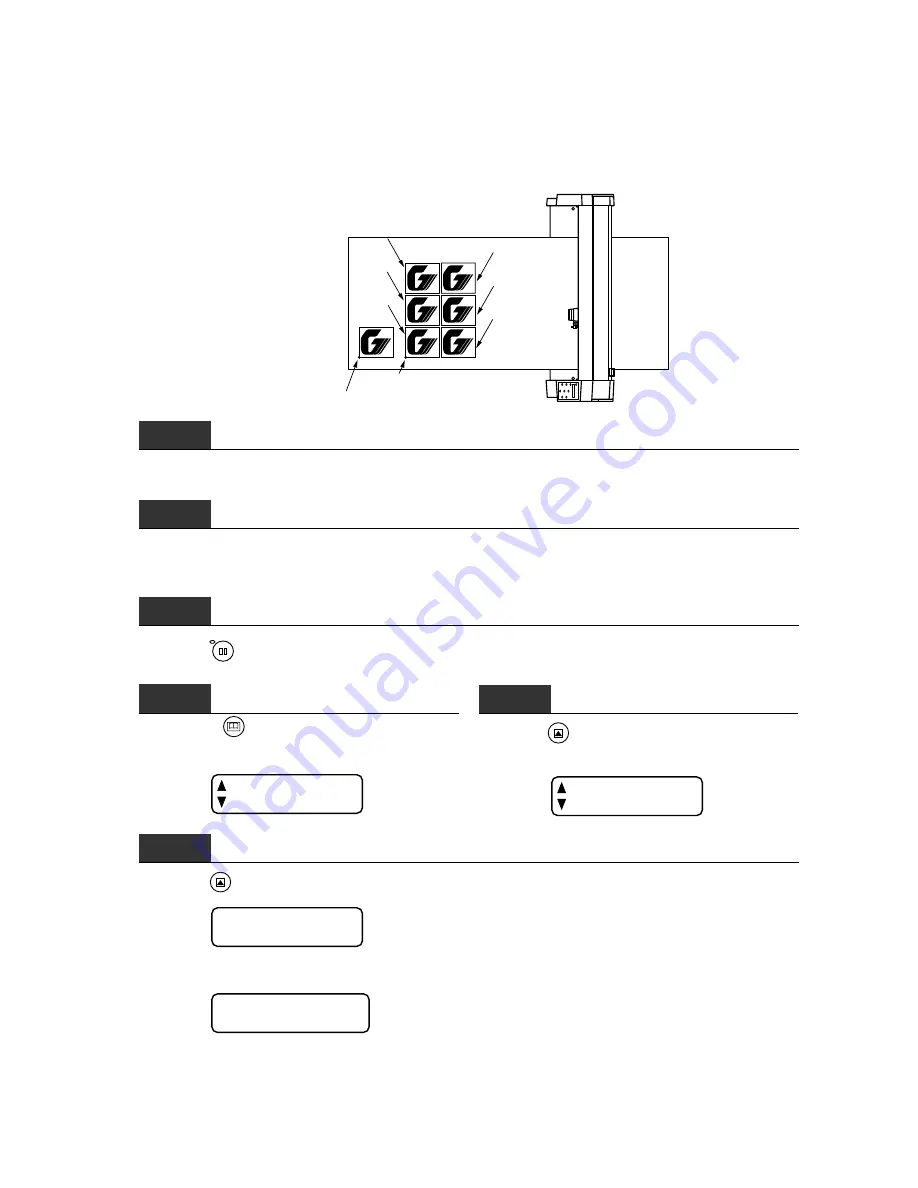
Use the COPY function to make duplicate copies of cutting data that has been sent from the computer
and retained in the cutting plotter’s internal memory.
Initial cutting operation’s origin
3rd copy
2nd copy
1st copy
6th copy
5th copy
4th copy
COPY operation’s origin
Step
1
Send the data to be copied to the cutting plotter and perform a single cutting operation with that data.
Step
2
Use the POSITION keys to move the cutter pen to the desired origin of (the starting position for cutting/
plotting by) the COPY operation.
Step
3
Press the
PAUSE
key to enter the PAUSE mode.
Step
4
Press the
NEXT PAGE
key until the menu below ap-
pears.
FILM
FUNCTIONS
Step
5
Press the
F2/TEST
key (FUNCTIONS) to display
the menu below.
ROTATE
COPY
Step
6
Press the
F2/TEST
key (COPY) to display the menu below.
COPY MODE
COUNT 1
If the data to be copied exceeds the effective cutting area, the warning message below appears.
CANNOT COPY
If this message appears, either use the POSITION keys to reposition the COPY operation’s origin or
load film with an area large enough to contain the target data.
Содержание CE200-120
Страница 1: ...CE2000 60 120 USER S MANUAL MANUAL NO CE2060 UM 151 CUTTING PLOTTER...
Страница 13: ...1 1 INTRODUCTION 1 1 Overview 1 2 1 2 Standard Accessories 1 2 1 3 Assembling Your Plotter CE2000 120 1 3...
Страница 17: ...2 2 NAMES OF THE MAIN PARTS 2 1 Front View 2 2 2 2 Rear View 2 3 2 3 Control Panel 2 4...
Страница 91: ...A 5 CE2000 120 with optional basket 1494 1333 1189 820...


