Gnome-PII
22
9.3.2 Getting Public Key
The Get key button is used for creating public key and saving it to PC hard drive. Public key is
needed for audio recording authenticity verification using digital signature (see section 9.3.3).
Click Get key (Figure 6). In the Save as dialog specify folder you want to save file to.
The default public key name is
PublicKey
. You can change file name.
9.3.3 Digital Signature Verification
The Verify sign button allows you to verify recording authenticity thus, to make sure audio file has
not been modified after being copied to PC hard drive.
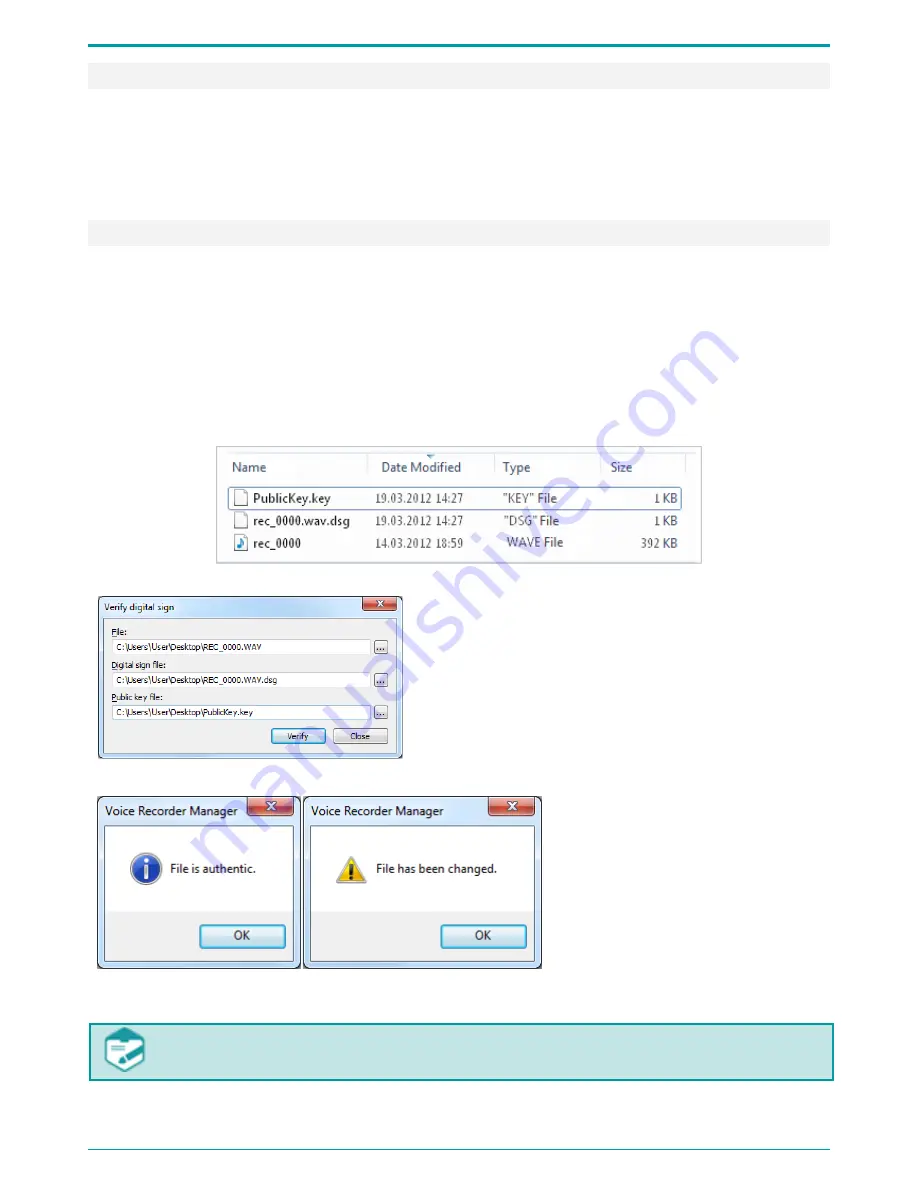
If digital signature has been created for a recording (see section 9.5.7), you can verify its
authenticity by analyzing this recording and digital signature file. To perform verification, apart
from audio recording you need digital signature file and public key file. You are recommended to
locate public key file (
.key
), digital signature file (
.dsg
) and audio recording (
.wav
) in the same
folder (Figure 8).
Figure 8: Files prepared for verification process
Figure 9: Specifying access paths
To start verification process, click Verify sign
(Figure 6).
In the Verify digital sign dialog (Figure 9) specify
access path to the file, its digital signature and public
key files and click Verify.
Verification results are displayed in the dialog shown
on Figure 10.
Figure 10: Verification result dialog
If a file has been modified,
you will see the following
message: File has been
changed.
If a file has not been
modified,
the
following
message will appear: File is
authentic.
Get key and Verify sign are always accessible, which allows you to perform verification
without connecting the device to PC .


