66
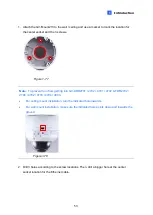
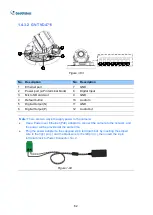
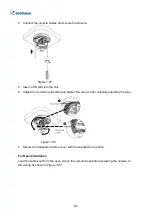
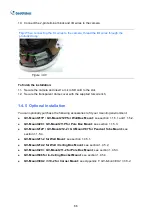
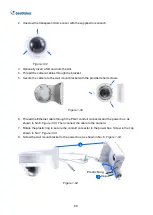
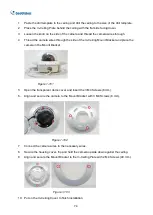
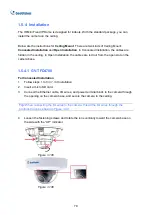
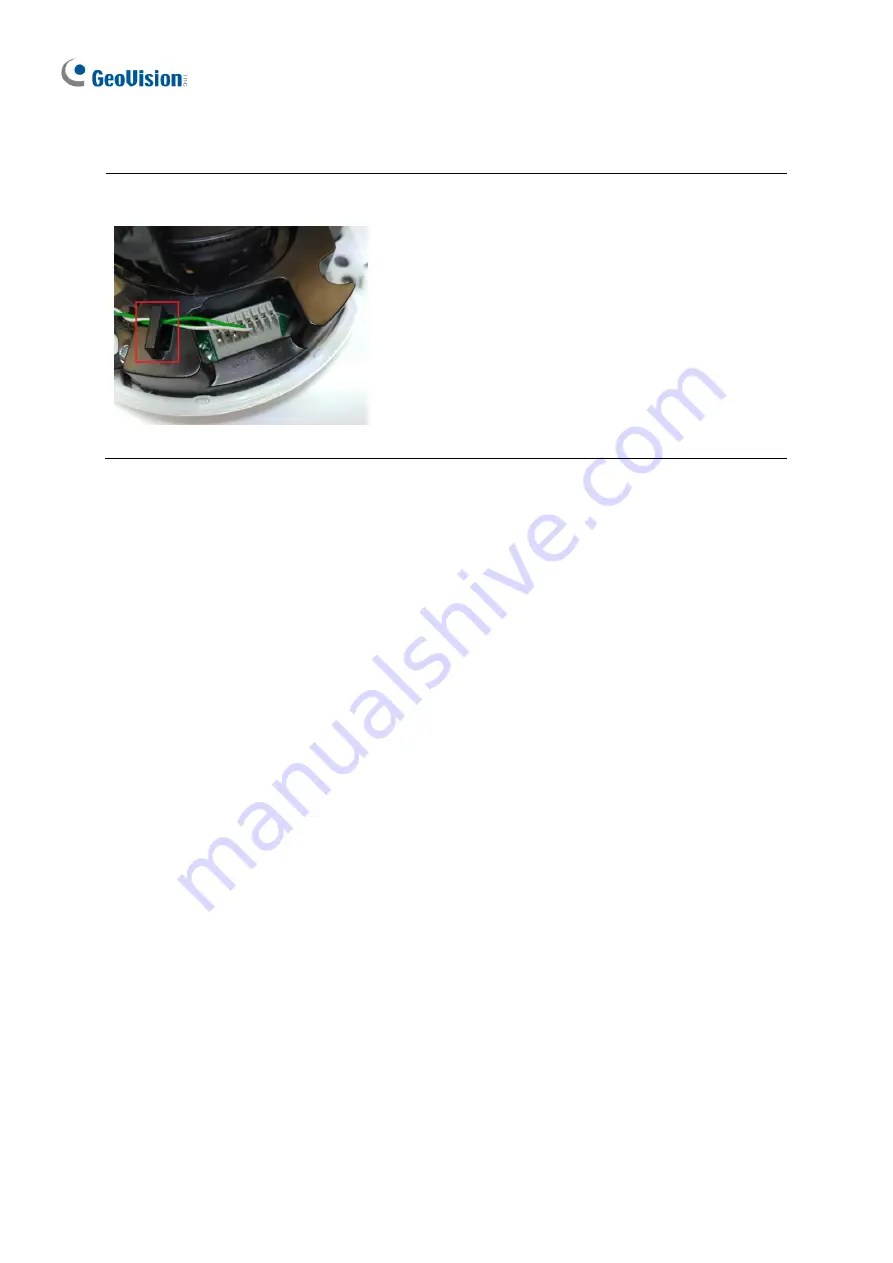
10. Connect the 2-pin terminal block and I/O wires to the camera.
Tip:
When connecting the I/O wires to the camera, thread the I/O wires through the
protruded loop.
Figure 1-90
To finish the installation:
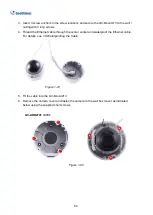
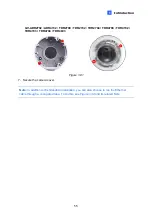
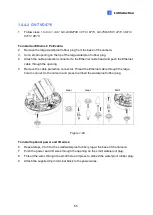
11. Secure the camera and insert a micro SD card to the slot.
12. Secure the transparent dome cover with the supplied torx wrench.
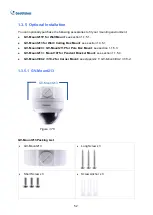
1.4.5 Optional Installation
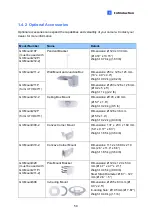
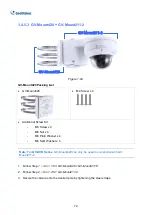
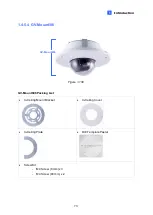
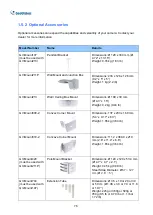
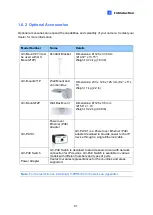
You can optionally purchase the following accessories to fit your mounting environment:
⚫
GV-Mount211P
/
GV-Mount212P for Wall Box Mount:
see section 1.1.5.1 and 1.1.5.2.
⚫
GV-Mo GV-Mount211P for Pole Box Mount:
see section 1.1.5.3.
⚫
GV-Mount212P / GV-Mount212-2 + GV-Mount107 for Pendant Tube Mount:
see
section 1.1.5.4.
⚫
GV-Mount211-2 for
Wall Mount
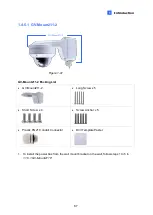
: see section 1.4.5.1.
⚫
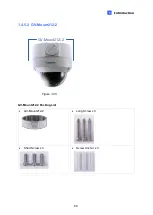
GV-Mount212-2 for
Wall / Ceiling Box Mount
: see section 1.4.5.2.
⚫
GV-Mo GV-Mount211-2 for Pole Box Mount
:
see section 1.4.5.3.
⚫
GV-Mount606 for In-Ceiling Bracket Mount
: see section 1.4.5.4.
⚫
GV-Mount300-2 / 310-2 for Corner Mount:
see
Appendix F. GV-Mount300-2 / 310-2
.
Содержание GV-ABL Series
Страница 14: ......

