


3.6.1
General UNICORN operation
UNICORN modules overview
UNICORN consists of four modules: System Control, Evaluation, Administration and
Method Editor.
The main functions of the modules are described in the table below.
Main functions
Module
Start, view and control runs.
System Control
Open results, evaluate runs and create reports.
Evaluation
Perform user and system setup, system log and database
administration.
Administration
Create and edit methods.
Method Editor
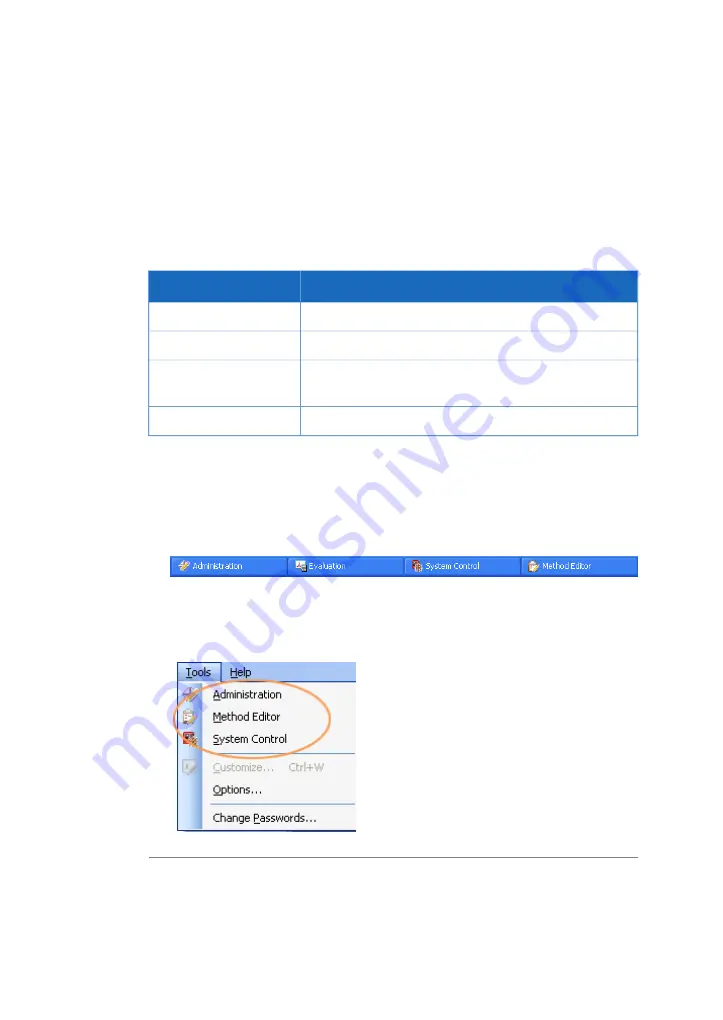
Enter a UNICORN module
To enter a module:
•
click the Taskbar button of the module of interest,
or
•
choose the module of interest in the Tools menu in any of the other software modules.
The illustration below shows the Tools menu of the Evaluation module.
62
ReadyToProcess WAVE 25 Operating Instructions 29009597 AD
3 System description
3.6 UNICORN software overview
3.6.1 General UNICORN operation
Содержание ReadyToProcess WAVE 25
Страница 1: ...ReadyToProcess WAVE 25 Operating Instructions Original instructions ...
Страница 2: ...Page intentionally left blank ...
Страница 171: ...Page intentionally left blank ...


