2-14
Part 2c - Creating a Desktop Printer
(via LPR)
(Note: LPR connection requires a PowerPC-based Mac and LaserWriter 8.5.1 or higher)
1.
Make sure that all steps in the Hardware
Setup section of this manual have been
followed. Follow the Macintosh
installation steps in Part 1 of this section.
In Step 9, select “LPR” as the connection
method and click “Setup Printer.”
2.
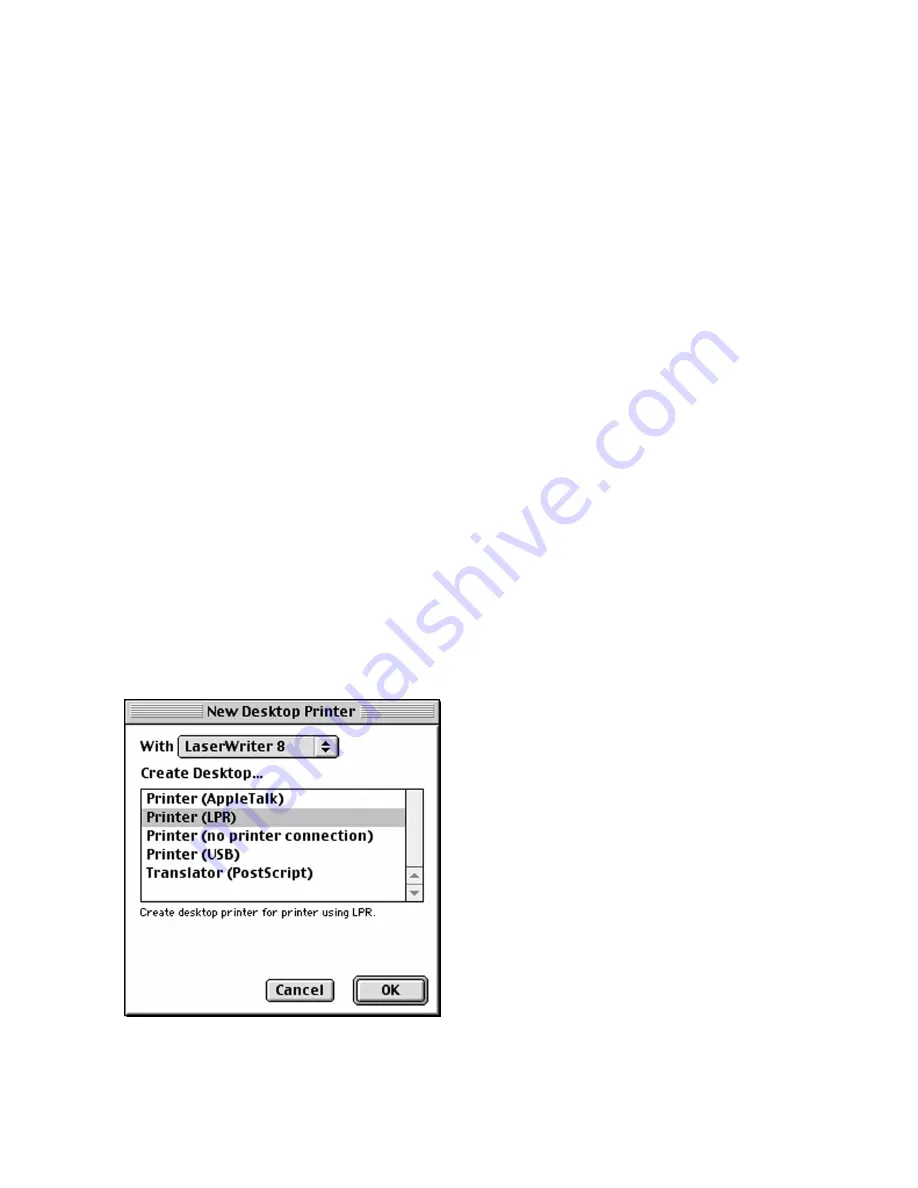
This will open up Apple’s Desktop Printer
Utility and the “New Desktop Printer”
dialog will appear.
Highlight “Printer (LPR)” from this list and
click OK.
Pre-Installation Note:
Macintosh LPR Printing requires that the computer be able to send data to the printer in
Binary format. The default format on the printer, however, is set to ASCII rather than Binary. Before
attempting to send LPR jobs from the Macintosh, you should set the IP Data Format setting on the printer to
Binary, as follows:
• Turn on the printer and press either Menu key until Input/Output appears.
• Press either Item key until IP Data Format appears.
• Press either Value key to set the format to Binary. Press Select to confirm.
• Press Menu again until the printer returns to Ready.
This will allow the printer to accept TCP/IP jobs from the Macintosh correctly. You should now proceed to
the steps for creating a Desktop Printer via LPR, as follows:
Содержание Elite 21DN
Страница 1: ...GCC Elite 21 Series User s Manual Elite 21N Elite 21DN...
Страница 14: ...1 6 Step 4 Remove Tape 1 Remove packaging tape from the front and rear covers of the printer...
Страница 17: ...1 9 6 Close the front cover Press on the center part of the front cover until the cover locks securely...
Страница 143: ...5 20 Clicking on Device Settings brings up the following window...
Страница 159: ...6 13...
Страница 163: ...6 17 Clicking on Device Settings brings up the following window...


