8-7
To store the Ground Track by Distance...
· Highlight the recording criteria field and select “Distance” with CLR.
· Press ENT.
· Enter the distance, and press ENT. When your position moves this
distance in any direction, a new position is added to the stored ground
track. NOTE: “Distance” storage may be preferable to “Resolution”
storage if the ground track will include a large number of turns.
If the planned course will be primarily straight line travel, you should select
“Resolution” storage. In this application, considerably less memory is used
for the same distance traveled.
To store the Ground Track by Resolution...
· Highlight the recording criteria field and select “Resolution” with CLR.
· Press ENT.
· Enter the resolution range, and press ENT. When your position moves
this defined range off a projected course line, a new position is added
to the stored ground track.
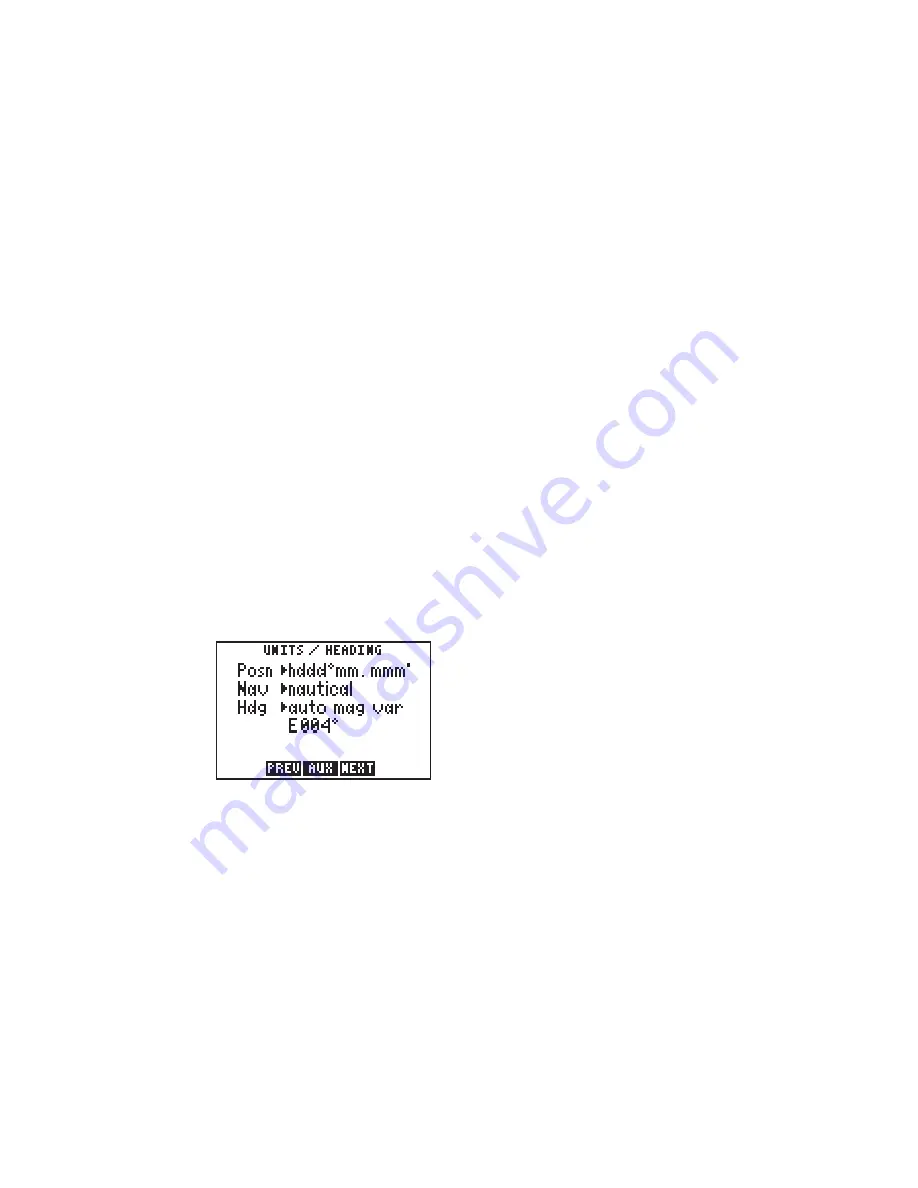
8.7 UNITS/HEADING SETUP
The Units/Heading Page is used to
select the units to display for position,
distance, speed and heading
information. Select the desired position
units by highlighting the “POSN” field
and pressing CLR. You may choose
between
decimal degrees
(hddd.ddddd°); degrees and decimal
minutes (hddd°mm.mmm’); degrees, minutes and decimal seconds
(hddd°mm’ss.s”); UTM/UPS coordinates; or various other regional grids.
Select the desired distance, speed and altitude units by highlighting the
“NAV” field and pressing CLR. You may choose between nautical (nautical
miles/knots/feet), statute ( miles/miles per hour/feet), or metric (kilometers/
kilometers per hour/meters) units. (NOTE: The NAV units setting also
defines the pressure, temperature and vertical speed units that will be used
for E6-B calculations.)
Heading information can be displayed referencing magnetic north
(automatically calculated or user-defined), referencing true north or referencing
calculated grid headings. Select the desired heading reference


