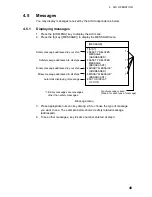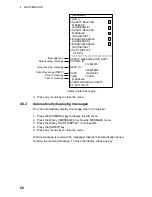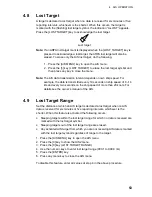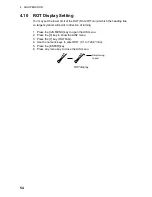
4 AIS OPERATION
52
4.6.2
Choosing history display attributes
You may choose the number of history points to show per history plot interval
and the history plot interval as below.
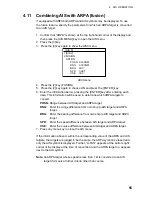
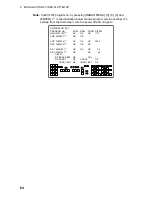
1. Press the [AIS MENU] key to open the AIS menu.
2. Press the [0] key to show the AIS2 menu.
3. Press the [3] key (HISTORY POINTS).
4. Further press the [3] key to choose number of history points to display per
plotting interval: 5 or 10.
5. Press the [ENTER] key.
6. Press the [4] key (HISTORY INTERVAL).
7. Press the [4] key again to choose history interval desired among 10, 30 s; 1,
2, 3 and 6 min.
8. Press the [ENTER] key.
9. Press any menu key to close the menu.
4.7 Automatic
Target
Activation
You may automatically activate all targets within a specific distance from own
ship as below. Note that you may also automatically activate all targets within the
ARPA’s automatic acquisition zone or guard zone. When a target enters the
ARPA’s automatic acquisition zone or guard zone, it is automatically marked with
the activated target symbol. If the activated target goes out of the ARPA
automatic acquisition zone or the guard zone it still is an activated target. When
a target enters the guard zone, the display shows “A-GZ” at the lower right hand
corner of the display.
1. Press the [AIS MENU] key to open the AIS menu.
2. Press the [0] key to show the AIS2 menu.
3. Press the [8] key (AUTO ACTIVATE).
4. Press the [8] key again to choose ON and then press the [ENTER] key.
5. Use the numeric keys to enter automatic activation range (000.1 to 999.9
nm).
6. Press the [ENTER] key.
7. Press any menu key to close the AIS menu.
Содержание RP-340
Страница 1: ...VIDEO PLOTTER RP 340...


